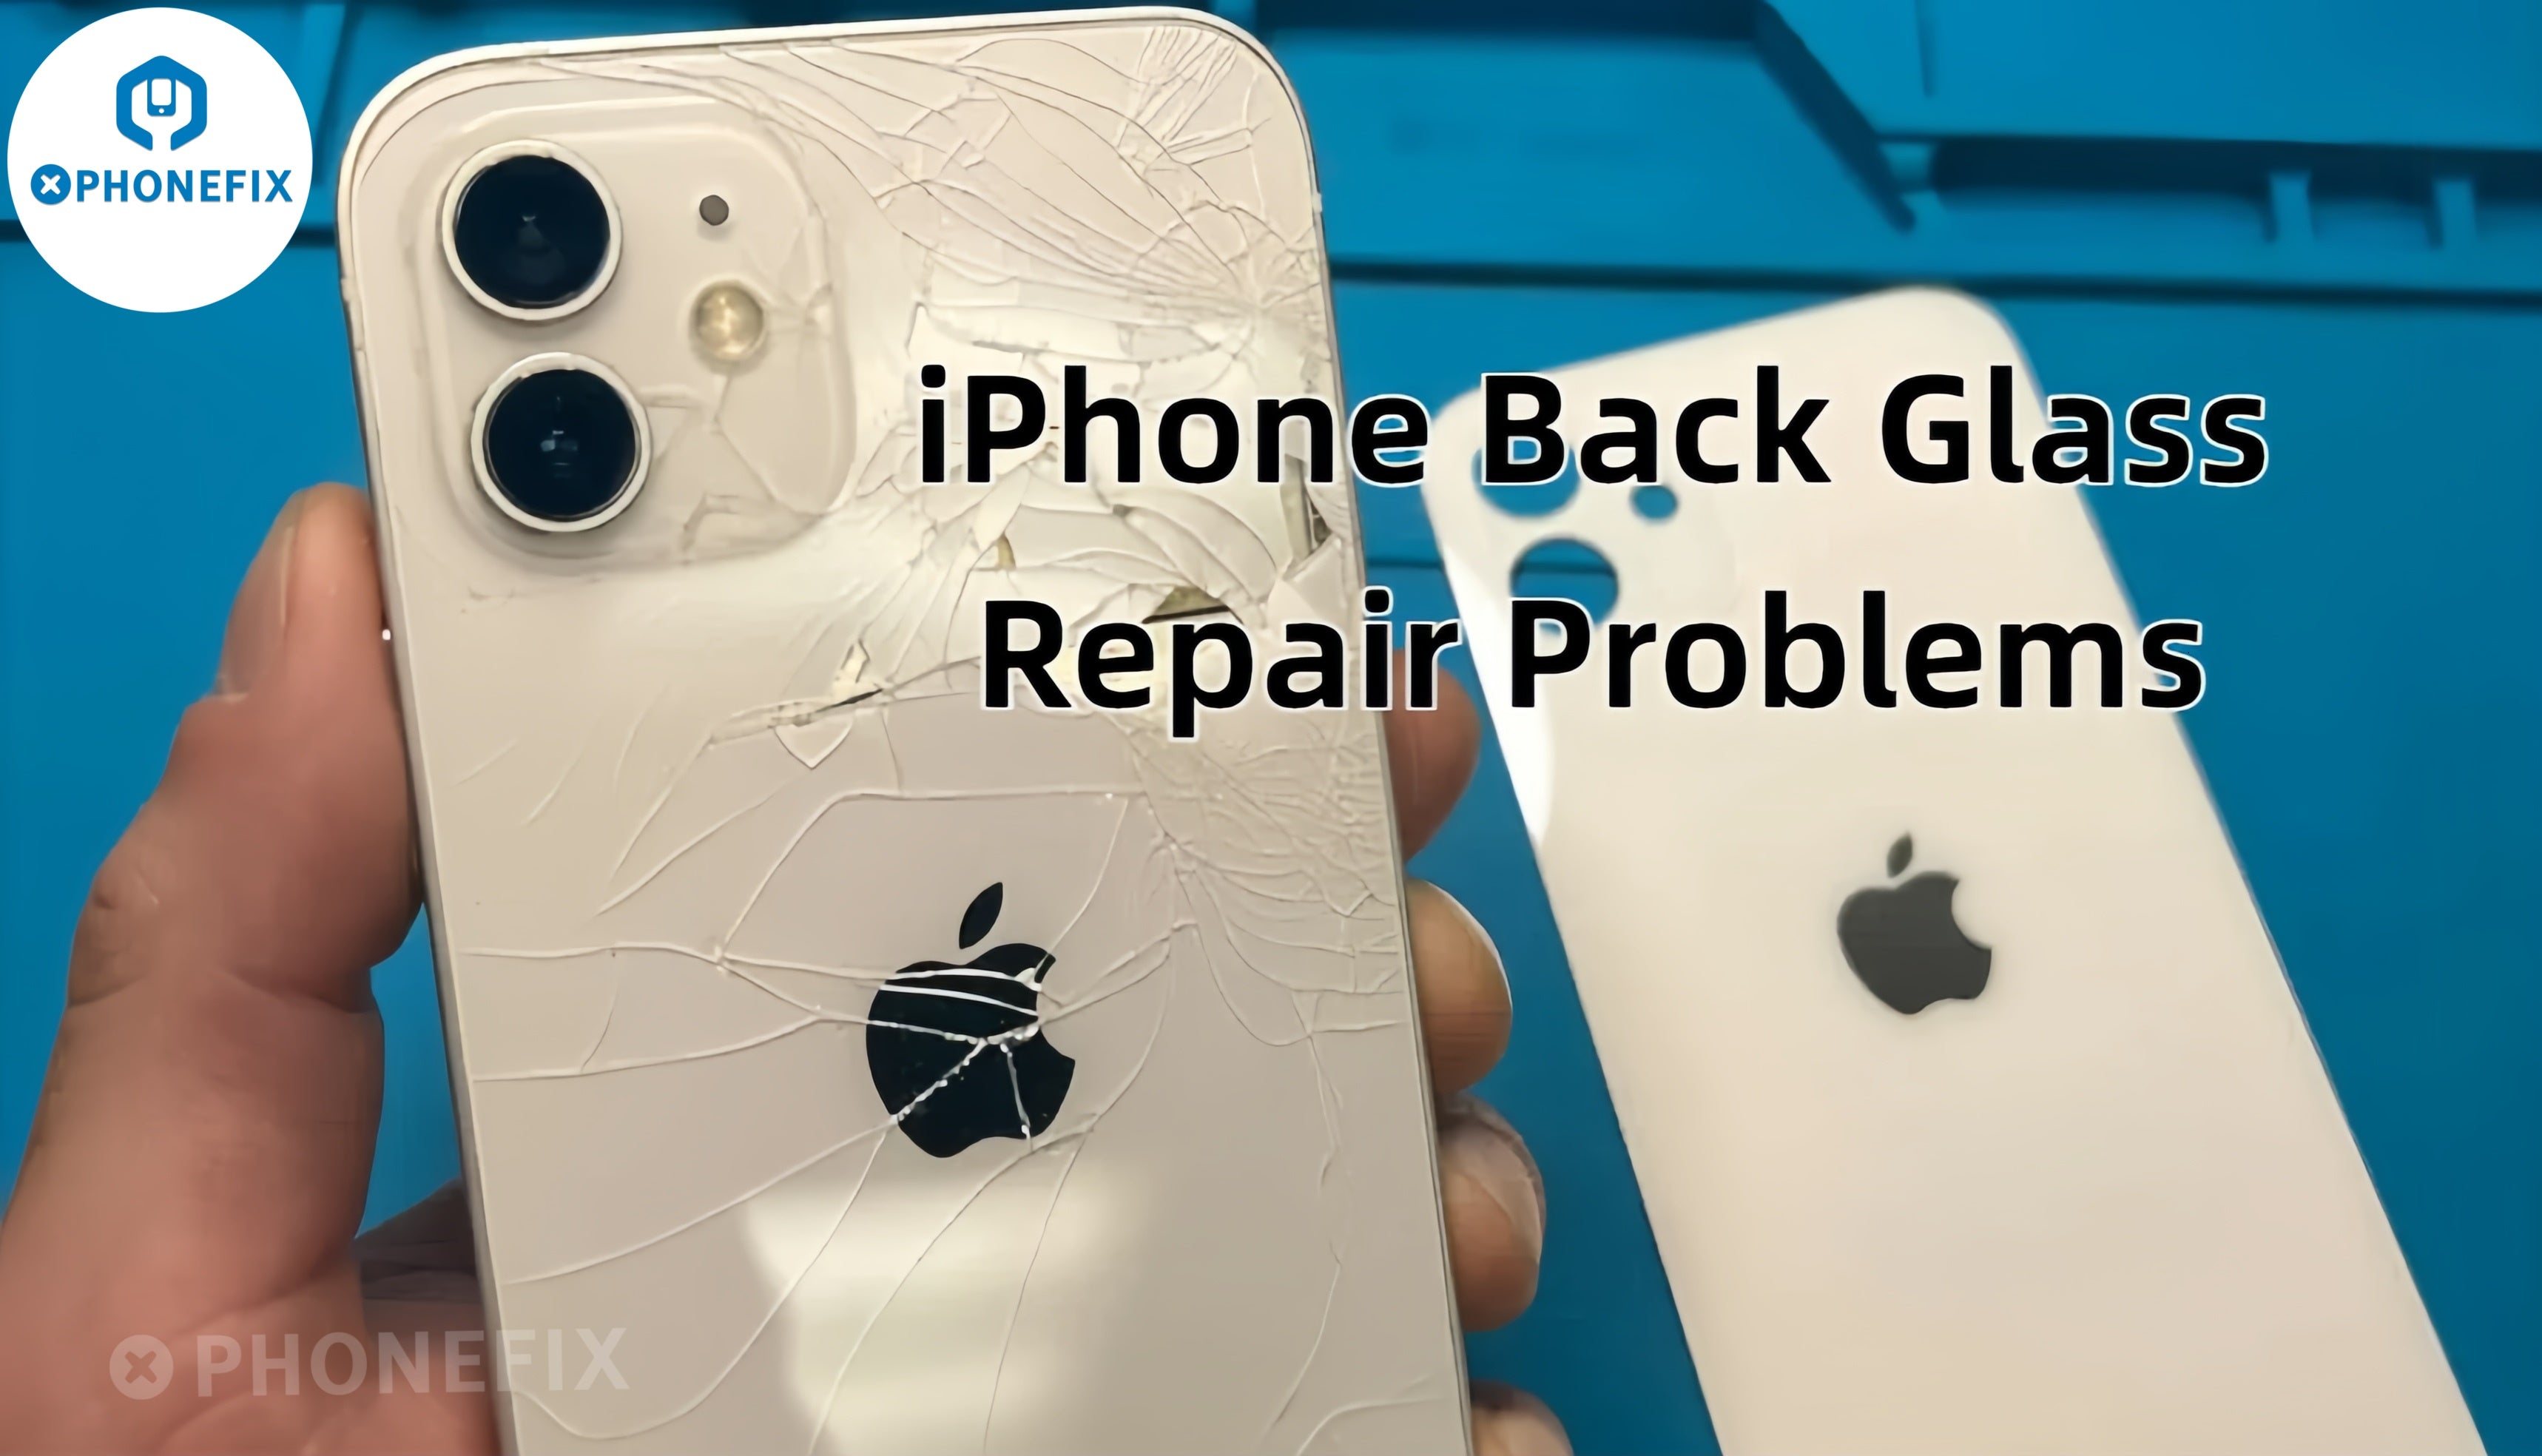
Every iPhone user appreciates the beautiful glass back design, but its fragile nature also makes it susceptible to damage. Whether you're the user witnessing a spiderweb of cracks or a professional repairer, you'll encounter the same frustrating issues, and Phone repair tools can make the process much easier. Below, we'll break down the most common issues with iPhone back glass repairs, their causes, and how to avoid or resolve them.

Some Common Issues with iPhone Back-Glass Repairs
For iPhone users:
1.Spider-web-like cracks
The issue: Apple's glass is chemically strengthened but still brittle under point-pressure.
Root cause: Daily flexing from wireless-charging pads or tight jeans accelerates crack propagation.
Quick fix: Apply a clear packing-tape patch immediately to keep shards in place and moisture out, then schedule replacement within 24–48h—delays usually double the final bill.
2. Wireless-charging failures
The issue: Phone still charges, but only at half speed or needs three re-seats on the pad after the glass cracks.
Root cause: The Qi coil sits directly under the glass; even microscopic gaps created by a fracture distort the inductive field.
Tech tip: Test charging throughput (5 W vs. 7.5 W/15 W) before and after repair; customers often blame the coil when it's actually the glass spacing.
 3. DIY attempts gone wrong
The issue: Home-repair videos make it look easy—until the first razor-blade slip slices the iPhone flashlight flex cable.
Typical pitfalls: Using metal picks instead of plastic spudgers; overheating the glass (above 120 °C) and desoldering the MagSafe magnets.
Professional solution: Switch from heat guns to a dedicated back-glass laser disassembly machine; it separates the panel without cooking internal components.
4.Hidden AppleCare+ costs
The issue: Customers expect $29 under AppleCare+, but Apple quotes $99 because the enclosure has "significant denting." Clarify upfront: Independent shops can straighten minor frame dents for $20–$30 and still undercut Apple's revised quote.

For repair manufacturers:
1. Color and gloss mismatch
The issue: Aftermarket glass looks almost right but is a shade darker or has an orange-peel texture under sunlight.
Root cause: Cheaper coatings skip Apple's multi-layer nano-ceramic stack.
Fix: Order OEM-matched panels and keep a Pantone swatch on hand for customer sign-off.
2. Edge-lifting after a week
The issue: New glass starts to pop up at the corners even though it felt solid at pickup.
Root cause: Insufficient curing pressure or low-quality adhesive.
Pro workflow: Clamp the device in a purpose-built Phone repair fixture for 2–4 hours with fresh, high-viscosity structural glue to guarantee a uniform bond line and prevent future lift.
3. Dust under the lens
The issue: Camera photos show hazy spots after back-glass replacement.
Root cause: Static-charged glass shards migrate inside the camera recess during reassembly.
Prevention: Remove the lens ring with a dedicated Phone removal tool first, then clean the cavity with compressed air before seating the new glass.
 Conclusion
Cracked back glass is never just a cosmetic blemish—it can choke wireless charging, weaken the chassis and torpedo resale value. Whether you’re a solo tech perfecting your craft or a store owner mapping next quarter’s inventory, the equation is simple: flawless execution starts with the right arsenal. China Phonefix Shop continues to deliver high-quality back-glass repair kits, Stock once, impress forever, and let your reputation harden like properly cured glue.


