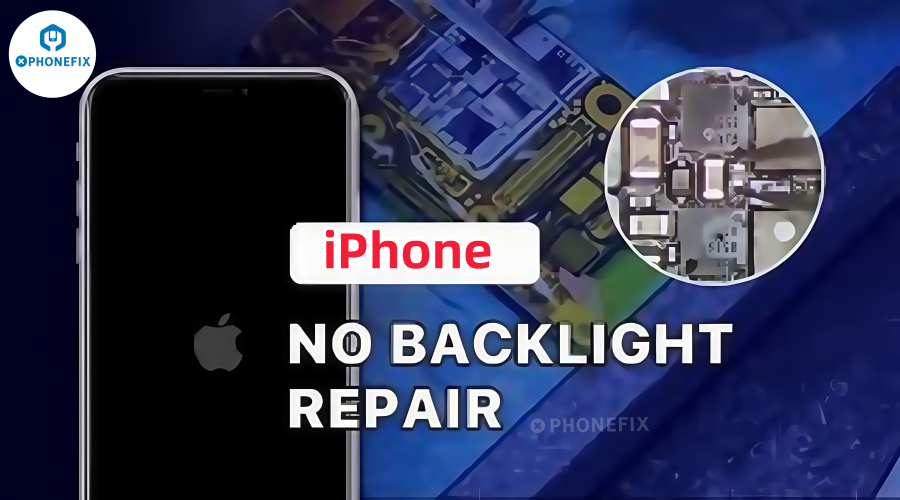
A common issue with iPhone repairs is backlight failure. The screen may light up but show nothing, or it may dim in some places, or it may show faintly visible material without backlighting. PhoneFix will go into great detail in this post on how to use diode mode to methodically diagnose and fix iPhone lighting problems. We'll start with the fundamentals, then get into the specific repair procedures, and end with some expert repair advice.

I. Preparation
Before beginning your repair, be sure to gather the following essential tools and materials: a digital multimeter, essential for verifying circuitry; a hot air gun or soldering tool for precisely removing and replacing damaged components; a trinocular microscope or magnifying glass to clearly see tiny details on the circuit board and ensure accurate work; and iPhone-specific disassembly tools, including screwdrivers and plastic opening tools, designed specifically for device disassembly. Once all of these preparations are complete, you can begin the repair process.
II. Diagnosing Backlight Issues
1. Disconnecting the Battery and Removing the Screen
First, disconnect the iPhone from power to prevent damage to the circuit board. Then, using appropriate tools, carefully remove the iPhone's screen to expose the iPhone LCD FPC connector. This will allow you to access the backlight circuitry on the circuit board.

2. Set the Multimeter to Diode Mode
Next, set the digital multimeter to diode test mode. In diode mode, the digital multimeter can measure the continuity of the diode in the circuit. When the diode is working properly, the multimeter will display a certain forward voltage. If there is an open circuit (OL), short circuit (0) or other abnormalities, the digital multimeter will display a different reading.
3. Identify the iPhone Backlight Pins
Use software like ZXW circuit diagram or other BoardView software to view the circuit diagram and locate the backlight pins on the iPhone's LCD connector. These pins are responsible for supplying power to the backlight. Common backlight pins on the iPhone's LCD connector include pins 24 and 18 (this may vary between models; refer to the circuit diagram for confirmation). These pins are typically connected to components such as the backlight driver circuit or filters.
4. Measure the Diode Value
It is very important to use the digital multimeter probe correctly to measure the diode value. Connect the red probe of the digital multimeter to the ground point on the circuit board (such as the SIM card tray or a known ground point), and then use the black probe to test the backlight pins one by one. Each backlight pin should show a certain forward voltage (usually around 0.4V to 0.7V). If an "OL" (open circuit) or other abnormal reading appears, the backlight circuit may be faulty.

5. Comparing Readings
To confirm a fault, it's best to compare the measured diode values with those of a known good circuit board. Diode readings typically vary slightly (usually within a 5%-10% range). If the reading on a particular pin differs significantly from the expected value or appears "OL," it's a preliminary indication that the circuitry associated with that pin may have a problem.
6. Identifying the Faulty Circuit
By comparing diode readings, you can locate the pin in the circuit that may have a problem. If a pin shows "OL" or a value of 0, it's possible that the circuit is open. If a clear short circuit (a reading of zero) appears, it's possible that the circuit has a short circuit. Next, you need to further confirm the type of fault.
III. Common Faults and Repair Methods
1. Open Circuit
A common fault is a short circuit in the backlight pins, causing the backlight circuit to malfunction. For example, in the iPhone 11, pins 24 and 18 often experience this problem. To diagnose, use a digital multimeter in diode mode to test the backlight pins. If a pin shows OL or no continuity, there may be a short circuit. For repair, if a backlight pin is confirmed to be open, micro-soldering is required to repair the circuit. This involves using fine solder wires or jumper wires to connect the broken circuit to ensure proper signal transmission.

2. Burned Backlight Filter
A burned-out backlight filter is another type of fault. As a critical component in the backlight circuit (such as the FL4291), a burnt-out filter can cause backlight failure and display abnormalities. To diagnose, use a digital multimeter to test the diode values at both ends of the filter. If one end shows a normal diode value and the other shows OL, the filter may be burned. When repairing, first remove the damaged filter, inspect its solder pads, and then install a new filter after soldering them. After replacing the filter, retest the diodes across the filter to ensure proper function.
3. Capacitor or Backlight Driver Short Circuit
A capacitor or backlight driver short circuit is another common backlight circuit malfunction. When a capacitor or driver short circuits, it can cause the circuit to malfunction, manifesting as a black screen or abnormal brightness. To diagnose, use a digital multimeter to measure the diodes in the circuit. If the reading is zero, a short circuit is likely present. During repair, use the voltage injection method to test the circuit step by step to locate the short circuit. Once the short-circuited component is located, remove and replace the damaged capacitor or iPhone backlight chip.

4. Component Damage
Component damage is another potential problem in the backlight circuit. In addition to the backlight filter and capacitor, other components in the circuit, such as the coil, diode, or graphics IC, may also malfunction. During diagnosis, first inspect the circuit for obvious water damage, corrosion, or burn marks. Then, use a digital multimeter to test the continuity of these iPhone components to determine if they are damaged. During repair, remove and replace damaged components based on the severity of the damage. If the circuit board is corroded, clean the affected area with cleaning fluid before re-soldering new components.
IV. Repair Steps Summary
1. Identify the faulty component: Locate the faulty pin or component based on the results of the diode mode test.
2. Inspect and replace damaged filters, diodes, coils, and other components: Replace or repair damaged components based on the type of fault.
3. Repair broken circuits: Use microsoldering to repair broken circuits and ensure proper current flow.
4. Clean the corroded area: For water damage or corrosion, clean and replace the affected components.
5. Reassemble the iPhone: After the repair is complete, reinstall the iPhone screen and battery, and test the backlight to ensure the issue is resolved.

V. Notes
During the repair process, it is crucial to refer to the ZXW and iPhone schematics. These will help you accurately locate the backlight pins and related circuitry. Also, due to the extremely delicate components on the iPhone's circuit board, extreme caution and proper tools and techniques are required. Furthermore, microsoldering requires a high level of skill, so if you lack experience with circuit board repair, it is recommended that you seek professional repair services.
Tips: How to identify and fix common iPhone lighting problems is demonstrated in the video that follows. In the video, burnt-out filters are identified and the display connector is tested using a digital multimeter in diode mode. To make sure the problem has been fixed, the repair procedure entails changing the filter and checking the brightness. You can use the repair instructions in this video if you're fixing an iPhone 11/12/13/14/15/16 series (or later).
VI. Conclusion
Using a digital multimeter in diode mode is a practical and effective method for diagnosing and repairing iPhone backlight issues. By strictly following the steps above, you can accurately identify the cause of the problem and perform the necessary repairs, restoring normal iPhone backlight function. If you're currently searching for a reliable mobile phone repair tool supplier, please visit the official "DIYFIXTOOL" website. We are committed to providing professional repair tools and keeping you updated with the latest mobile phone repair news.


