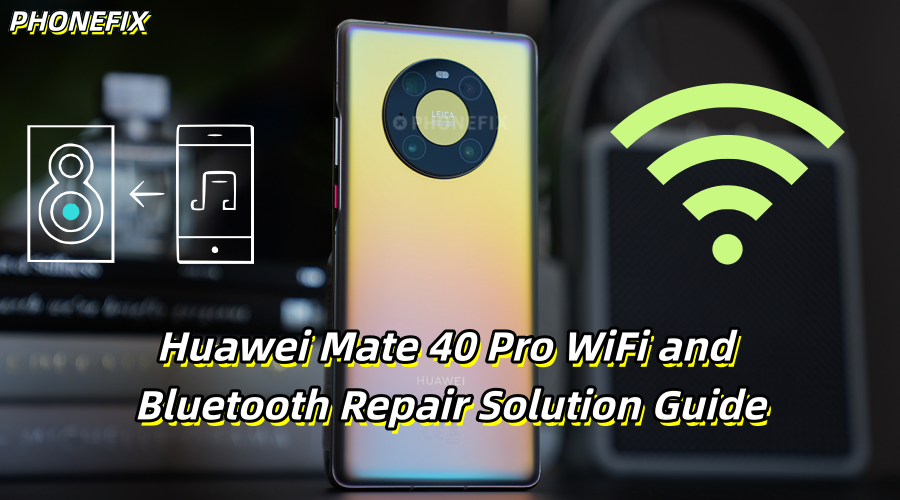
Huawei Mate 40 Pro is a powerful smartphone equipped with advanced hardware and technical support. However, despite its impressive performance, like any electronic device, it is susceptible to physical damage, especially when subjected to drops or external impacts. Phonefix will use a real-life case to thoroughly explain the issue of Huawei Mate 40 Pro being unable to connect to WiFi and Bluetooth after a heavy drop, and analyze the repair process and solutions.

I. Fault Description and Initial Diagnosis
The user reported that their Huawei Mate 40 Pro, after a heavy drop, could no longer connect to WiFi and Bluetooth. The specific issues observed were:
1. WiFi Turns Off Automatically: When the user turns on WiFi, the WiFi icon disappears automatically, and the device cannot reconnect to any WiFi networks.
2. Bluetooth Won't Pair: The Bluetooth function shows no response and cannot discover or pair with other devices.
3. Other Functional Issues:
a. The phone's flash does not turn on.
b. Network connection is unstable, often showing a "No Service" status.
c. No 5G signal during calls.
The issues extend beyond WiFi and Bluetooth, suggesting a more serious motherboard failure, likely due to damaged internal circuitry from the drop. In this case, you can use an Infrared Thermal Camera to detect heat patterns on the motherboard, which may reveal damaged components or short circuits caused by the impact.

II. Preparation for Repair
Before repairing, it's essential to gather the right tools to prevent further damage and ensure precise fixes. Common tools for this repair include:
· Screwdriver Set: Used to disassemble the phone's casing and motherboard, suitable for various screw types.
· Hot Air Gun: Used to heat chips or other components when removing them from the motherboard to make the process easier.
· Multimeter: Used to measure circuit voltages and check for short circuits or open circuits.
· Microscope: Used to inspect small circuits and solder joints, especially around chips.
· Soldering Kit: Includes a soldering iron, solder wire, desoldering pump, used to repair damaged solder joints or create flying leads.
· Tweezers: Used for delicate tasks, like removing excess solder from pads.

III. Repair Process
Step 1: Power On and Confirm Fault
First, a power-on test is performed to check the phone's functionality. WiFi and Bluetooth are activated, but WiFi turns off automatically and won't reconnect. Bluetooth doesn't function and can't pair with devices. The flash doesn't work, the network signal is unstable, and "No Service" often appears. There's no 5G signal during calls. These symptoms suggest possible motherboard damage, especially to the WiFi and Bluetooth connections.
Step 2: Disassemble and Inspect the Motherboard
When disassembling the phone, great care must be taken to avoid damaging other parts. After removing the back cover and battery, use a screwdriver and other tools to carefully take out the motherboard, ensuring that flex cables and connectors are not damaged.
· Remove the Motherboard: After removing the motherboard, use a Digital Multimeter to test capacitors and power voltages around the WiFi circuit for stability.
· Inspect the WiFi Chip's Solder Joints: Disassemble the WiFi module and carefully check if the solder joints have loosened or detached. It was found that the WiFi chip's solder pads had not fallen off, but the solder joints could be damaged from the impact.

Step 3: Check Signal Lines and Crystal Oscillator
Use a multimeter to measure the clock and reset signals for the WiFi chip, checking connections between the chip and other circuits. It was discovered that the line between the WiFi chip and crystal oscillator was severed, causing the WiFi failure. Using professional software to view the motherboard layout, it was found that the circuit between the WiFi chip and crystal oscillator was broken, with the two pins directly connected to the WiFi chip.
Step 4: Repair Circuit and Apply Flying Lead
To restore the damaged circuit, a flying lead repair is required:
· Remove the Crystal Oscillator: Carefully remove the damaged crystal oscillator.
· Reposition the Crystal Oscillator: Secure the crystal oscillator next to the WiFi chip, ensuring a good connection.
· Flying Lead Connection: Use fine wire to connect the pins of the crystal oscillator to the WiFi chip, ensuring signal flow. Once the flying lead repair is complete, use a soldering tool to handle the circuit and secure the solder joints.

Step 5: Reassemble Mainboard and Reattach Layers
Due to the drop, the inner layers of the motherboard may have become dislodged. The repair process requires heating and pressing the layers back together.
· Reheat and Press the Mainboard: Use the Hot Air Gun to heat the motherboard and restore proper contact between the layers.
· Check All Connections: Ensure that all the circuits and solder joints are intact and no new open or short circuits are present.
Step 6: Reassemble Phone and Test Functions
After the repair, reinstall the motherboard, battery, and back cover, then perform a full functionality test to confirm the repair was successful:
· WiFi Test: Confirm that WiFi can now connect and work stably.
· Bluetooth Test: Check if the Bluetooth function has been restored and can successfully pair with other devices.
· Flash and Network Signal Test: Ensure that the flash is working properly and that the network signal is stable, including 5G connectivity during calls.
· Test Other Functions: Verify that other functions, such as voice calls and phone stability, are working properly.
IV. Conclusion
Through this repair process, we can understand the importance of precise operations and professional tools when dealing with smartphone repairs, especially those involving motherboard repairs. If you require professional phone repair tools, China Phonefix offers a wide range of high-quality tools and the latest repair information.


