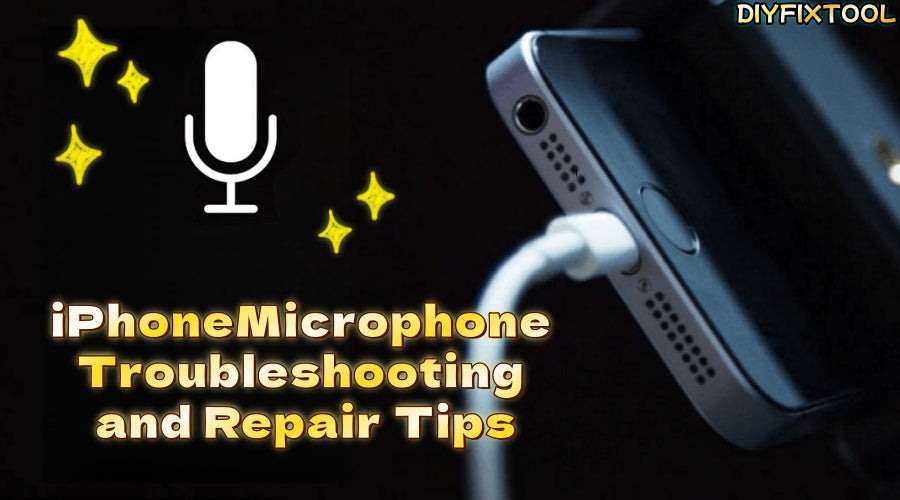
The iPhone has significantly improved sound quality and calling experience, making the microphone an essential component for calls and video recordings. However, issues like microphone malfunction or poor sound quality can arise. Understanding the location of the iPhone's microphones, diagnosing faults, and knowing how to repair them is crucial. This guide from Phonefix will help you troubleshoot and resolve microphone problems.

I. iPhone Microphone Locations
The iPhone has multiple microphones, each serving a specific purpose to ensure optimal audio. Here are the common microphone locations and their functions:
1. Bottom Microphone
Located at the bottom near the charging port, this microphone is used for calls, voice memos, and general recording.
2. Top/Front Microphone
Located near the earpiece, this microphone is used for hands-free calls and recording audio with the front camera, often working with the bottom microphone for clearer calls.
3. Rear Microphone
Located near the iPhone rear camera, this microphone aids in noise cancellation and improves audio quality during video recording.

II. How iPhone Automatically Switches Microphones
The iPhone's microphone system automatically selects the appropriate microphone based on the use case, ensuring optimal audio performance:
· Regular Calls: The bottom microphone is activated to capture your voice.
· Hands-Free Calls: The top microphone (near the earpiece) works to ensure clear communication in hands-free mode.
· Rear Camera Video Recording: Both the rear microphone and the bottom microphone work together to capture high-quality audio during video recording.
· Front Camera Video Recording: The front microphone is primarily used to capture audio during video recording.
· Noise Cancellation: During calls, the rear microphone helps filter out background noise, making your voice clearer.

III. Diagnosing iPhone Microphone Issues
If the iPhone microphone isn't working, it could be due to hardware, software, or other factors. Here are common troubleshooting steps:
1. Check for Blockages
Dust, dirt, or phone cases can block microphone holes, causing poor sound quality. Check the bottom, top, and back holes, and clean with a Cleaning brush or cloth.
2. Test Each Microphone
Test the bottom microphone using a voice memo. If it's working, use the Camera app to test the front and rear microphones.
3. Restart Your iPhone
Sometimes, a simple restart can fix microphone issues by clearing system caches and restoring normal operation.
4. Check App Permissions
If your iPhone isn't using the microphone in certain apps, it may be due to incorrect app permissions. Open "Settings," go to "Privacy & Security," then tap "Microphone" and ensure the relevant app's toggle is enabled.

IV. Preparing for Repair
If the microphone still isn't working after testing, it may be a hardware issue. In this case, follow these steps before repairing:
1. Confirm the Faulty Microphone
First, confirm which microphone is malfunctioning: bottom, front, or rear.
2. Back Up Your Data
Before disassembling, back up your iPhone via iCloud or iTunes to prevent data loss.
3. Prepare Repair Tools
If you're repairing the iPhone yourself, here are some essential tools:
· Phone repair tool kit: Includes screwdrivers, suction cup, pry tool, tweezers, etc.
· Heating pad: to soften glue and assist in opening the iPhone's back cover.
· Cleaning tools: Including a cleaning brush and cloth for cleaning the microphone holes.

V. iPhone Microphone Repair Steps
If you decide to carry out the repair yourself, here are the detailed steps:
Step 1: Turn off iPhone and Remove the Screen
Turn off your iPhone to power it down. Use a suction cup to separate the screen from the body, then carefully use a pry tool to open it without damaging internal components. After removing the screws, lift the screen off.
Step 2: Replace the Microphone
Once the screen is removed, locate the faulty microphone. Remove it and install the new microphone in the same position. Secure it with appropriate tools to ensure a stable connection between the microphone and the circuit board.
Step 3: Reassemble and Test the Functionality
After installing the microphone, reattach the screen, tighten all screws, and check the seal. Restart the iPhone and test the microphone with a call or recording to ensure it's working.

VI. Conclusion
The iPhone's microphone system is crucial for calls, voice memos, and video recording. When the microphone malfunctions, it's important to identify the issue early and take the appropriate measures to resolve it. If you need professional iPhone repair tools or the latest repair information, feel free to visit the China Phonefix website anytime.


