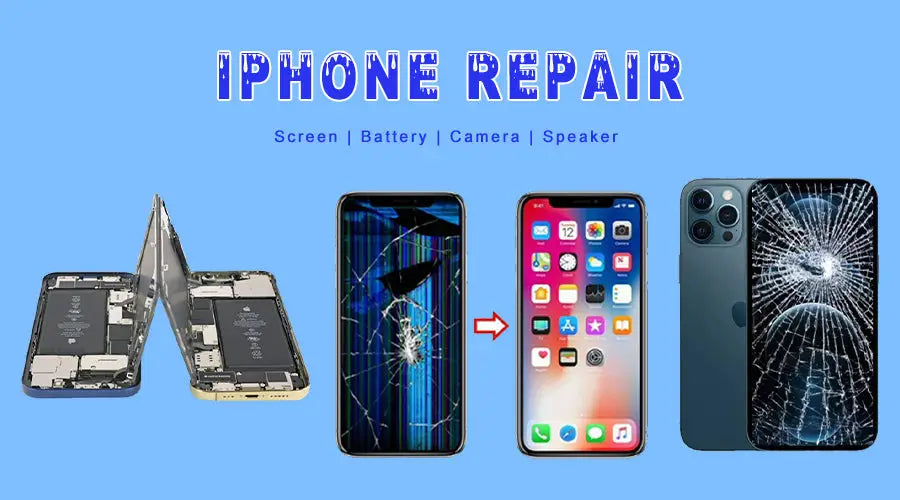
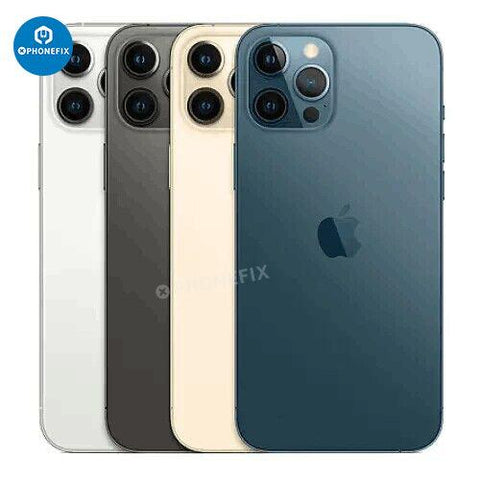
When iPhone hardware issues arise, such as broken screens or non-functional headphone jacks, heading straight to the Apple Store for repairs may seem like the only option. But, with the right DIY solutions, you can save both time and money. In this article, China PHONEFIX 'll explore iPhone hardware repair options you can try at home.
Common iPhone Hardware Problems
- 1. iPhone Screen Replacement
- 2. iPhone Battery Replacement
- 3. iPhone Camera Replacement
- 4. iPhone Casing and Back Cover Replacement
- 5. Earpiece Speaker and Headphone Jack Replacement
- 6. iPhone Logic Board Replacement
- 7. iPhone Home Button Replacement
- 8. iPhone Volume Control Button Not Working
- 9. iPhone Flashlight Disabled
- 10. iPhone Wi-Fi Antenna Issues and Replacement
1. iPhone Screen Replacement
If an iPhone Digitizer Display Screen. is cracked, displaying inaccurately, or unresponsive to touch, it is crucial to replace the screen promptly. If you have a cracked or broken iPhone screen, replacing it is not as difficult as you might think. Follow these steps to replace your screen:
- Turn off your iPhone and remove the two screws at the bottom of the device.
- Use a suction cup to gently lift the screen up and open your phone.
- Remove the five screws holding the metal shield in place and then remove the shield.
- Disconnect the three cables connecting the screen to the logic board.
- Remove the screen and replace it with a new one.
- Reconnect the cables and reassemble your phone
More: iPhone XS Max Screen Cracked? Solution for Refurbishing Screen
PHONEFIX offers all tools for replacing iPhone LCD digitizer touchscreen such as screwdrivers, adhesive removal tools, and hot air guns.
2. iPhone Battery Replacement
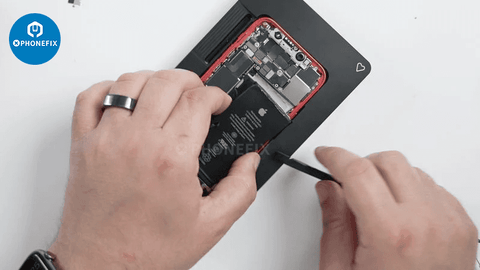
As iPhone batteries age or endure extended periods of use, their lifespan gradually diminishes. If your iPhone battery is draining quickly or won't charge to 100%, follow these instructions to replace it:
- Separate front panel assembly and rear case; peel back the battery adhesive tabs from the bottom of the battery.
- Use a plastic card to remove the battery from iPhone.
- Insert the new battery and use new adhesive strips to fasten it.
More: Detailed iPhone 11 Pro Battery Replacement Guide for Beginner
Tools required for this procedure include torque screwdrivers, suction cups, adhesive removal tools, and plastic pry tools.
3. iPhone Camera Replacement
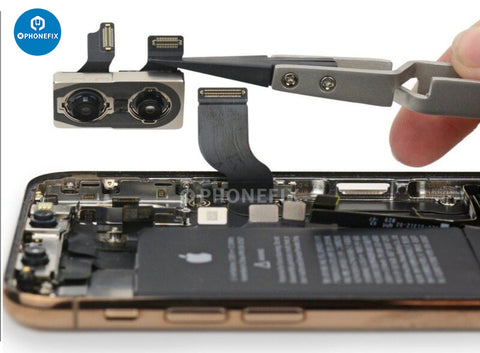
If your iPhone Rear Camera Assembly is not working well, it could be due to a faulty or worn-out camera assembly. Replacing the camera can be complicated, so it is recommended to seek professional help if you are uncertain about how to proceed.
- Turn off iPhone, remove SIM tray and screws near lightning port.
- Use pry tool to separate screen and disconnect screen cables.
- Remove metal plate covering camera connector and disconnect camera from motherboard.
- Remove camera from housing.
- Fit new camera in housing and reconnect camera to motherboard and replace metal plate.
- Reattach screen cables and snap the screen into place.
- Replace screws and SIM tray. Test camera
More: iPhone Camera Repair -- Wide-angle Camera Optical Filter Damaged
Essential tools for this task include torque screwdrivers, suction cups, adhesive removal tools, and plastic pry tools.
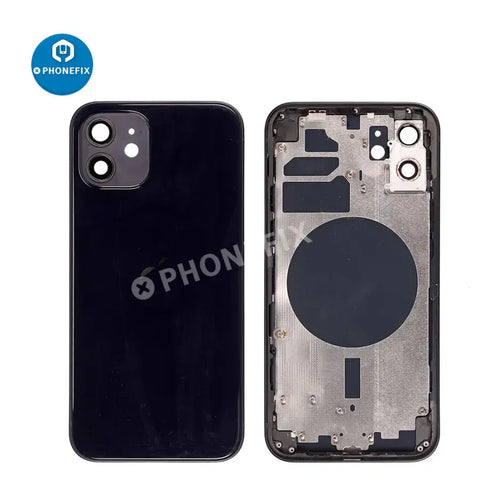
4. iPhone Casing and Back Cover Replacement
A damaged casing or back cover can compromise the appearance and structural integrity of an iPhone. Follow these steps for DIY repair:
- Power off the phone and remove SIM card and screws.
- Use a suction cup to lift the display assembly from the rear casing, disconnect cables and connectors.
- Remove display assembly, unscrew casing or back cover screws.
- Pry away casing or back cover with a plastic tool.
- Place new casing or back cover in position and screw it into place.
- Reattach display assembly, connectors, and screw it in place.
- Power on the phone and test its functionality.
Tools required for this procedure include torque screwdrivers, suction cups, adhesive removal tools, and plastic pry tools.
5. Earpiece Speaker and Headphone Jack Replacement
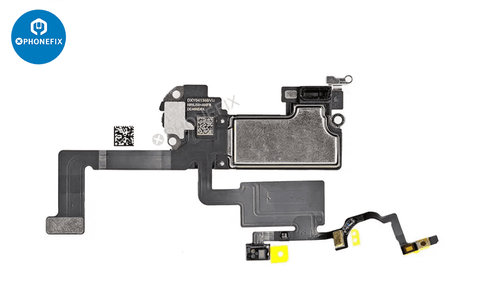
When an iPhone's speakers or headphone jack fail to function correctly, replacement becomes necessary. If you're experiencing muffled sound from your iPhone's ear speaker during calls, follow these simple steps to fix it:
- After separating iPhone screen and rear case, remove screws around the earpiece speaker bracket.
- Nudge the front-facing camera from its housing.
- Remove the earpiece speaker and replace it with a new one.
Tools required for this procedure include torque screwdrivers, suction cups, adhesive removal tools, and plastic pry tools.
6. iPhone Logic Board Replacement
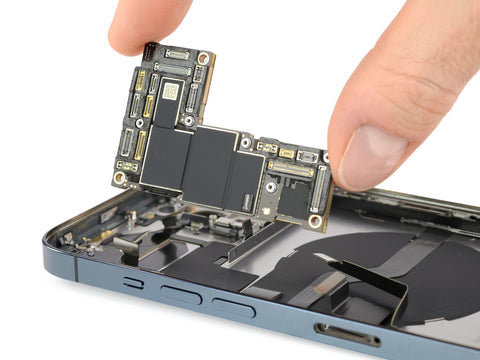
If an iPhone experiences logic board malfunctions or circuitry issues, replacing the logic board or conducting repairs is crucial. Follow these simple steps to fix it:
- Step 1: Make sure to fully power off your iPhone and remove any SIM card and screws from the device.
- Step 2: Remove the display assembly by using a suction cup and carefully prying it away from the casing.
- Step 3: Detach the cables and connectors from the logic board, and use a spudger or similar tool to unscrew any screws holding the logic board in place.
- Step 4: Pry the logic board away from the casing and replace it with a new one.
Essential tools for this task include torque screwdrivers, multimeter, suction cups, adhesive removal tools, and plastic pry tools.
7. iPhone Home Button Replacement

Damaged or unresponsive buttons and touchpads can significantly impact user experience. A non-functioning home button can be frustrating, but it can be repaired at home with the following steps:
- Separate front panel assembly and rear case like in the screen replacement guide; remove all screws and camera bracket.
- Disconnect the home button cable and remove the home button assembly.
- Install a new home button assembly.
- Put everything back together.
Tools required for this procedure include torque screwdrivers, suction cups, adhesive removal tools, and plastic pry tools.
8. iPhone Volume Control Button Not Working
If your volume buttons are not working, try these troubleshooting tips:
- Restart your iPhone.
- Upgrade iOS to the latest version.
- Hard reset your iPhone.
If none of these tips work, it may be a hardware problem. Follow these steps for DIY repair:
- Separate iPhone screen and rear case apart, remove battery and screws from the upper cable bracket.
- Remove the upper cable bracket and the contact bracket from the iPhone.
- Remove the volume control cable connector and screws from the volume control cable brackets.
- Pull the hold switch and volume control button brackets away from the rear case.
- Peel the volume control button cables up from the rear case.
- Replace the old volume control buttons with new ones.
9. iPhone Flashlight Disabled
If your iPhone flashlight is disabled due to a faulty rear camera, follow these steps to repair it:
- Separate front panel assembly and rear case like in part 1; remove all screws and camera bracket.
- Remove the rear-facing camera and replace it with a new one.
- Reassemble your phone.
10. Wi-Fi Antenna Issues and Replacement
If your iPhone keeps disconnecting from Wi-Fi networks, or the signal is weak or not showing at all, you may have a hardware problem. Follow these steps to replace the Wi-Fi antenna:
- Take iPhone apart like in the previous repair guides and remove the upper cable bracket.
- Loosen the screws from the Wi-Fi antenna and remove it.
- Replace the old Wi-Fi antenna with a new one.
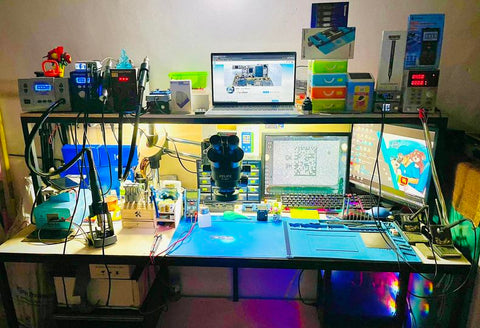
Essential Tools for iPhone Repair
To facilitate your repair tasks, we offer a comprehensive range of professional tools:
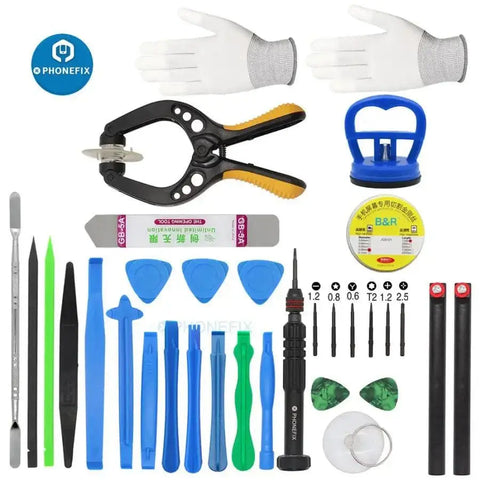
- Phone Disassembly Tool Kit: Includes various sizes of screwdrivers, suction cups, and Tools: Used for disassembling.
- Screen Disassembly Tools: Specifically designed for iPhone screen removal, including a dedicated screen separator, adhesive removal tools, and suction cups.
- Disassembly Pliers: Aid in removing internal connectors within iPhones.
- AiXun H310D Hot Air Gun: Softens adhesives or glues, making component removal easier.
- Metal Scrapers: Ideal for cleaning dust, dirt, or residual adhesives from within iPhones.
- Connector Tweezers: Used for connecting or disconnecting internal iPhone cables.
- Battery Testing Device: Provides accurate measurements of battery voltage and current.
- Constant Temperature Oven: Essential for heating parts during iPhone screen or component repairs.
- Microscope: Enables detailed inspection of small internal iPhone components for damage or defects.
With these simple instructions and the right tools, you can save money and fix your iPhone hardware problems at home. However, if you feel uncomfortable or unsure, it's always best to seek professional help.
PHONEFIX offers a wide range of repair tools and services to assist you in fixing your iPhone and other mobile devices. Contact us for more information!


