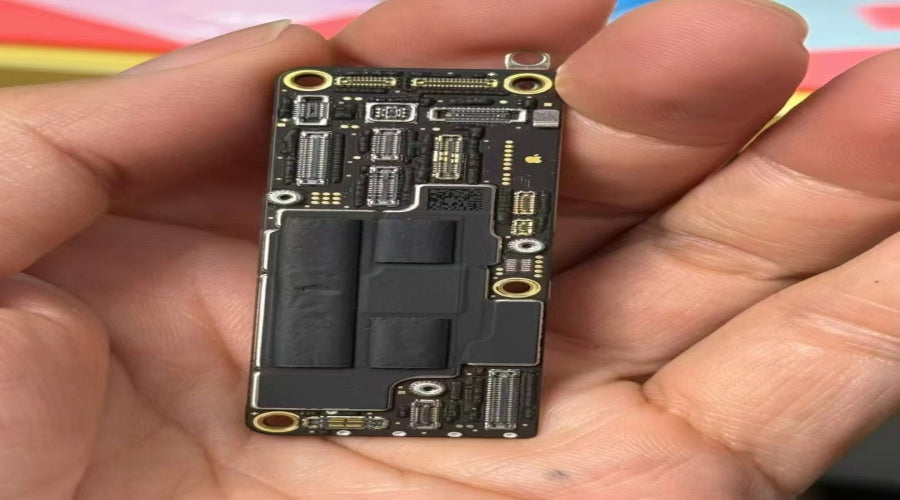
1. Understanding Key Diagrams and Their Purpose
Point-to-Point Diagram (Point Location Map)
• Definition: This diagram shows the exact locations of components on the iPhone motherboard and assigns them unique identifiers.
• Usage: It helps technicians locate small components—like capacitors, resistors, and ICs—accurately without guesswork.
• Example: While troubleshooting a charging issue, you can quickly identify the
position of the charging IC from the point-to-point map.
Circuit Diagram (Schematic)
• Definition: A circuit diagram illustrates the flow of signals and connections between different components within the device.
• Usage: This is useful for identifying how electrical signals are transmitted across the phone’s various circuits, helping diagnose and fix issues like short circuits or voltage drops.
• Example: If the Face ID sensor isn’t working, the schematic helps track which power lines or data buses could be malfunctioning.
Multi-Layer PCB Layout
• Definition: This layout breaks down the internal layers of the motherboard, showing how different layers manage signals and power.
• Usage: It’s crucial when troubleshooting hidden shorts or buried connections across the board’s multiple layers.
• Example: Detecting a short circuit between layers might require inspecting the inner PCB structures with this diagram.


2. Using Diagrams for Basic Repairs: Common Scenarios
1. Short Circuit Detection
• Approach: Use the circuit diagram to trace the flow of power and identify abnormal connections.
• Example: If a capacitor along the battery line is shorted, the circuit diagram helps you pinpoint its exact location.
• How to Fix: Use a multimeter to test the resistance at each point along the path. Replace the faulty component identified through the point-to-point map.
2. Component Replacement
• Approach: Use the point-to-point diagram to quickly find the part that needs to be replaced.
• Example: If the Wi-Fi module is damaged, the diagram helps you identify its location and neighboring components to avoid accidental damage.
• How to Fix: De-solder the damaged component using hot air, then solder the replacement in place.
3. Recommended Tools for Efficient 16 Pro Max Repairs
• Multimeter: Essential for measuring voltage, resistance, and continuity throughout circuits. It helps confirm whether components are functioning properly.
• Circuit Analyzer: Provides a deeper understanding of signal waveforms and potential faults within complex circuits.
• Thermal Camera: Works hand-in-hand with multi-layer diagrams by detecting overheating components, which often indicate short circuits.
• Oscilloscope: Crucial for analyzing high-frequency signals, particularly for troubleshooting data buses and CPU connections.
These tools not only make repairs easier but also ensure accuracy when working with complex devices like the iPhone 16 Pro Max.
4. Combining Diagrams and Tools for Seamless Repairs
Mastering point-to-point diagrams, circuit schematics, and multi-layer layouts empowers repair professionals to tackle even the most challenging issues with confidence. By combining these diagrams with essential tools like multimeters and oscilloscopes, technicians can streamline their workflow, reduce troubleshooting time, and ensure precise repairs.
5. Get Your Hands on the Right Resources
Ready to dive into 16 Pro Max repairs? Ensure you have access to the latest diagrams and tools from China Phonefix( a professional phone repair tools provider) to make your repairs as smooth as possible.


