For many, the iPhone has become an essential part of daily life. Yet over time, debris like dust and lint can accumulate in the speakers and charging port, potentially leading to audio issues, charging failures, or even hardware damage. Regular cleaning helps maintain performance and extends your device's lifespan. Here, Phonefix shares simple methods to clean your iPhone, making maintenance quick and hassle-free.

I. Preparation
To ensure a safe and effective cleaning process, you must properly prepare your iPhone beforehand. There are two key steps to follow:
1. Power off your iphone
To shut down your iPhone, press and hold the side power button until the "Slide to Power Off" prompt appears. This step prevents short circuits and protects internal components from damage during cleaning.
2. Prepare cleaning tools
Equipping the right tools is crucial for a successful cleaning process. Below is a list of recommended items:
• iPhone Charging Port Cleaning Kit: These kits usually include brushes and tools specifically designed for safely cleaning ports. Purchase a high-quality cleaning kit to ensure you have the right equipment to easily remove even the most stubborn dirt without damaging your device.

• Toothpick or plastic pry tool: These tools can carefully remove debris without scratching internal iPhone Components. Choose tools made of non-conductive materials to avoid accidental short circuits.
• Compressed air: A can of compressed air can effectively blow away loose particles without causing damage.
II. Cleaning Steps
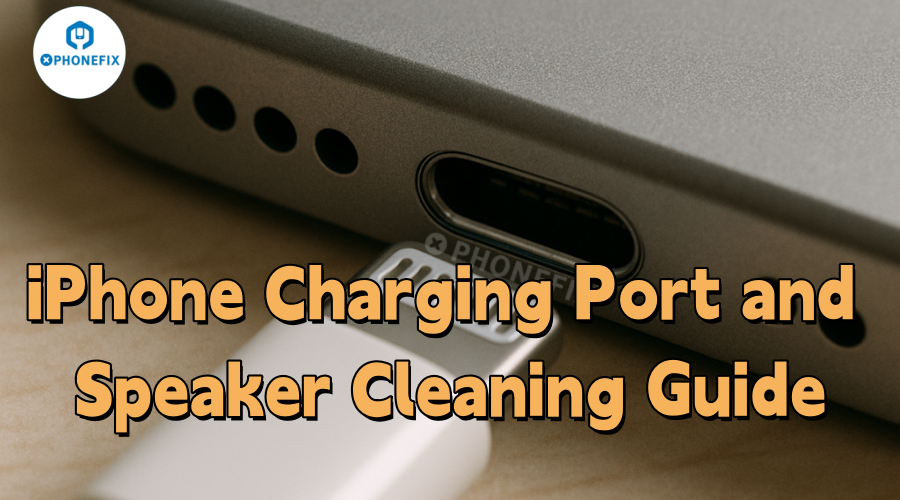
Unstable charging, loose plugs are often caused by dust accumulation in the charging port. Follow these steps to clean it and resolve most issues:
Step 1. Inspect the port: Use a flashlight to check the Lightning port for lint, dust, or small particles. Dust usually accumulates at the bottom or sides of the port.
Step 2. Wipe with a cotton swab: Gently insert a cotton swab into the bottom of the port and wipe along the inner wall. If lint or dust particles are wiped off, use a Cotton Swab Clean Sticks to remove them.
Step 3. Remove residues: Aim the nozzle of the compressed air at the port, keeping a distance of 3-5 centimeters, and spray in short diagonal bursts for 1-2 seconds.

Step 4. Test the charging function: Connect the iPhone Charging Cable and check if charging returns to normal. If it still doesn't charge, first try replacing the data cable to rule out issues with the cable itself. If the problem persists after replacing the cable, the pins inside the port may be loose or corroded.
III. Speaker Grill Cleaning Method
The iPhone's speakers are exposed to the outside for a long time and are prone to dust accumulation. Dust not only affects sound quality but also clogs the sound holes. Follow these steps to clean them:
1. Check for clogged grills: Use a phone flashlight or LED light to carefully inspect the main speaker at the bottom of the device and the earpiece area at the top. Pay special attention to the earpiece for oil stains, deposits, or dust particles.

2. Gently clean: Take a Phone Cleaning Brush and wipe back and forth along the direction of the speaker grill. It is recommended to use a dry brush; do not use any liquid cleaners. If you don't have a professional soft brush, you can also use an old soft-bristled toothbrush, but ensure it is clean and dry. For stubborn dirt, you can use compressed air to assist in cleaning.
3. Remove residues: When using compressed air, keep the nozzle at a 30° to 45° angle to the speaker opening; do not spray directly at the opening. Additionally, each spray should last no more than one second to prevent condensation from forming.
4. Test audio quality: Play a piece of music or a voice message to check if the sound is clear and the volume is normal.
IV. Precautions
When cleaning the iPhone's charging port and speakers, follow these key points to avoid device damage:
• Avoid sharp tools: Do not use sharp metal items such as needles, scissors, or paperclips to clean the port. Even minor scratches can damage the connector, leading to functional failures or costly repairs.

• Ensure the port is completely dry: After cleaning, wait until the port is completely dry before turning on the phone. Residual moisture inside the port may cause short circuits and damage to the circuit board.
• Do not force tools into the port: During cleaning, never force tools such as cotton swabs or Stick Spudgers into the port. Gentle operation is sufficient to remove debris; excessive force will damage the precision components inside the port.
Warning
Contact the professional repair service promptly if you encounter the following situations:
• Problems persist after cleaning: If the charging port still fails to charge normally after cleaning, or the speaker sound remains muffled with abnormal volume, there may be more serious hardware issues such as battery failure or internal circuit problems.
• Severe corrosion in the port: If you observe severe corrosion marks (such as green or white deposits) inside the charging port or speakers, do not continue cleaning. Corrosion may have affected internal components and requires professional tools and techniques for handling.

V. Conclusion
Regular cleaning of your iPhone's speakers and charging port is a simple yet effective way to maintain its performance and extend its service life. By following the steps and precautions in this guide, you can safely clean your device at home. Consistent, careful maintenance will keep your iPhone in optimal working condition for a longer period. If you are interested in phone repair information and professional phone repair tools, please continue to follow China Phonefix.


