
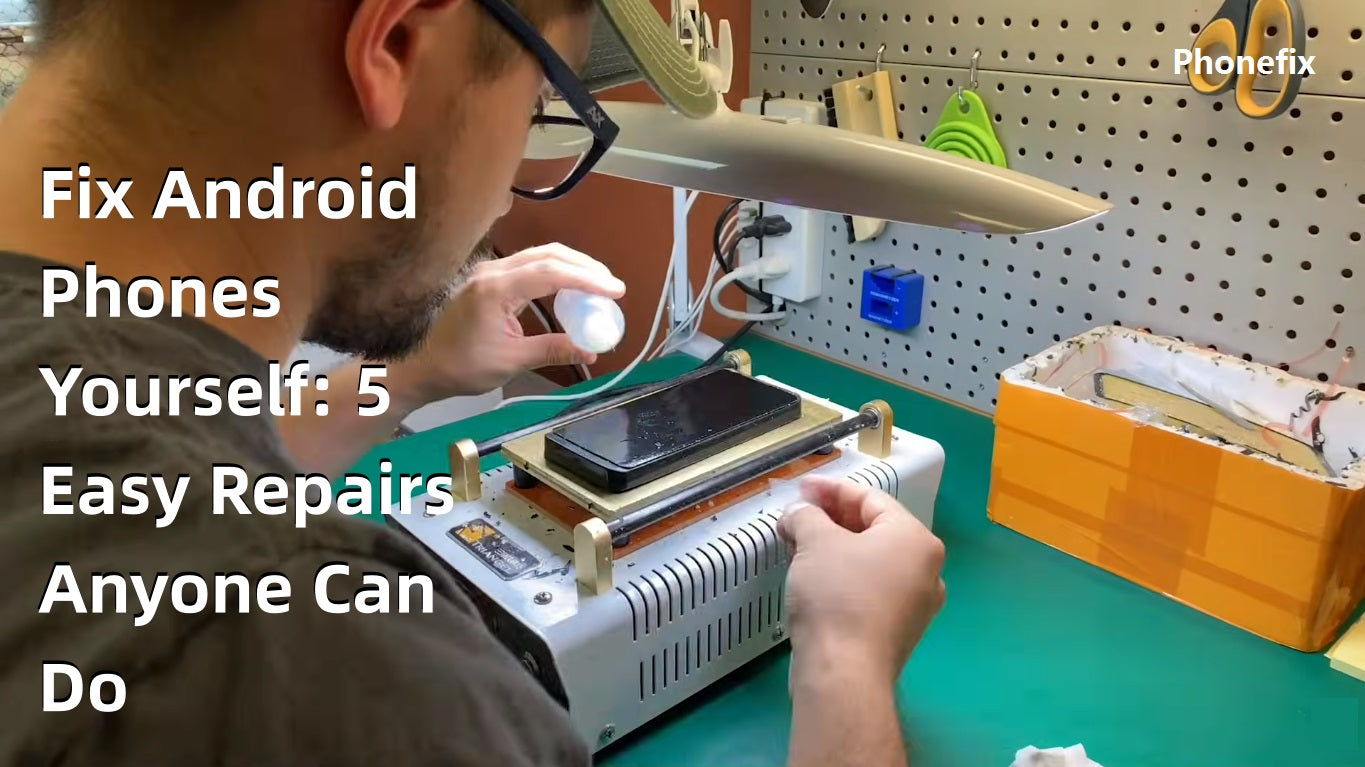
Smartphones break, slow down, and wear out over time. Many users rush to repair shops for problems that take minutes to fix at home. Basic phone repair does not require an engineering degree or expensive equipment. This guide covers five practical Android phone fixes, from battery swaps to software troubleshooting, with instructions for each task.

I. Replace a Dying Battery
A weakening battery shows clear symptoms. The phone dies at 20% charge. Charging takes forever but drains in hours. The back cover may even bulge outward. These signs mean the battery needs replacement.
1. What you need: Replacement battery (model-specific), Hot Air Gun, suction cup, plastic opening tools, isopropyl alcohol.
2. The process:
· Start by powering down the phone completely. Drain the battery to below 25% if possible—this reduces fire risk during removal. Apply heat to the back cover with a hot air gun on medium setting for about 60 seconds. Move the heat evenly across the surface. This softens the adhesive holding the cover in place.
· Attach a suction cup near the bottom edge. Pull gently until a small gap appears. Insert a plastic pick into the gap. Work the pick around the edges slowly. Apply a few drops of isopropyl alcohol along the seam to weaken stubborn glue. Reapply heat if the adhesive resists.
· Once the back cover lifts off, locate the battery connector. It sits near the battery itself, covered by a small metal bracket in many phones. Remove the bracket screws if present. Disconnect the battery cable carefully using a plastic tool—never metal, as metal can short the board.
· Pry the battery out using the suction cup or a plastic spudger. Some batteries have pull tabs. Follow the pull tab instructions if available. Insert the new battery, reconnect the cable, and replace the bracket. Press the back cover firmly to reseal the adhesive. Turn the phone on and test charging.
Important: Avoid sharp or metallic tools near the battery. Puncturing a lithium-ion battery causes dangerous chemical reactions and fire.
II. Clean a Clogged Charging Port
Charging issues often trace to a single culprit: pocket lint. The USB-C port stays open all day. Dust, fabric fibers, and debris accumulate inside. Each time you plug in the cable, you compress this material into a dense plug near the port's base. A dirty port produces intermittent charging, slow charging, or no connection at all. Bent or damaged pins require professional replacement, but compacted lint is a DIY fix.
1. What you need: Canned compressed air, wooden toothpick (not metal), bright light.
2. The cleaning method:
· Start with compressed air. Insert the nozzle into the port opening and give short bursts. The air pressure dislodges loose dust without physical contact, reducing the risk of pin damage.
· If compressed air fails, use a wooden toothpick. Gently scrape along the edges of the port. Do not poke the center pin—this damages the connector permanently. Work the toothpick around the inner walls, pulling debris outward. Tilt the phone to let particles fall out. Repeat until the port looks clean.
· Test the port with a cable that you know works. If charging goes back to normal, then the problem is fixed. If not, the port itself might be physically damaged, and you may need a technician to repair it.

III. Fix a Laggy or Slow Phone
Slow performance frustrates every Android user. Apps take seconds to open. Scrolling stutters. The phone freezes during simple tasks. Before blaming old hardware, check storage and background activity.
1. Step one: Free up storage space.
Android phones slow down when storage fills past 85%. The system needs free space for cache files and temporary data. Open Settings > Storage. Check the percentage used. Delete unused apps, old photos, and downloaded files. Clear app caches for high-use apps like Chrome, YouTube, and social media platforms.
2. Step two: Update the system.
Manufacturers release performance patches regularly. Open Settings > System > System Update. Install any pending updates. These updates often include optimizations that improve speed and battery life.
3. Step three: Limit background processes.
Many apps run in the background without user awareness. Each background process consumes CPU cycles and RAM. Go to Settings > Battery > Battery Optimization. Select high-usage apps and restrict their background activity. Disable "Allow background usage" for apps that do not need constant updating.
4. Step four: Reduce animations.
Developer options contain settings for animation scales. Enable Developer Options by tapping Build Number seven times in About Phone. Reduce Window Animation Scale, Transition Animation Scale, and Animator Duration Scale to 0.5x or off. This makes the interface feel noticeably faster.
If these software fixes do not fully restore speed, consider that internal dust may block ventilation and cause overheating. Removing the back cover to clean out the dust requires Plastic Opening Tools to gently separate the adhesive without scratching the frame.
IV. Use Safe Mode to Find Problem Apps
Some issues come from third-party apps. A recently downloaded game might crash the system. An unknown file could trigger constant errors. Safe mode disables all user-installed apps and runs only core system software. Booting into safe mode takes seconds. Press and hold the power button until the power menu appears. If the digital assistant activates instead, use the on-screen restart option or the volume key method. On the power menu, long-press the "Power off" icon. A prompt appears asking to reboot into safe mode. Tap OK. The phone restarts with "Safe mode" visible in the corner.
Testing in safe mode:
· Use the phone normally for several minutes. Open built-in apps like Phone, Messages, and Settings. If performance improves and crashes stop, a third-party app causes the problem.
· Exit safe mode by restarting the phone normally. Then uninstall recently added apps one by one. Test the phone after each removal. When the issue disappears, the last uninstalled app was the culprit.
· This method also works for phones that restart randomly or display persistent error messages.

V. Perform a Factory Reset
A factory reset erases all user data and returns the phone to its original software state. This fixes deep software corruption, boot loops, and persistent performance issues. It also prepares the device for sale or trade-in.
1. Before resetting: Back up everything. Photos, contacts, messages, and app data disappear permanently. Use Google Backup or a manual transfer to a computer.
2. For a working phone:
Open Settings. Search for "reset" or "factory reset" in the search bar. The exact path varies by manufacturer—Samsung places it under General Management, while Pixel devices put it under System > Reset Options. Select "Erase all data" or "Factory data reset." Confirm the action and enter the PIN or password. The phone wipes itself and restarts.
3. For a phone that won't boot:
· Turn the phone off. Press and hold Power + Volume Up simultaneously. Some Samsung models require a USB connection to a charger during this step. Release the buttons when the logo appears. The device enters Recovery Mode.
· Use the Volume buttons to navigate. Highlight "Wipe data/factory reset." Press the Power button to select. Confirm with "Yes." The reset runs automatically. After completion, select "Reboot system now".
· The phone restarts as a clean device. Set it up fresh or restore from backup.
These five repairs cover the most common Android phone problems. Attempting repairs at home saves money and builds confidence. Start with the easiest fix, and work up to more involved tasks. Watch model-specific video guides before attempting battery replacement. Gather proper Phone Repair Tools beforehand to avoid improvisation with household items that might cause damage. Most repairs fail not from lack of skill but from using wrong tools or skipping preparation steps. Follow each guide carefully, and the phone will likely return to full function without a visit to the repair shop.


