Tools Required
- JC V1S Pro
- Rear Camera Repair Adaptor
- JC Tag-On Rear Camera Repair Flex Cable
Watch the Operation Tutorial
Step-by-Step Instructions
Step 1: Preparation and Connection
- Ensure that the JC V1S Pro programmer is adequately powered before proceeding.
- Adjust the automatic shutdown time settings on the JC V1S Pro to an appropriate duration.
- Keep the JC V1S Pro connected to the internet throughout the process.
- Connect your iPhone to the JC V1S Pro using a USB cable and establish a stable connection.
Step 2: Working with an Original Camera Whose Data Can Be Read
- Attach the removed original iPhone 14 Pro Max rear camera to the corresponding port of the rear camera repair adaptor on the JC V1S Pro.
- Click on "Detect&Read" to initiate the camera data reading process. If successful, the message "Camera data read success" will be displayed.
- Click on "Cloud Unbind" to back up the data. You will see a confirmation message stating "Data backup succeeded."

- Safely remove the iPhone 14 Pro Max original camera from the adaptor.
Step 3: Installing the Repair Flex Cable
Follow the video to correctly install the JC Tag-On Rear Camera Repair Flex Cable.
Step 4: Cloud Data Burning
- Attach the iPhone 14 Pro Max camera with the JC Tag-On Rear Camera Repair Flex Cable to the corresponding port of the rear camera repair adaptor on the JC V1S Pro.
- Click on "Detect&Read" to identify the FPC (Flex Printed Circuit) information.
- Click on "Cloud Burn" to initiate the data burning process. By default, the cloud data will be named based on the timestamp. Select the data to be written and click "Select."
- Click "OK" to start writing the selected data. Once completed, a "Write success" message will be displayed.

- Remove the camera from the adaptor and install it back into the iPhone for further testing.
Step 5: Working with an Original Camera Whose Data Can't Be Read
If you are unable to read the data from the iPhone 14 Pro Max original camera, you can initiate the unbinding process by scanning a QR code.- Click on "Scan Bind" and use another mobile phone to scan the QR code generated by the JC V1S Pro.
- On the unbinding page, click "Start" and scan the QR code located on the back of the original camera.
- Once the unbinding process is complete, a message stating "Unbind successfully, data has been backed up to the cloud" will be displayed.
- Obtain a new camera and install the JC Tag-On Rear Camera Repair Flex Cable to proceed with the data burning process.

This method eliminates the need for soldering and ensures a successful camera replacement without any software issues. Remember to exercise caution and ensure a stable connection throughout the process.
Conclusion
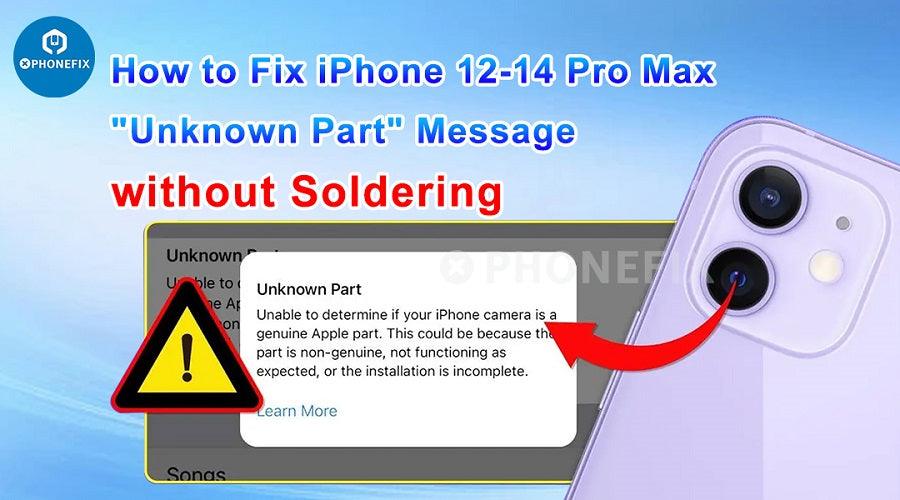
By following these iPhone 14 Pro Max step-by-step repair instructions using the JC V1S Pro programmer and the necessary repair adaptors and flex cables, you can resolve the "Unknown Part" error that may occur after replacing the rear camera on all model from iPhone 12 to iPhone 14 Pro Max.Additional Solutions
In addition to the method described above, there are alternative solutions available to tackle the "Unknown Part" error on iPhone models ranging from iPhone 12 to iPhone 14 Pro Max. These solutions involve utilizing different camera repair cables, such as:- 1. i2C i6S Built-in Rear Camera Repair Cables Solution (Soldering Model)

- 2. i2C i6S Tag-on Rear Camera Repair Cables Solution (No Soldering)
 3. JC Built-in Rear Camera Repair Cables Solution (Soldering Model)
  4. JC Tag-on Rear Camera Repair Cables Solution (No Soldering)
Also Read:
How to Remove iPhone 12 Important Camera Messages Unknown Part Alert


