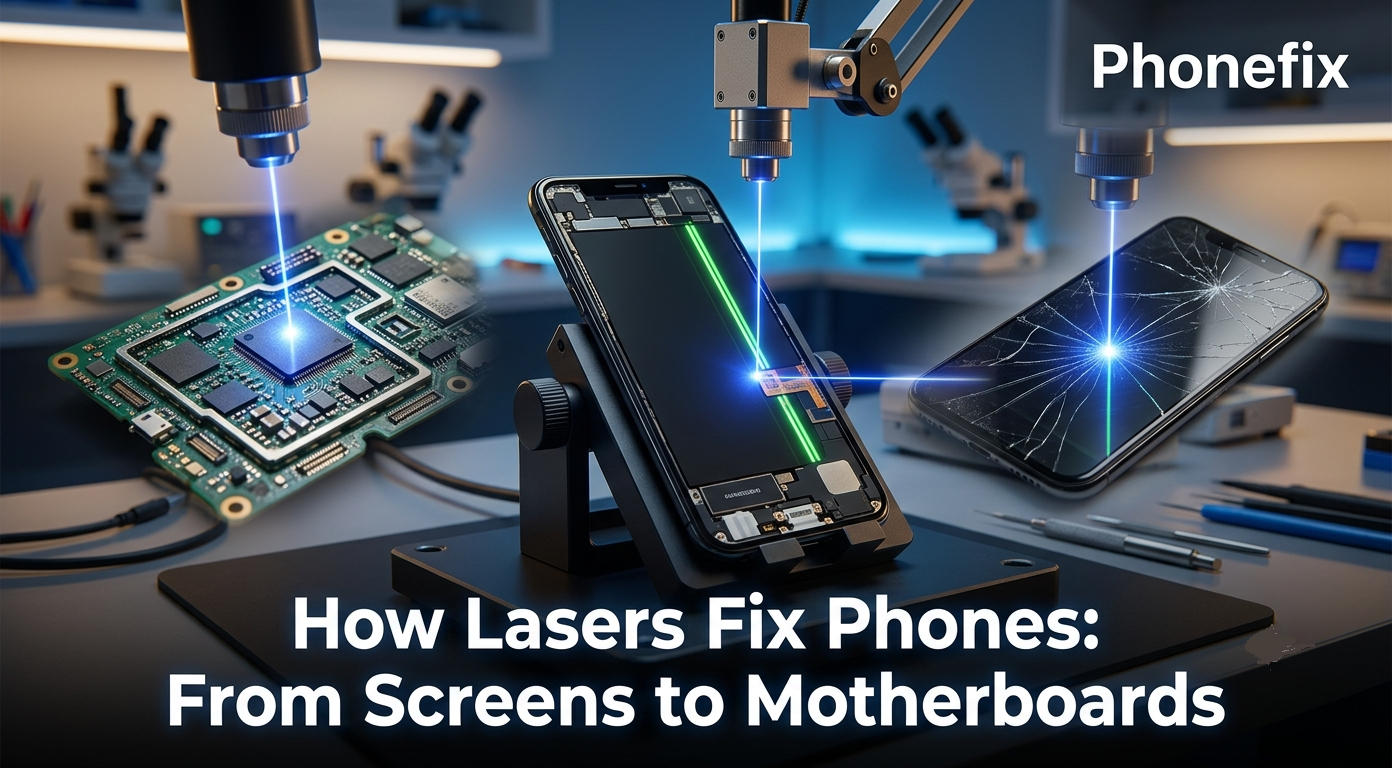
Laser technology has moved beyond industrial manufacturing into practical phone repair. Unlike traditional methods that rely on hot air guns, scrapers, or soldering irons, laser Machines offer a level of precision that manual work cannot match. This guide covers what laser equipment does in phone repair, its specific applications, step-by-step operational workflows, safety rules, and answers to common questions.

I. What Are Laser Machines and Why Do They Matter?
Laser repair tools use highly focused light beams to cut, weld, remove, or modify materials at a microscopic level. The beam delivers thermal energy exactly where it is needed without physically touching the surrounding areas.
Key Advantages of Laser Machines:
· Non-contact operation: The tool never physically touches the component. This completely eliminates the mechanical stress, scratching, or cracking often caused by scrapers and pry tools.
· Minimal heat spread: Laser energy concentrates on a microscopic spot. Heat does not travel to nearby sections, keeping sensitive components like flex cables, batteries, and IC chips perfectly safe.
· Microscopic precision: Laser spots can be adjusted as small as 3–10 micrometers, allowing technicians to work on circuits and connectors that are invisible to the naked eye.
· Blazing speed: A standard laser separation job takes just 2 to 8 minutes, compared to 15–30 minutes of tedious manual heating and scraping.
· Cleaner process: No adhesives, harsh solvents, or chemical cleaners are required. The laser cleanly vaporizes residue without leaving a sticky mess behind.
· Drastic cost reduction: Refurbishing a screen via laser repair can cost 60–80% less than a full display module replacement.
II. Applications and Advantages Over Traditional Methods
Laser equipment addresses multiple complex repair scenarios. The table below outlines these common problems and compares laser solutions with traditional approaches.
Key Applications:
· Back glass removal: Cracked glass backs secured by tough factory adhesive are easily separated. Laser machines scan the back cover using a pre-programmed template, melting the adhesive layer for clean removal in 4–8 minutes while safely bypassing the wireless charging coil.
· OLED screen green line repair: Green lines appear when driver circuits crack or oxidize. Laser repair uses precise energy pulses to re-melt broken metal traces or isolate short circuits in under 30 minutes.
· LCD screen trace repair: When screen circuitry breaks or shorts, laser tools cut the shorted section or reconnect broken traces at the micrometer level—on lines thinner than a human hair.
· Component soldering and desoldering: Laser soldering stations offer a highly targeted alternative to traditional irons for micro-soldering. They can remove and reinstall CPUs, baseband chips, and other ICs without heating the entire logic board.
· Metal frame welding: Phone frames made of aluminum or stainless steel can be structurally repaired using pinpoint laser welding that prevents thin metal warping.
· Adhesive and residue cleaning: Laser cleaning vaporizes leftover glue residue on the phone frame instantly without scratching the metal or plastic.
· Precision cutting: Laser cutting works flawlessly on flexible printed circuits (FPCs), camera lens covers, and home button sapphire glass, leaving clean edges with zero fraying.
| Aspect | Traditional Method | Laser |
| Heat Exposure | Hot Air Guns warm large areas, risking battery explosion or display degradation. | Heat is strictly confined to the target spot. |
| Physical Contact | Scrapers and pry tools risk scratching housing or cracking internal layers. | Zero contact, eliminating mechanical damage entirely. |
| Time Efficiency | Takes 15–30 tedious minutes for back glass removal. | Takes only 2–8 minutes automated. |
| Rework Rate | High – manual slips often require starting over or replacing parts. | Low – highly consistent, repeatable digital results. |
| Precision | Limited by human hand stability and eyesight. | Micrometer-level accuracy guided by cameras. |
| Cost Efficiency | Full screen replacement costs 40–60% of the phone's total value. | Laser trace repair costs 60–80% less than a new screen. |

III. Step-by-Step Guide for Practical Laser Repair
While workflows vary slightly by machine model, standard operations follow these consistent, practical steps:
1. For Back Glass Removal
· Clean the surface: Wipe the back glass with isopropyl alcohol to remove external dirt, grease, or fingerprints.
· Secure the device: Place the phone onto the worktable and clamp it into the alignment fixture.
· Select the template: Navigate the machine’s software interface: Phone Brand → Model → Back Glass Removal. The machine loads the exact vector layout for that specific phone.
· Auto-focus: Engage the auto-focus sensor so the machine automatically adjusts the laser head height for optimal focal distance.
· Preview the path: Turn on the red-light pointer preview to visually confirm that the laser path correctly avoids the cameras, buttons, and wireless charging coil.
· Execute: Press start. The laser will scan and dissolve the adhesive within 4–8 minutes.
· Separate and clean: Lift the broken glass off gently using a suction cup or light pry tool, then use a soft brush or compressed air to clear out the vaporized residue.
2. For Component Soldering/Desoldering
· Mount the board: Clamp the logic board securely onto the preheating or positioning stage beneath the laser head.
· Align the optics: Use the digital microscope alignment system to target the exact solder pads of the IC chip.
· Set thermal profiles: Input the target temperature. Advanced machines use closed-loop thermal imaging to keep solder joint temperatures stable within ±5°C.
· Apply laser reflow: Activate the laser to liquefy the solder. Use a vacuum pickup tool to lift the component for desoldering, or release the beam to reflow a newly placed chip.
· Inspect: Check the solder joint formation and alignment under high magnification.
IV. Safety Precautions
Laser repair machines are incredibly safe when operated correctly, but negligence can result in severe personal injury or permanent hardware damage.
· Always use fume extraction: Laser vaporization produces toxic smoke, plastics micro-particles, and chemical fumes. Never operate the machine without turning on a built-in exhaust or an external HEPA smoke absorber.
· Wear laser safety glasses: Always wear wavelength-specific safety eyewear to protect your eyes from invisible or reflected laser beams. Scattered laser light can cause permanent retinal damage.
· Keep the optical lens pristine: Dust, smoke, or debris on the laser lens degrades beam quality and can cause the optics to overheat and crack. Wipe the lens with specialized lens paper after every few sessions.
· Never bypass safety interlocks: Keep the protective housing door closed during operation. Do not tamper with the automatic interlock switches that cut power when the door is opened.
· Clear the workspace of flammables: Keep isopropyl alcohol, cleaning cloths, paper templates, and chemical solvents far away from the active laser path to prevent accidental ignition.
· Double-check the preview path: Always run a red-light preview before firing the laser to guarantee it will not strike the lithium battery, camera sensors, or delicate flex cables.
V. Frequently Asked Questions
Q1: Does laser back glass removal damage internal components?
A: No. When using the correct template and focus settings, the laser energy is absorbed almost entirely by the pigment and adhesive layers beneath the glass. It does not penetrate deeply enough to damage the wireless charging coil, battery, or logic board.
Q2: Which type of laser machine should a repair shop buy?
A: It depends on your primary workflow:
· For Back Glass & Housing Work: UV Laser Machines (355nm) or specialized Fiber lasers are ideal for clean surface ablation and adhesive removal.
· For Screen Refurbishing: Specialized panel repair systems featuring dual 532nm and 1064nm wavelengths.
· For Micro-soldering: An Infrared (IR) laser soldering station equipped with thermal camera monitoring.
Q3: How long does it take to learn laser repair?
A: Basic operations like back glass removal can be mastered in 1–2 days of practice. Advanced micro-soldering or OLED trace repairs require a deeper understanding of electronics and typically take 1–2 weeks of hands-on, guided training.
Q4: Is a laser machine cost-effective for a small shop?
A: Yes. If a shop averages 5 or more back glass replacements or screen refurbishments per week, the machine typically pays for itself within a few months due to drastically reduced component costs and faster turnaround times.
Q5: Can laser machines repair all phone models?
A: Most modern laser systems support iPhone 8 through 17 series, alongside a vast library of flagship Android devices (Samsung, Google, Xiaomi, etc.). Always ensure your machine vendor provides regular software and drawing library updates.

Laser equipment has fundamentally shifted the paradigm of phone repair, transforming high-risk manual tasks into fast, precise, and highly repeatable workflows. Whether it is removing a shattered back glass in minutes or saving a premium OLED screen from the trash pile, lasers achieve what traditional hot air guns and soldering irons simply cannot. By choosing the right Phone Repair Tools for your shop’s needs and maintaining strict adherence to safety protocols, incorporating laser tools is an excellent way to scale up your technical offerings and profitability.