The Apple Watch is not just a tool for viewing the time; it is a smart assistant for health monitoring and convenient daily living. However, as usage time increases, even a well-designed Apple Watch will inevitably encounter hardware failures. Do not worry; PHONEFIX will deeply explore common Apple Watch hardware failure types, diagnostic methods, and necessary repair tools to help you better manage and maintain your device.

I. Diagnosis and Root Cause Analysis: Hardware Failures
Before performing any hardware disassembly or repair, it is essential to identify the root cause of the problem. Often, what appears to be severe "damage" is actually caused by minor hardware contact issues or aging.
1. Physical Screen Damage
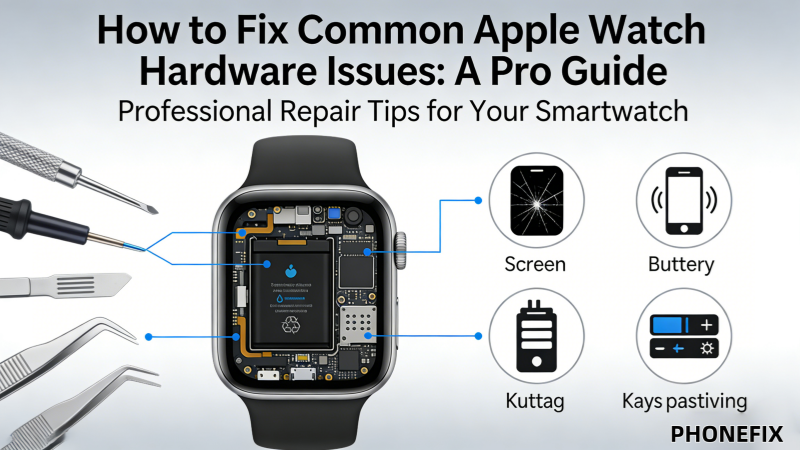
A cracked screen is the most intuitive hardware injury for an Apple Watch. In addition to obvious broken glass, if the screen displays lines, the touch function fails, or the screen turns black and cannot display even after a forced restart, it usually means the display assembly or touch digitizer has been damaged. This is often caused by impact from drops or squeezing.
2. Battery Aging and Abnormal Battery Life
The battery is the heart of the Apple Watch, and its chemical lifespan is limited. If the watch shows the following signs: rapid battery drain, erratic battery level display, or physical swelling of the device, it means the battery has aged or been damaged and needs to be replaced.
3. Digital Crown and Side Button Malfunction
The Digital Crown is the core interactive component of the Apple Watch. If the crown does not rotate smoothly, fails to provide haptic feedback when pressed, or if the side button loses its tactile feel, it is often due to the accumulation of dust, debris, or general wear and tear within the internal mechanical structure. You can try cleaning it with a Soft Bristled Brush.
4. Charging Port or Induction Issues
If the Apple Watch cannot be charged normally, you should first rule out a faulty magnetic charging cable. If it is still ineffective after replacing the cable, the charging induction module on the back of the watch may be dirty or damaged. Long-term liquid corrosion or sweat erosion is a common cause of such hardware failures.

II. Repair Preparation and Professional Tool List
Apple Watch internals feature high-density integration exceeding standard mobile devices. Use specialized precision tools to prevent irreversible damage during repairs. Recommended equipment includes.
1. Cleaning and bonding tools:
· Isopropyl alcohol: Used to clean residual old glue and signs of corrosion inside.
· Specialized adhesives: After the repair is completed, high-quality screen sealant must be used to reseal the device to maintain its dust and water resistance as much as possible.
2. Precision disassembly auxiliary tools:
· Screen opening tool: Used to safely pry open the screen assembly, avoiding damage to the ribbon cables.
· Spudger: Used to disconnect tiny ribbon cable connections; the insulating material prevents short circuits.
· Precision tweezers: Used for precise manipulation of extremely fine internal screws and ribbon cables.
3. Fixing tools:
· Screen fixing clamp: Ensures the screen fits tightly with the casing when re-bonding the screen.
III. Overview of Repair Steps and Precautions
1. Disassembly steps
Step 1. Heating and softening: Use a YCS Heating Pad or a heat gun to moderately heat the edges of the screen to soften the internal sealant.
Step 2. Prying up the screen: Use a screen opening tool to carefully insert into the edge of the screen and pry it open slowly. Note that the movement must be gentle to prevent cutting the screen ribbon cable underneath.
Step 3. Disconnecting the ribbon cable: After entering the interior, use tweezers to precisely pry open the metal cover plate and remove the ribbon cable; only then can the screen be completely separated.

2. Battery replacement steps
Step 1. Removing the screen: As mentioned above, first separate the screen assembly from the main body.
Step 2. Cleaning the interior: Remove the adhesive covering the battery and use a plastic spudger to steadily pry up the old battery from the bottom.
Step 3. Installing the new battery: Place the new battery into the slot, ensure the ribbon cable is aligned, and use special double-sided tape to secure it.
3. Follow-up maintenance
After all hardware replacements are completed, ensure that all connectors are returned to their original positions. Finally, use sealant to reseal the device, and use a screen fixing clamp to let it sit for at least 1-2 hours to ensure the device returns to a solid structure.
Conclusion
The core of maintaining an Apple Watch lies in prevention and scientific judgment. During daily use, pay attention to keeping the watch body clean, avoid dropping it from heights, and regularly check the battery health. When complex hardware problems occur, professional and precise repair is the key to extending the service life of the device. For more repair guides regarding the Apple Watch, please continue to follow China Phonefix.


