One of the most well-liked smart devices available is the Samsung Galaxy Z Fold 4, a high-end foldable phone with a distinctive folding form and advanced construction. However, this phone is also prone to screen damage because to its intricate folding screen structure and fragile internal parts. Phonefix will explain how to fix a cracked screen on your Samsung Galaxy Z Fold 4 in this post, along with DIY versus professional repair alternatives, repair procedures, and safety tips to help you choose the best course of action.

I. Professional Repair Options
When considering repairing a cracked screen, professional repair is usually the safest and most effective option. Here are some common professional repair options:
1. Samsung Official Repair Service
Samsung offers comprehensive after-sales service for its products, including screen repair. You can choose to access Samsung's official repair service through the following methods:
· On-site repair
· Parts pickup repair
· In-store repair
2. Authorized Service Centers
Samsung authorized service centers are usually staffed by professional certified technicians who provide repair services using genuine Samsung parts. They generally offer faster repair cycles, sometimes even repairing the phone on the same day.
3. Independent Repair Shops
If you don't want to use an official Samsung repair center, you can choose an experienced independent repair shop. While independent repair shops may be cheaper than official ones, the repair quality and parts guarantees may differ, so it's important to choose a reputable shop.
II. DIY Repair
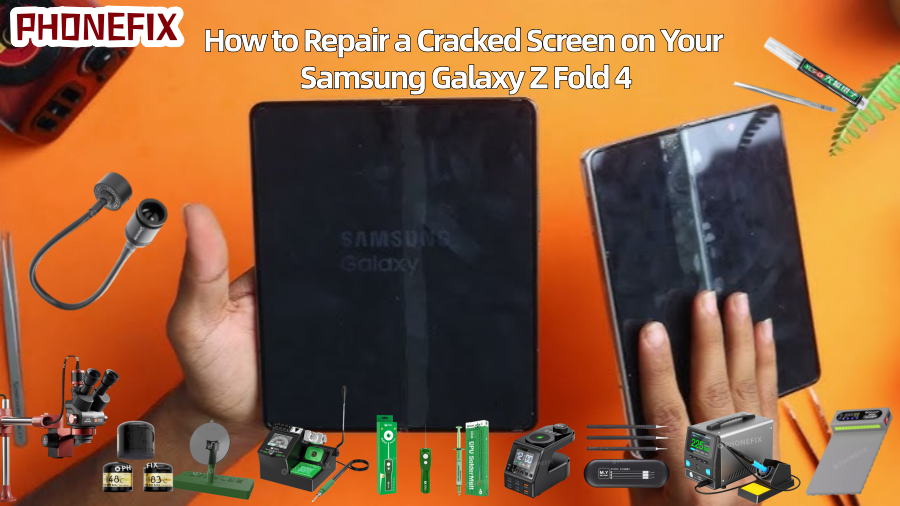
Required Tools and Materials
Before starting the repair, you will need the following tools and materials:
· Heating pad (temperature set to 80°C)
· Isopropyl alcohol
· Plastic pry bar
· Anti-static tweezers
· Phillips screwdriver
· New screen assembly
· Waterproof adhesive
· Suction cup tool (optional, for removing the screen)
· Anti-static gloves (optional, to help prevent static electricity from damaging internal phone components)
Tips: These tools and materials will help you complete the repair safely and efficiently, avoiding secondary damage to the phone.
1. Turn off the phone and prepare to heat
a. Turn off the phone
First, ensure the phone is completely turned off. Before performing any disassembly operations, always turn off the phone and disconnect the battery to prevent short circuits or battery malfunction. This helps protect you and your phone.
b. Heating the Screen
Since the Samsung Galaxy Z Fold 4 screen is typically held together with adhesive, heating the screen edges helps soften the glue, making disassembly easier. You can use a heating pad or hot air gun, ensuring the heating area is concentrated on the screen edges, especially the back area. Set the temperature to 80°C to avoid overheating and damaging internal components.
Heating Process:
· Place the heating pad on the back of the phone, ensuring a stable temperature.
· Wait approximately 3-5 minutes to allow the glue around the screen to soften sufficiently.
· If using a hot air gun, adjust the heat to 80°C, maintain a distance of approximately 10-15 cm, and move the hot air gun every 20 seconds or so to avoid localized overheating.

2. Prying Open the Screen
After heating, the glue around the screen will have softened, and you can now begin prying it open. During this process, handle with care to avoid damaging the screen with excessive force.
a. Using a suction cup tool
If you have a suction cup tool, gently hold it against the edge of the screen. The suction cup provides enough pull to help you easily open the screen and avoids scratching the screen surface.
b. Using a plastic pry bar
If you don't have a suction cup tool, a plastic pry bar is a good alternative. Gently insert the pry bar into the edge of the screen. Avoid using metal tools, as they may scratch the screen or damage other sensitive components. Start by gently prying open a corner or the edge of the screen, slowly peeling away the adhesive around the screen.
Note: When prying open the screen, be careful not to use excessive force to avoid damaging the screen's ribbon cable connections. There may be some residual adhesive on the screen at this point; be careful when gently pulling it open to ensure you don't tear the screen or other internal connecting components.
3. Disconnect and remove the damaged screen
a. Disconnect the ribbon cable connection
Once you have successfully pried open the screen, the first thing to do is disconnect the flexible ribbon cable connecting the screen and the motherboard. The flex cable is usually connected to the motherboard via a connector. Disassembly requires extra care to avoid damaging the cable. Gently disconnect the connector using tweezers.
b. Remove the old screen
Once the screen's flex cable is disconnected, you can easily remove the damaged screen from the phone. Check the screen for any residual glue or debris; if present, clean it with isopropyl alcohol. Carefully clean any glue residue from the screen and the back of the phone to ensure a firm bond when installing the new screen.
4. Install the new screen
a. Prepare the new screen
Ensure that the new screen assembly you purchased is compatible with the Samsung Galaxy Z Fold 4 and is a genuine accessory. Gently place the new screen assembly in the position of the old screen and connect the new screen flex cable to the connector on the motherboard.
b. Connect the flex cable
Use 3D tweezers to connect the new screen flex cable to the motherboard. Be very careful when connecting, ensuring the connector and plug of the flex cable are fully aligned. Incomplete connection may result in abnormal display or the screen not turning on properly.
c. Testing the New Screen
Before fully installing the new screen, it is recommended to test its display using a screen tester. Turn on the phone and check if the screen displays normally and if the touch is responsive. If the display is normal and the touch function is good, you can proceed to the next step. If there are problems, you may need to reinstall or check the flex cable connection.

5. Sealing the New Screen
a. Applying Glue
After confirming that the new screen displays normally, use an appropriate amount of glue to bond the screen to the phone body. It is recommended to use B7000 glue or special mobile phone adhesive strips. Avoid using ordinary glue, as its adhesion may not be strong enough and it is not suitable for sealing electronic products.
Note: Apply the glue evenly to the edges and all around the screen, then carefully press the screen into place. Ensure that the glue does not leak and that the new screen is firmly bonded to the phone body.
b. Securing the New Screen
After applying the glue, gently press the screen and use clamps or a weight to lightly press the screen down to ensure a firm bond. The curing time is typically 20-30 minutes, but can be extended if the adhesive requires longer curing. This process is crucial to ensure a completely stable bond between the new screen and the phone body, preventing the screen from loosening later.
6. Testing and Completion
After sealing the screen, restart the phone and perform a final test. Check that all functions are working properly, including the touchscreen, display, and other interactive features. Once you confirm that both the screen and the phone are functioning correctly, you have successfully completed the screen replacement.
Given its foldable form, fixing a damaged screen on a Samsung Galaxy Z Fold 4 requires careful handling. Although do-it-yourself repairs can save money, incorrect handling can result in more damage due to the intricacy of the disassembly and reassembly procedure. If you choose to fix it yourself, you are free to buy your own equipment from China Phonefix, which provides premium tools and accessories to guarantee a safer and more efficient repair procedure.


