Apple introduced an official self‑diagnostic service for iPhones running iOS 17 or later in September 2023. This feature, known as "Diagnostics & Repair," enables users to run hardware and software tests without visiting a service centre. This guide explains what the self‑diagnosis mode is, how to access it, which components it checks, and how to interpret the results for informed repair decisions.

I. Who benefits from this feature?
Ordinary users can quickly check whether an issue is hardware‑ or software‑related before seeking paid repairs. Buyers and sellers of used iPhones can verify device condition during a transaction. DIY enthusiasts can pinpoint faulty parts accurately, and repair technicians can generate official‑looking reports to build customer confidence.
II. How to enter the self‑diagnosis mode?
Entering this diagnostic environment requires two distinct stages: a local hardware activation and a remote web‑based pairing.
· The first stage begins with the iPhone powered off. The user presses and holds both volume buttons (Up and Down) simultaneously, and while keeping them held, plugs the charger into the device—an 18W or higher Power Adapter or a powered computer works best. As soon as the Apple logo appears, the buttons are released. The iPhone then loads the Diagnostics & Repair screen, where the user taps "Start Session" and joins a Wi‑Fi network, followed by accepting the terms of service.
· The second stage shifts to another device—a smartphone, tablet, or computer—that has a web browser. On that device, the user navigates to Apple's dedicated self‑diagnostic portal at getsupport.apple.com/self-service-diagnostics and enters the iPhone's serial number. This serial number is visible on the iPhone's own diagnostic screen by tapping the small "i" icon in the lower‑right corner. Once the serial number is submitted, Apple's servers link the two devices, and a full menu of available tests appears on the secondary device, ready for selection.
III. What components can be tested?
The diagnostic suite covers six major areas.
· Audio Output: speakers, microphones, and earpiece quality.
· Display: touch sensitivity, dead pixels, colour accuracy, and brightness uniformity.
· Camera: front and rear cameras, autofocus, exposure, flash, and Face ID functionality.
· Battery: health percentage, charging and discharging performance.
· Connectivity: Wi‑Fi, Bluetooth, and GPS signal integrity.
· Sensors: ambient light sensor, proximity sensor, gyroscope, accelerometer, and Face ID hardware.

IV. Testing Process and Post‑Diagnosis Guidance
Once users enter the self‑diagnosis mode, the entire workflow from test selection to exiting the environment is straightforward. The following points outline what to expect during and after the tests, along with key practical considerations.
1. Running the tests – Users select specific tests from the available list and follow the on‑screen prompts. Some tests may require physical actions, such as removing a protective case or tapping the screen in specific patterns.
2. Receiving the diagnostic report – After all selected tests finish, the system generates a detailed report listing every detected issue. This report serves as a reliable reference for troubleshooting or for presenting to a repair provider.
3. Exiting the diagnostic mode – To leave the diagnostic environment, press and hold the side button until the power‑off slider appears. Tap "Exit" twice in succession, and the iPhone automatically restarts back to normal operation.
4. Practical scenarios for using this tool – This feature proves valuable in three common situations:
· Second‑hand transactions – both parties can run a full check on the spot to avoid disputes.
· Unexpected glitches – users can run targeted tests to decide whether to restore the system or seek hardware repair.
· Post‑repair verification – running the same tests again provides objective proof that the issue has been resolved.
5. Important notes to keep in mind
· The self‑diagnosis feature requires iOS 17 or newer.
· A stable Wi‑Fi connection is necessary during the session.
· Some tests require removing protective cases or performing specific gestures.
· Diagnostic results are advisory only and do not replace an official Apple service inspection. However, they give users a clear picture of the device's health.
V. DIY Toolkit for iPhone Repairs
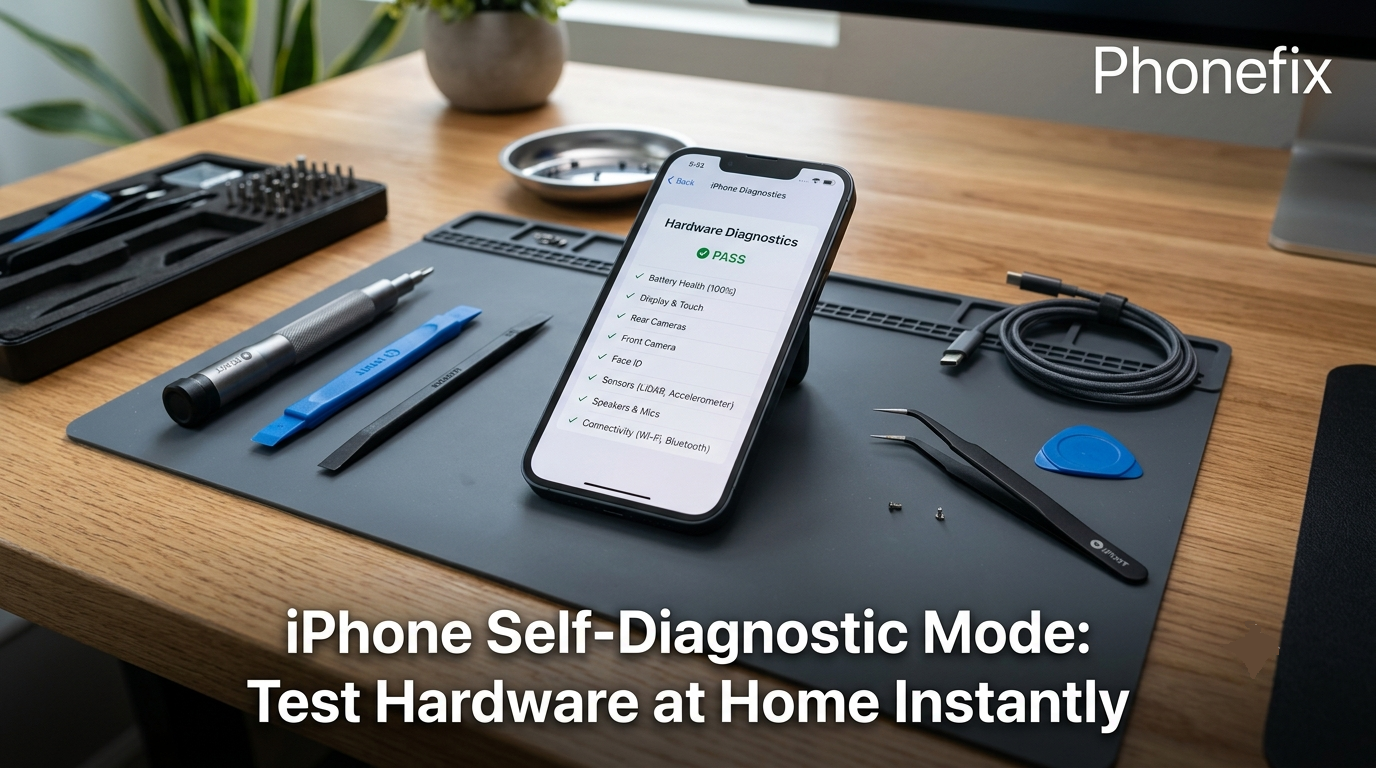
Once the diagnostic report identifies a hardware issue—such as a failing battery, an unresponsive screen, or a faulty camera—the next step is fixing it. Having the right, high‑quality tools is essential to avoid damaging sensitive internal components.
· Precision Screwdriver Set: iPhone repairs require specialized bits (such as Pentalobe, Tri‑point, and Phillips) to safely remove Apple's proprietary security screws.
· Screen Opening & Pry Tools: Ultra‑thin opening picks, plastic spudgers, and a heavy‑duty suction cup are crucial for safely lifting the screen and disconnecting fragile ribbon cables without tearing them.
· Anti‑Static ESD Tweezers: Essential for handling tiny internal screws and gripping small connectors safely without causing static damage to the motherboard.
· Precision Heating Mat or Hot Air Gun: Softens the strong adhesive sealing the iPhone's display and battery, making them significantly easier and safer to remove.

This mode puts diagnostic power directly into the hands of iPhone owners. It saves time, reduces uncertainty, and helps users make smarter maintenance choices. To act on the findings, having reliable mobile Phone Repair Tools and quality replacement parts ensures that any identified fault can be addressed promptly and effectively.