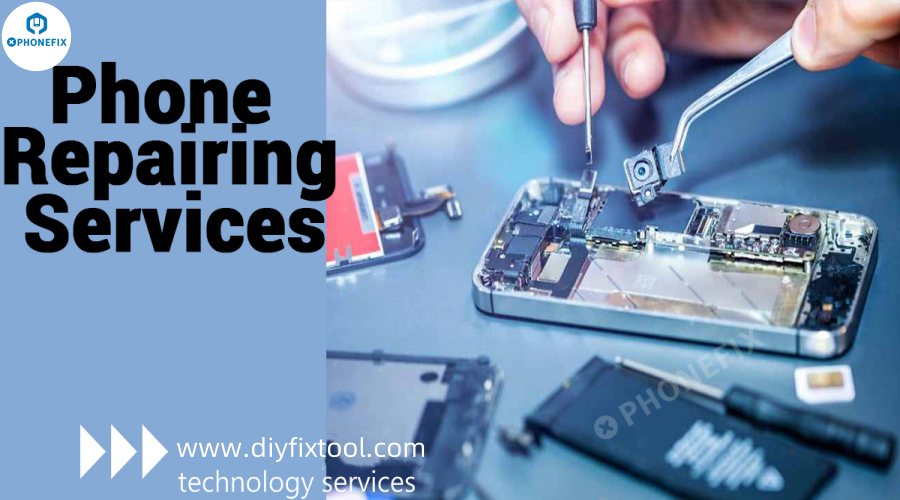
Is your phone having problems? Is your screen cracked and you're upset? Is your battery draining too quickly? Don't panic, a mobile phone repair service is here to save your device. Phonefix takes a closer look at the most popular fixes that can make your phone feel like new again, including how they work and what tools you'll need to fix it.
Repair Types and How They’re Done
Phone screen replacementMobile phone screen repair primarily involves disassembling the device, replacing the screen component, and conducting functional tests. The process includes powering off the phone, heating and removing the old screen, disconnecting cables, installing a new screen, and testing touch and display functions to ensure normal operation. This procedure requires careful handling to avoid damaging internal components and is suitable for users with some technical skills or professional tools. Repair StepsFirst, completely power off the phone and remove the SIM card tray. Prepare necessary tools, including a suction cup, plastic pry tool, screwdriver, heat gun, or heating pad. Use the heating pad to evenly heat the screen edges for about 3-5 minutes to soften the adhesive, making it easier to proceed.
After heating, attach the suction cup to the bottom edge of the screen, gently pull to create a gap, and carefully slide the pry tool along the screen’s edges to gradually separate the screen from the frame. Exercise patience during this step to avoid excessive force, which could scratch the housing or damage internal components. Once the screen is lifted, use a screwdriver to remove the metal cover securing the flex cables, then carefully disconnect the display and touch cables to fully remove the old screen.
Next, connect the new screen’s flex cables to the motherboard. Before securing the screen, power on the phone to test the display, touch sensitivity, and fingerprint recognition (if applicable) to ensure proper functionality. If everything works correctly, power off the phone. Clean any residual adhesive from the frame, apply specialized screen adhesive or double-sided tape, and align the new screen with the frame, pressing gently along the edges to secure it. Allow the adhesive to set. Finally, reassemble the metal cover, screws, SIM card tray, and other components. Power on the phone again, perform a comprehensive functional test, and confirm successful repair.
Phone Battery Replacement
Phone battery replacement involves removing the old, degraded battery and installing a new one, along with functional tests. The process requires careful handling to prevent damage to internal components and needs basic technical skills and specific tools.
First, power off the phone and remove the SIM card tray. Prepare tools such as a screwdriver, plastic pry tools, suction cup, and heat gun. Use the heat gun to gently heat the back cover (80-100°C for 3-5 minutes) to soften the adhesive, then remove the back cover using the suction cup and pry tools.
Next, disconnect the old battery’s cable from the motherboard to avoid short circuits, then remove any screws or brackets securing the battery. Carefully take out the old battery, ensuring no puncturing or bending. Place the new battery in position, secure it with screws or brackets, and reconnect the cable to the motherboard.
Finally, reassemble the back cover, reinsert the SIM card tray, and power on the phone. Test charging functionality and battery performance to confirm the replacement is successful.
Back Cover Replacement
Replacing the back cover of a phone involves removing the damaged cover, installing a new one, and performing functionality tests. Throughout this process, it's important to handle the device carefully to avoid damaging internal components or external parts. This repair requires a certain level of skill and specialized tools, making it suitable for users with technical expertise or those comfortable with phone repairs.

Repair Steps
First, power off the phone and remove the SIM card tray to prevent any damage. Gather the necessary tools, including a suction cup, plastic prying tools, 3D mini screwdriver, and a heat gun or heating pad. Use the heat gun or heating pad to gently heat the back cover, aiming for a temperature between 80°C and 100°C for about 3-5 minutes. This softens the adhesive, making it easier to remove the cover.
Once heated, place the suction cup at the bottom edge of the back cover and gently pull to create a small gap. Then, insert the plastic prying tool along the edge of the cover, slowly working your way around the device to detach the back cover from the frame. Take your time with this step to avoid damaging the frame or scratching the surface. Once the cover is removed, clean any leftover adhesive from the back of the phone.
Next, align the new back cover with the phone’s frame and press it into place, ensuring a tight fit. Allow the adhesive to set and cure before proceeding. Finally, reassemble the phone by reinserting the SIM card tray and any other components that were removed. Power on the device and test basic functions to confirm that everything is working properly.
Charging Port Repairs
Charging port repairs focus on fixing or replacing a damaged charging port. Due to frequent use, the charging port may become worn or damaged, resulting in issues with charging. This repair requires disassembling the phone, replacing the damaged charging port, and testing to ensure proper functionality.
 Repair Steps
Start by turning off the phone and removing the SIM card tray. Prepare the necessary tools: a screwdriver, plastic prying tools, suction cup, and a heat gun. Use the hot air gun to apply gentle heat to the back cover for about 3-5 minutes, softening the adhesive for easier removal. Once the cover is heated, use the suction cup to lift it, then insert the prying tool to detach the back cover from the phone.
After removing the back cover, carefully disassemble the internal components like the battery and motherboard to access the charging port. Use a screwdriver to remove any screws securing the charging port, then disconnect the port from the motherboard. Remove the damaged charging port.
Install the new charging port by aligning it with the connection point on the motherboard and securing it with screws. After installing the new port, reassemble the phone, making sure everything is properly aligned. Test the charging port by plugging in a charger to ensure it’s functioning correctly.
iPhone Camera Repairs
A damaged camera can cause blurry photos or prevent the camera from working altogether. This process involves disassembling the phone, disconnecting the camera, replacing it with a new one, and performing functionality tests.

Repair Steps
To begin, power off the phone and remove the SIM card tray. Gather the required tools, including a screwdriver, prying tools, and a heat gun. Use the heat gun to soften the adhesive on the back cover, and once heated, use the suction cup to lift it off. Insert the prying tool carefully to detach the cover from the phone.
Once the back cover is removed, disassemble the internal components to expose the camera module. Use a screwdriver to remove any screws holding the camera in place, then disconnect the camera’s cable. Carefully remove the damaged camera module.
Place the new camera module into the phone, ensuring it aligns properly with the connection points. Secure the camera with screws and reconnect the cable. Reassemble the phone and power it on to test the camera functionality, ensuring that the new camera works as expected, with clear images and video.
Diagnostic Checks
Diagnostic checks involve running tests on the phone’s hardware, software, and system functionality to identify potential issues. This process helps pinpoint hidden problems that may not be immediately obvious and ensures that the phone is operating optimally.

Repair Steps
Start by powering off the phone and preparing the necessary diagnostic tools, such as system diagnostics software, a SIM card, and any relevant test equipment. Begin by running hardware tests to check the display for color accuracy and touch sensitivity, as well as testing the camera, sensors (such as the accelerometer and gyroscope), and other essential hardware components. This ensures everything is functioning correctly.
Next, use system diagnostics tools to test the software’s stability, checking for crashes, lag, or app malfunctions. If any software issues are detected, attempt to fix them through software repair tools. If the battery is significantly degraded, a replacement may be necessary.
Finally, test the phone’s network functions, such as Wi-Fi, Bluetooth, and GPS, to ensure stable connections. Once all tests are complete, compile a diagnostic report that identifies any issues and provides recommendations for further repair or replacement.


