
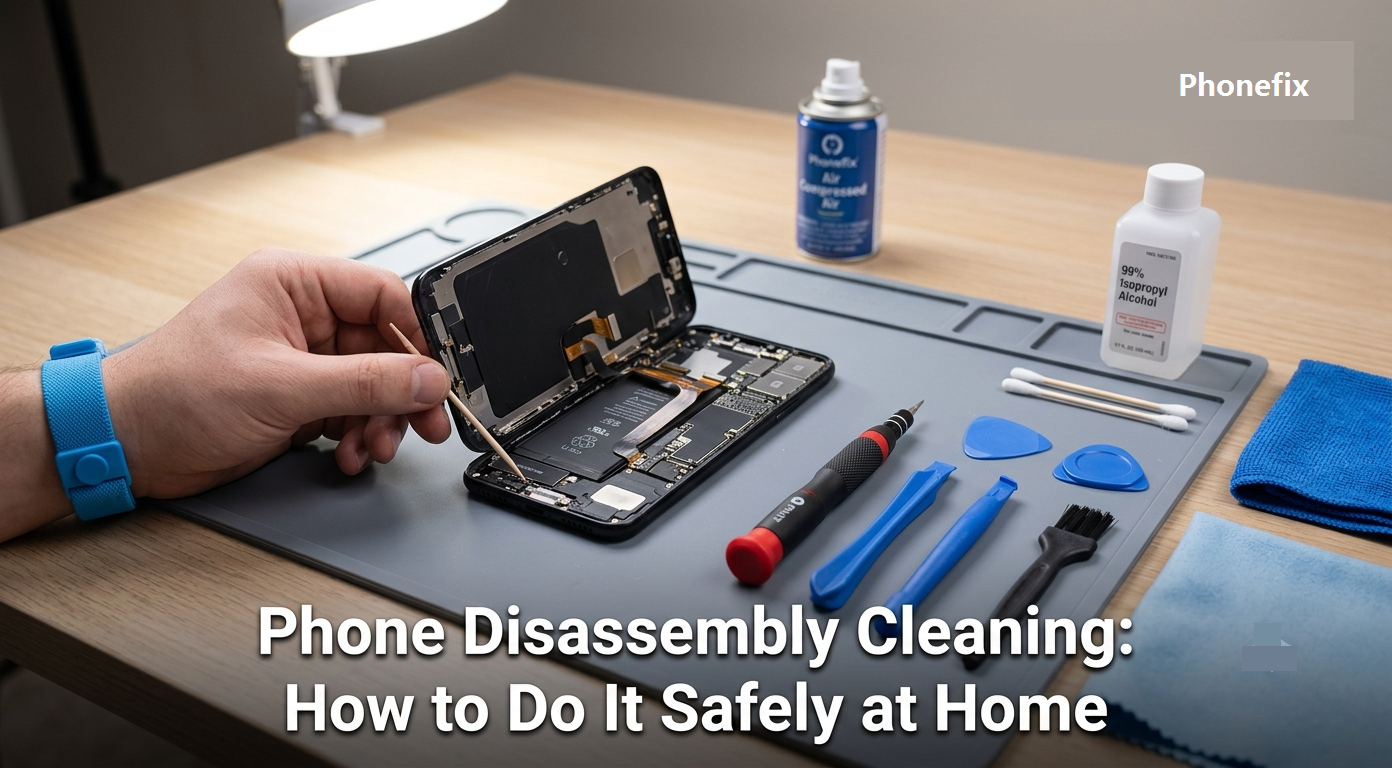
Smartphones accumulate dust, lint, and debris over time. These particles find their way into charging ports, speaker grills, microphone holes, and even inside the device through gaps around buttons and the display. Regular external cleaning helps, but sometimes dirt builds up internally and affects performance. This passage covers why internal cleaning matters, what tools are needed, key safety precautions, and a step-by-step guide for safely disassembling and cleaning a phone at home.

I. Why Safe Disassembly and Cleaning at Home Matters
· Dirt and debris are more than an eyesore. Lint compacts inside charging ports and blocks cable contact. Dust clogs speaker grills and microphone holes, reducing audio quality. Grime can also jam buttons, restrict ventilation, and contribute to overheating.
· Regular internal cleaning brings clear benefits. It restores charging reliability, improves speaker and microphone clarity, and prevents dirt from migrating deeper into the device. It also helps extend the phone's overall lifespan.
· Many common complaints—slow charging, muffled sound, unresponsive buttons—trace back to simple dust buildup. A thorough clean often resolves these without costly repairs. That said, disassembly requires caution. Modern phones pack fragile components tightly, and rushing or using improper tools can easily cause permanent damage.
II. What Tools Are Needed
Using household objects like sewing needles, metal pins, or kitchen brushes is a fast way to ruin a phone. Metal tools can scratch internal contacts, short-circuit components, or puncture delicate ribbon cables. Professional tools designed for electronics are essential for safe cleaning.
Here is a basic toolkit for home phone disassembly and cleaning:
For opening the device:
· Precision screwdriver set – Different phones use different screw types, including Phillips, Pentalobe (for iPhones), and Tri-point. A set with multiple bits covers most models.
· Plastic opening tools (spudgers, picks, or guitar picks) – These pry open the display or back cover without scratching or cracking the glass.
· Suction cup – Helps lift the screen away from the frame on many modern phones.
For cleaning internal components:
· Anti-static brush – Soft-bristled and ESD-safe, this brush removes dust from circuit boards, connectors, and hard-to-reach areas without generating static electricity that could damage sensitive parts.
· Compressed air – Blows loose dust and debris out of ports and crevices. Use short bursts and hold the can upright.
· Isopropyl alcohol – Used for cleaning residue off circuit boards and connectors. High-concentration alcohol evaporates quickly and leaves no moisture behind. Apple recommends ethanol or IPA wipes with at least 90% alcohol.
· Microfiber cloth – Wipes down exterior surfaces and removes fingerprints without scratching.
For cleaning ports and speakers:
· Wooden or plastic toothpicks – Safely dislodge compacted lint from charging ports. Never use metal
· Soft-bristled brush – Gently sweeps dust from speaker grills and microphone holes.
Optional but helpful:
· ESD-safe tweezers – For handling small components and connectors.
· Magnetic project mat – Keeps tiny screws organized and prevents them from rolling away.
· Flashlight or magnifying glass – Helps inspect ports and internal areas.
III. Key Safety Precautions
Before touching anything inside the phone, understand the risks.
· Static electricity is a silent killer of electronics. A single electrostatic discharge (ESD) can damage or destroy a chip without leaving any visible sign. Working on a carpeted floor or wearing synthetic clothing increases this risk. Use an ESD-safe mat and wrist strap when possible. At minimum, touch a grounded metal object before handling internal components.
· Power off the device completely before starting. Disconnect it from any charger. Remove the SIM card tray if applicable. Working on a powered-on phone increases the risk of short circuits.
· Work in a clean, well-lit area. Clear the workspace of clutter. Keep screws and small parts organized—different screws often look similar but are not interchangeable. Mixing them up can strip threads or damage the frame during reassembly.
· Never force anything open. If the display or back cover does not separate easily, double-check that all screws have been removed. Many phones have hidden screws beneath rubber plugs or adhesive strips. Forcing the device open can crack the screen or snap ribbon cables.
· Avoid using excessive liquid. Isopropyl alcohol should be applied to a cloth or brush, never poured or sprayed directly onto the device. Keep liquids away from the display, camera lenses, and any openings.
· If at any point the process feels uncertain, stop and seek professional help. Not every phone is meant to be opened by a non-specialist. Some devices require specialized fixtures or heating pads to separate adhesives safely.

IV. Step-by-Step Cleaning Procedure
Step 1: Power off and prepare the workspace
Turn off the phone completely. Remove the case, screen protector, and SIM card tray. Clear a flat, stable surface and lay down a clean cloth or anti-static mat. Gather all tools within reach.
Step 2: Open the device
· Follow the manufacturer's recommended procedure for opening the specific phone model.
· This often involves removing screws around the bottom edge or near the charging port, then using a suction cup and plastic pick to gently separate the display from the frame. · · · · Work slowly. Insert the pick along the edges and slide it around the perimeter to release the adhesive. Never insert the pick more than a few millimeters deep—ribbon cables lie just beneath the display.
· Keep screws organized. Place them in a small container or arrange them on a Screw Magnetic Mat in the order they were removed. This makes reassembly much easier.
Step 3: Disconnect the battery
· Before cleaning anything inside, disconnect the battery from the motherboard. This cuts power to the entire device and eliminates the risk of short circuits.
· Use a plastic spudger or ESD-safe tweezers to gently lift the battery connector.
Step 4: Inspect and clean internal components
· With the battery disconnected, examine the motherboard, battery compartment, connectors, and surrounding areas. Look for visible dust, lint, or residue.
· Use the anti-static brush to gently sweep dust off circuit boards and connectors. Brush lightly—firm pressure is unnecessary and can damage small surface-mounted components.
· For stubborn residue on the motherboard, lightly dampen a brush or cotton swab with 90% or higher isopropyl alcohol and gently clean the affected area. Allow the alcohol to evaporate completely before reassembly.
· Check all ribbon cable connectors. Dust can accumulate between the connector and its socket, causing intermittent issues. A gentle brush across the connector surfaces usually clears this.
Step 5: Clean the charging port
· The charging port is one of the most common trouble spots. Pocket lint gets pushed into the port every time the cable is inserted. Over time, it compacts into a dense layer that prevents the cable from seating fully.
· Shine a flashlight into the port to inspect for debris. Hold the phone with the port facing downward. Use short bursts of compressed air from a distance of about one to two inches to blow out loose particles.
· For compacted lint, gently insert a wooden or plastic toothpick along the inner walls of the port—not straight into the center. Scrape lightly along the sides to loosen the debris. Tilt the phone so the loosened lint falls out. Never use metal objects inside the port. Never insert anything with excessive force.
· After cleaning, use compressed air again to blow out any remaining particles. Inspect the port with a flashlight to confirm it is clear.
Step 6: Clean speakers and microphones
· Speaker grills and microphone holes trap dust easily. Use a dry, soft-bristled brush to gently sweep across the openings. Brush in a side-to-side motion rather than pushing bristles into the holes. For stubborn particles, a strip of low-tack tape can pick up debris without leaving residue.
· Compressed air can also help, but use short bursts from a distance. Avoid blowing air directly into microphones with high pressure—this can damage the delicate internal membranes.
Step 7: Reassemble the device
· Once cleaning is complete, reconnect the battery connector. Make sure it clicks into place securely. Reattach any other disconnected cables. Carefully lower the display or back cover back onto the frame. Press gently around the edges to seat the adhesive.
· Reinstall all screws in the correct locations. Tighten them firmly but not excessively—overtightening can strip threads or crack the frame.
· Before fully sealing the device, power it on and test basic functions: charging, touchscreen response, speakers, microphones, cameras, and buttons. If everything works, complete the reassembly. If something does not work, open the device again and check that all connectors are properly seated.
V. Frequently Asked Questions
Q: How often should I clean my phone internally?
A: Most phones benefit from a thorough internal cleaning once every six to twelve months. Heavy users or those who work in dusty environments may need it more frequently. Regular external cleaning—wiping down the screen and ports with a dry cloth—helps reduce the need for full disassembly.
Q: Can I use water to clean internal components?
A: No. Water causes corrosion and short circuits. Use 90% or higher isopropyl alcohol for internal cleaning. It evaporates quickly and does not leave conductive residue.
Q: What if I damage a ribbon cable during disassembly?
A: Ribbon cables are fragile. If one tears or the connector breaks, the affected component (display, camera, or button) will stop working. Replacement cables are available for some models, but installation requires soldering skills in many cases. Prevention is the best approach—work slowly and never pull on cables.
Q: Is it worth disassembling my phone just for cleaning?
A: For minor dust buildup, no—external cleaning with compressed air and a brush usually suffices. For persistent charging issues, muffled speakers, or visible debris inside ports, disassembly and internal cleaning can be highly effective. Just weigh the risks: if the phone is valuable or still under warranty, professional service is the safer choice.

Cleaning a smartphone at home is entirely possible with the right approach. The key lies in using proper tools, working patiently, and respecting the device's delicate internal construction. A successful clean restores charging performance, clears muffled speakers, and extends the phone's useful life. When the job calls for more than just external wiping, a careful disassembly paired with quality Phone Repair Tools makes all the difference between a job well done and a costly mistake.


