
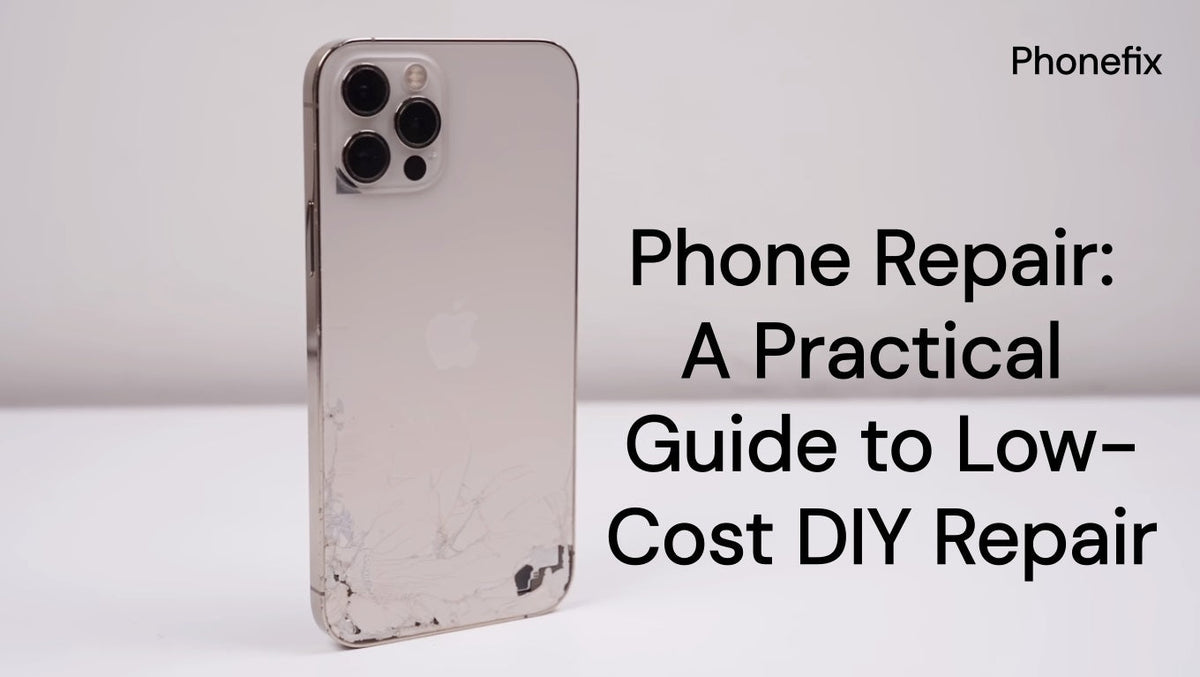
Phones are essential tools in modern life. Most people have faced a cracked screen, an aging battery, or a clogged charging port. These problems can often be fixed at home. This guide covers how to assess the damage, prepare a safe workspace, obtain reliable parts, and execute a repair without making things worse.

I. Decide Whether the Repair Is Worth Doing
Not every broken phone deserves a DIY attempt. Work through the following checks in order.
Check 1: Warranty and insurance
If the fault is not your fault and the phone is under warranty, the retailer or manufacturer may repair it for free. Home insurance, credit cards, and bank accounts sometimes include phone coverage. Read the deductible before filing a claim. A high deductible can exceed the cost of a third-party repair or a DIY parts order.
Check 2: Repairability of the model
Check the specific model on iFixit before buying parts. iFixit scores phones from 0 to 10, and the gap between devices is large. The Fairphone 5 and Fairphone 6 both earn a perfect 10/10. The 2026 “Failing The Fix” report gave Apple a D−, Samsung a D, and Google a C−. A low score does not forbid DIY. It does mean adhesive, proprietary screws, or layered assemblies will raise difficulty.
Check 3: Fault difficulty
Use this list as an initial filter.
· Charging port clogged: high DIY suitability. Clean first.
· Battery aged, not swollen: medium to high. Swollen battery: do not DIY.
· Cracked screen, touch still works: medium. Heat control is decisive.
· Water damage: low. Power off, do not charge, seek professional assessment.
· Layered logic-board fault: low. Seek professional repair.
Check 4: Cost comparison
Add up parts, tools, and the risk of a second repair. If the guide has dozens of steps and parts cost more than the phone is worth, professional repair is the rational choice.
Decision rule: if the phone is swollen, water-damaged, or the guide exceeds what you can complete without forcing anything, stop.
II. Prepare the Workspace and Control Two Silent Failures
Two failure modes cause the most invisible damage: electrostatic discharge (ESD) and battery thermal events. Both are cheap to prevent and expensive to discover too late.
1. Control ESD first
ESD can destroy sensitive components without any visible sign. Apple's repair documentation requires an ESD wrist strap connected to a properly grounded ESD mat before touching internal parts. Samsung's service guidance has the same requirement: an anti-static wrist strap, gloves, an ESD-safe mat, and increased airflow. If you use a wrist strap without a mat, connect it directly to bare metal on the hardware.
2. Treat the battery as a fire risk
· A lithium-ion battery can enter a thermal event if punctured, crushed, struck, or exposed to temperatures outside its operating range. Before touching the battery, fully discharge the phone. Apple's procedure: disconnect all cables, remove cases, turn on the flashlight, and wait until the device shuts off and the flashlight goes out.
· Do not use a battery with visible damage: holes, dents, bending, wrinkles, punctures, bubbles, pry marks, swelling, or deformation at the edges. Do not pry a battery with metal tools. Use plastic cards or the manufacturer's adhesive-removal strips. A punctured pouch can ignite.
· If the battery is already swollen, do not charge it. Do not puncture it to release gas. Isolate it in a fireproof container and route it to official or professional repair.
3. Clear the bench
Disconnect all cables, remove cases and backup batteries, and clean the workspace. Keep screws organized by location. A magnetic mat or labeled tray prevents a screw from going back into the wrong hole. A loose screw left inside the phone can puncture a battery cell or short a contact.

III. Obtain the Right Tools and the Right Parts
1. Match the tool to the specific model, not the brand.
Manufacturers use fasteners that resist generic screwdrivers. Apple devices require a 0.8 mm pentalobe (P2) bit for external screws and a Y000 tri-point bit for internal screws. A soft, ill-fitting bit will strip these tiny screws. Do not generalize “Apple = P2/Y000” to all phones. Android models vary widely. The specific model guide is the only reliable source.
2. Screen repairs require heat management, not just heat.
Screens are bonded with adhesive. A suction cup and thin opening picks can lift the panel. The adhesive must be softened first. A hot air gun or a dedicated heating pad can work. Overheating near the battery is a thermal-event risk. Forcing a cold screen cracks it. Overheating can damage the display and the battery.
3. Know what part you are buying.
Low-cost parts are not one category. OEM service packs offer the highest consistency and usually the highest cost. Refurbished screens use an original inner display with replaced outer glass; quality varies. Aftermarket parts can be functionally acceptable, but display brightness, color accuracy, and touch response may differ. Batteries are the riskiest aftermarket category. Read seller reputation and reviews for the specific part.
IV. Protect Data and Know When to Stop
· Back up before you open the phone, and wipe before someone else opens it. Backup must be done before disassembly, not only before taking the phone to a shop. If the phone leaves your possession, perform a full wipe after backing up.
· Samsung's Maintenance Mode offers a middle path. It creates a separate user account that hides photos, messages, contacts, and accounts. Only pre-installed apps are accessible during repair. Data created in Maintenance Mode is deleted when the owner exits it. Maintenance Mode reduces exposure, but it is not a substitute for a backup.
· Recognize the stop signals. Water damage, layered logic-board faults, heavy adhesive, and any swollen battery are not “harder” DIY jobs. They are jobs whose failure mode is dangerous or irreversible. If the guide has dozens of steps and the parts cost more than the phone is worth, choose professional repair.
V. After the Repair
Complete this checklist before returning the phone to daily use.
· Account for every screw. A loose screw rolling inside the chassis can puncture a battery cell or short a contact.
· Test the functions involved in the repair and those nearby: touch, display, cameras, speaker, microphone, charging, Wi-Fi/Bluetooth, and biometric unlock.
· Check battery behavior and any part-pairing warnings. Some devices report non-genuine parts or limit certain functions after a third-party replacement.
· Do not assume water resistance has been restored. Opening the phone breaks the factory seal. A repairer can reapply adhesive and reseal the device. This does not automatically restore the original IP67/IP68 rating. Apple states explicitly that water resistance is not permanent and can diminish with normal use. If water resistance matters to you, ask for gasket replacement and, where available, an air-tightness test.
· If the repair involved the screen or back glass, let the phone run without its case for half a day before final sealing. Watch for abnormal heat or spontaneous reboots.
· Recycle the old battery and parts through an appropriate e-waste or battery-recycling channel. Do not put a lithium-ion battery in household trash.

DIY phone repair is entirely feasible and can save money. The key is to weigh the pros and cons, assess the phone’s problem before starting, and prepare in advance—including having the right phone repair tools and guides.


