
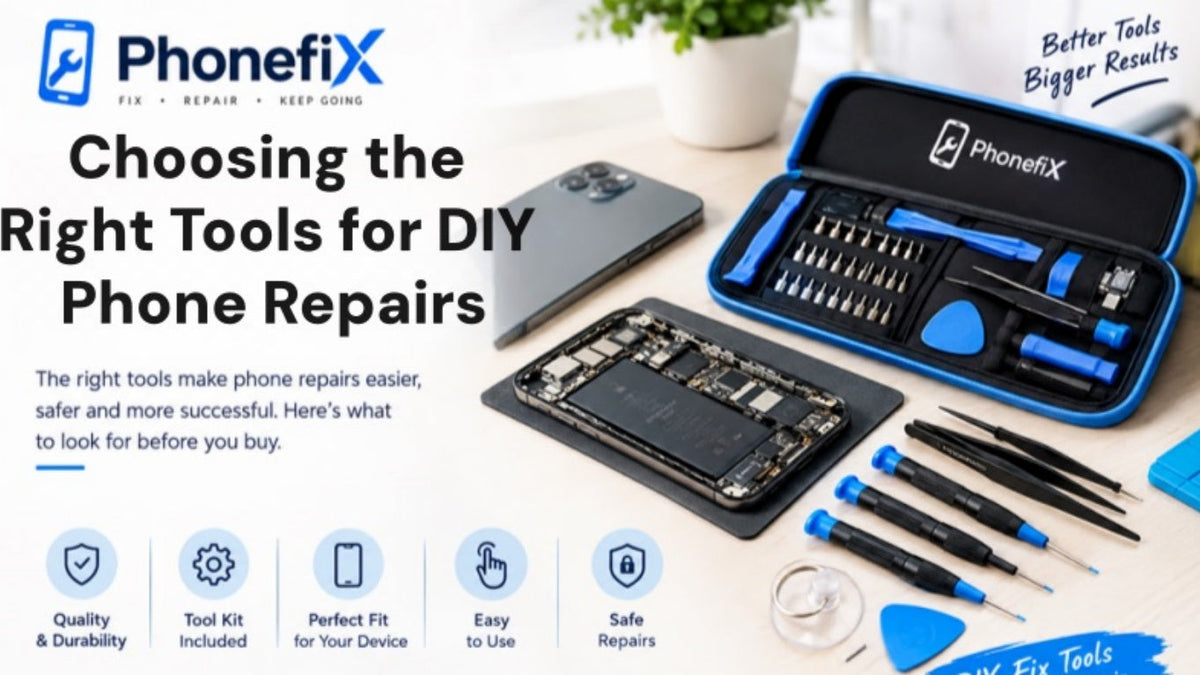
A cracked screen or a worn-out battery often pushes phone owners to consider fixing the device themselves. The repair itself is usually manageable, but the outcome depends heavily on whether the right tools are on the table before the first screw is turned. This guide covers how to diagnose common phone faults, which precision tools each type of repair demands, and how to build a practical kit without overspending.
I. Identify the Fault Before Buying Anything
· Screens crack. Batteries degrade over one or two years of daily charging until the phone struggles to last past lunch. Smaller problems appear too: a blurry camera, a charging port that only works when the cable is held at a strange angle.
· Each of these jobs calls for a different set of tools. A battery swap is relatively forgiving. A phone screen replacement requires more care because the display assembly is fragile and held down by strong adhesive. Charging port and speaker repairs demand finer tweezers and smaller bits. Knowing the exact fault before shopping prevents both wasted money and mid-repair frustration.

II. The Core Tools That Earn Their Place
1. Precision screwdrivers
Standard household screwdrivers will strip a phone's tiny fasteners almost immediately. A dedicated precision set with Phillips, Torx, and pentalobe bits is the foundation. Apple relies heavily on pentalobe screws, while Samsung and most Android manufacturers mix Phillips and Torx depending on the model. A magnetic tip helps hold screws in place and reduces the chance of losing one on the floor.
2. A spudger
This small plastic tool looks like a guitar pick and pries cases open without gouging the housing underneath. A flathead screwdriver might seem like a shortcut, but it scratches the frame and leaves permanent scuff marks. Plastic opening tools are also available in different shapes for lifting screens and separating tightly sealed cases.
3. Anti-static tweezers
Ribbon cables and tiny connectors become fiddly fast, and fingers simply are not precise enough once the repair reaches the inner layers. ESD-safe tweezers made from stainless steel with an anti-static coating protect sensitive circuits from electrostatic discharge while giving the user fine control over small components.
4. A suction cup
Phone glass sits on aggressive adhesive, and prying at it with metal risks a second crack. A suction cup lifts the screen with vacuum pressure instead. Apply it near the edge of the display, pull upward with steady force to create a gap, and slide an opening pick into that gap.
5. Heat
Warming the adhesive underneath the screen or battery softens it so the glue releases without a fight. A hot air gun works well, and a hair dryer on its highest setting is a reasonable substitute for a one-time repair. The goal is to bring the glass surface to roughly 60–100 degrees Celsius; the exact setting matters less than keeping the heat source moving and avoiding prolonged contact with one spot.
6. Anti-static protection
A wrist strap and a small mat are easy to skip and a mistake to skip. Static discharge can fry a component, and the damage often does not show up until days later when the phone stops working for no apparent reason. A mat with surface resistivity between 10⁷ and 10⁹ ohms and a grounded wrist strap with resistance under 10⁵ ohms provide reliable protection.
7. Light and magnification
A magnifying lamp or jeweler's loupe makes a genuine difference once the work involves connectors the size of a grain of rice.
III. Match the Kit to the Specific Job
1. Screen replacement
This job relies on the suction cup, spudger, precision screwdrivers, and heat. New adhesive strips are essential; reusing old glue rarely holds properly, and nobody wants to redo a screen replacement because the edge starts lifting. Pre-cut strips designed for the exact phone model reduce application errors, while brands like Tesa 61395 offer OEM-grade bonding for users comfortable cutting tape to size.
2. Battery replacement
Batteries are easier to swap than they used to be. Pull-tab adhesive has largely replaced the stubborn glue of earlier generations. A spudger, patience, and a steady hand handle most of the work. One rule is non-negotiable: do not puncture the battery. The risk is not worth saving a few minutes.
3. Port and speaker repairs
These jobs want the smallest tweezers and the finest bits in the kit. This is where a magnifying lamp earns its cost, because the connectors involved are among the smallest components in the device.

IV. A Few Practices That Prevent Costly Mistakes
Watch a repair video for the exact phone model, not a generic one. Screw placement and adhesive strength shift between models, sometimes within the same product line. Keep screws sorted during disassembly; a magnetic project mat with labeled compartments holds small fasteners in place and prevents the wrong screw from going back into the wrong hole. Buy parts from a supplier with a real return policy, because even good sources occasionally ship a defective screen or a dud battery.
A full professional kit can cost well over a hundred dollars, which is overkill for a single repair. Buy what the current job requires and add tools as more repairs come up. At the same time, avoid the cheapest options. A small set of reliable phone repair tools with hardened steel bits outperforms a large kit made from soft metal every time. Start with the essentials, build from there, and the work becomes far more manageable than it first appears.


