
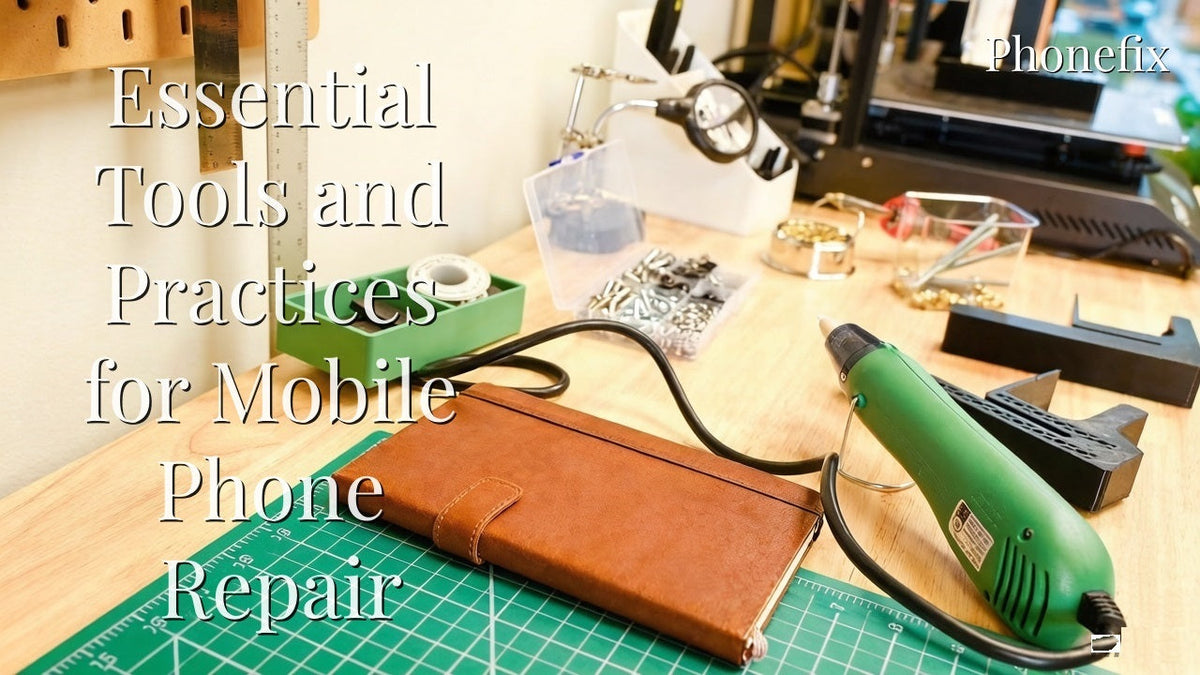
A successful mobile phone repair depends less on luck and more on preparation. Proper tools, correct techniques, and organized habits reduce damage and improve results. This guide covers the core tools for a beginner’s kit, practical methods for using them, and workspace habits that support safe repairs.

I. Core Tools for a Repair Kit
1. Precision Screwdriver Set
Every smartphone contains dozens of tiny screws that hold the display, battery, and internal brackets in place. A dedicated precision screwdriver set is therefore the first tool any beginner should buy. Phone manufacturers use a wide range of screw heads, including Phillips, flathead, Torx, and the proprietary Pentalobe screws found on many Apple devices. Pentalobe drivers come in three common sizes: P2 (0.8 mm), P5 (1.2 mm), and P6 (1.5 mm). A well-equipped bit kit covers Phillips sizes 000 through 2, Torx from T2 to T10, and Pentalobe P2, P5, and P6, along with JIS and tri-point bits for broader device coverage. Quality matters here. Bits made from hardened steel resist stripping and maintain a precise fit over time. A magnetized bit holder and a flexible extension shaft further improve control when reaching recessed screws.
2. Heating Equipment
Adhesives hold phone screens and back panels in place, and applying heat is the standard method for softening them. A hot air gun or heating pad works well for this task. The goal is to bring the glass surface to roughly 60–90 degrees Celsius, which softens the adhesive without damaging internal components. Keep the heat source moving at all times. Holding it in one spot can overheat the battery or warp plastic frames. A thermometer helps confirm the surface temperature, especially when working near the battery or display panel.
3. Prying and Opening Tools
Once the adhesive softens, prying tools create the initial gap between the screen and the frame. Plastic spudgers and triangle picks are the safest choice for this step because they will not scratch the glass or short internal circuits. Metal spudgers handle stronger clips and tighter seams, but they should be used with care around exposed components. Suction cups help lift a screen once the adhesive releases, and they keep fingerprints off the display glass.
4. Tweezers
Small screws, flex cables, and connectors require precise handling that fingers cannot provide. ESD-safe tweezers come in several tip styles: straight fine-point for general work, ultra-fine-point for microelectronics, flat-tip for gripping larger parts, and curved tips for angled or hard-to-reach areas. A set of three or four tweezers covers most repair tasks.
5. Anti-Static Protection
Static electricity poses a real threat to phone circuit boards. A discharge of just a few hundred volts can destroy a sensitive IC without any visible sign of damage. An anti-static wrist strap connects the technician to a grounded point and safely dissipates static charge. An ESD mat provides a grounded work surface that protects components placed on the bench. Apple’s own repair guidelines instruct technicians to wear an ESD wrist strap attached to a properly grounded ESD mat before beginning any repair work.
6. Magnification and Lighting
Phone components have shrunk to the point where the naked eye struggles to inspect solder joints or read component markings. A magnifying lamp with a 3-diopter (1.75×) or 5-diopter (2.25×) lens provides both magnification and bright LED illumination in a single unit, leaving both hands free for work. A head-mounted magnifier is a lighter alternative for quick inspections. Good lighting alone makes a significant difference; shadows on a repair bench hide small parts and cause errors.

II. Practical Techniques for Safe Repairs
1. Match the Driver to the Screw
Using the wrong bit size is the fastest way to strip a screw head. Once a screw strips, removing it requires drilling or extraction tools that can damage surrounding components. Test the driver fit before applying force. The bit should seat fully into the screw head with no wobble.
2. Heat Evenly and Work Around the Edges
When softening adhesive, direct the heat source along the edges of the screen rather than the center. The battery sits beneath the center of most phones, and concentrated heat in that area creates unnecessary risk. Move the heat gun in small circles along the perimeter for two to three minutes before attempting to pry.
3. Pry from the Correct Point
Every phone model has a recommended entry point, usually near a corner or along an edge where the adhesive is thinner. Insert the pry tool at that point, apply gentle leverage, and work around the perimeter. Forcing the tool into the wrong spot cracks the display or damages the frame.
4. Handle Small Parts with Tweezers
Screws on modern phones measure 1–3 mm in length. Tweezers provide the control needed to place and retrieve them without dropping them into the device. Keep a magnetic mat nearby to hold screws in the order they were removed.
5. Ground Yourself Before Touching the Board
Put on the ESD wrist strap and connect it to a grounded mat before opening the phone. This step takes seconds and prevents damage that can cost far more than the repair itself.
III. Workspace Organization and Tool Maintenance
1. Keep the Bench Organized
A clean, organized workspace reduces errors and saves time. Use a magnetic mat to hold screws and small parts in labeled sections that match the disassembly sequence. Keep tools in their designated slots so they are easy to find. Good lighting and a clear surface make every step easier.
2. Clean and Maintain Tools
Maintenance extends the life of repair tools. Wipe driver tips and tweezers after each use to remove adhesive residue and metal dust. Inspect driver tips regularly for wear; a worn tip that no longer grips properly will strip screws. Replace damaged bits before they cause problems. Clean suction cups with mild soap and water to maintain their grip.
3. Use Guides and Tutorials
Following repair guides and video tutorials helps beginners avoid common mistakes and learn the correct disassembly order for each phone model. China Phonefix offer free, model-specific guides that walk through each step. Beginners should follow these instructions carefully, especially during their first few repairs.

With the right tools, proper technique, and consistent habits, basic phone repairs become manageable. A solid Phone Repair Tools kit provides the foundation, and skill builds gradually through practice on older devices. Safe repairs protect both the device and the technician.


