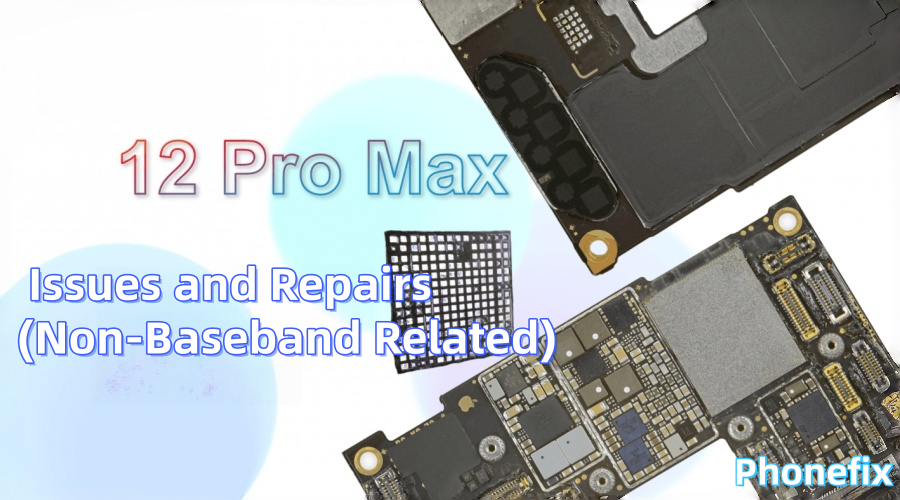
Users of the iPhone 12 Pro Max frequently claim problems including connection loss, erratic signal strength, or difficulty reading the baseband serial number during routine repairs. When these problems continue even when the baseband chip itself isn't malfunctioning, they're usually categorized as "non-baseband issues." Although some problems might seem to be baseband-related, they could be caused by solder connections, other hardware problems, or even problems with the system design. Based on a real-world case study, Phonefix will thoroughly describe the diagnostic reasoning and repair procedure for typical non-baseband problems with the iPhone 12 Pro Max in this post, assisting technicians in developing their practical abilities and judgment.

I. Preliminary Diagnosis
1. Description of Problem Symptom
The device being repaired is an iPhone 12 Pro Max. The customer described the problem as follows:
· The phone boots up normally;
· All functions (touch, camera, audio, etc.) function normally;
· The cellular network is unavailable and the baseband IMEI number cannot be read;
· Replacing the SIM card has no effect;
· The problem persists after multiple attempts at a network reset and system upgrade.
Based on the description, it is initially suspected that there is an issue with the iPhone motherboard or solder connections, not a traditional baseband chip failure. In this case, a direct baseband chip replacement should be avoided. Instead, a system troubleshooting and motherboard structural analysis should be performed for a precise repair.
II. Software Troubleshooting
1. Restarting the Device
The most basic but effective troubleshooting method is restarting the device. Assuming major hardware damage has been ruled out, many minor network or system responsiveness issues can be resolved by restarting the device.
Instructions:
· Press and hold the Volume Up button and the Side Power button until the "slide to power off" prompt appears;
· After completely shutting down, wait 30 seconds before restarting the device.

2. Reset Network Settings
If Wi-Fi, Bluetooth, and cellular signals are abnormal, it may be because the network profile is corrupted. Resetting network settings will clear all saved network information and restore the device to its default state.
Path:
· Go to [Settings] > [General] > [Transfer or Restore iPhone] > [Restore] > [Reset Network Settings].
· This will delete saved Wi-Fi passwords, VPN configurations, and APN settings, but will not affect photos or app data.
3. Check your carrier and account status
If you experience issues like cellular data not working or calls not being connected, contact your carrier to confirm:
· Whether your account is activated;
· Whether your service is suspended due to unpaid bills;
· Whether your area has coverage;
· Whether your phone supports dual eSIM/physical SIM cards.
4. Check for system updates
Apple regularly releases system updates to fix known bugs. Some network connection issues, Face ID recognition issues, and other issues may be resolved through system updates. Instructions:
· [Settings] > [General] > [Software Update] > Download and install the latest iOS version.
· It's recommended to complete the system update while connected to a stable Wi-Fi network and charging the device.

III. Hardware-Level Troubleshooting and Repair Steps
After troubleshooting software-related issues, if the problem persists, you need to begin troubleshooting hardware issues step by step. Below are the specific repair procedures for several key component issues.
1. Repair Methods for Wi-Fi/Bluetooth Unavailable
Symptoms:
· The Wi-Fi switch is gray and cannot be turned on;
· Bluetooth is stuck in a "spinning" state;
· Other devices cannot be discovered during pairing.
Repair Steps:
Step 1: Disassemble the iPhone and Inspect the Antenna Module
· Ensure the iPhone is powered off;
· Use an opening pick and a suction cup tool to open the back cover;
· Use a mini screwdriver to remove the screen retaining screws and remove the screen;
· Carefully disconnect the battery and then disconnect the Wi-Fi antenna cable.
Step 2: Check the Antenna Connector and Filter Capacitor
· Use a HD microscope to inspect the antenna connector for looseness;
· Use a digital multimeter to measure the filter capacitor resistance to determine if it is short-circuited;
· If the filter capacitor is damaged, replace it with a hot air gun (temperature 340°C, air volume 3).
Step 3: Replace the Wi-Fi Module
If the hardware test indicates a fault with the iPhone WIFI IC itself, remove the old module and re-solder a new chip. This step requires advanced soldering skills and anti-static treatment.

2. Repair Methods for Face ID Failure
Symptoms:
· "Face ID Not Available" is displayed;
· The "Face ID" option is missing from the settings interface.
Repair Steps:
Step 1: Check the Structured Light Component Connection
· Turn on the screen and check the cables connecting the "Dot Projector" and "Infrared Camera" for looseness.
· If the cables are broken, the iPhone front camera part will need to be replaced (but Face ID will not function).
Step 2: Check the Face ID circuitry on the motherboard
· Use a bitmap to locate related circuits on the motherboard (such as the VCM inductor and LDO power supply chip);
· Carefully remove any burned iPhone components with a heat gun;
· Replace the chip with the same model and reflow it with solder paste.
Note: Face ID is an Apple encrypted component. Any replacement will render it inoperable. Repairs must be performed with the original components.
3. Repair Methods for Slow or Non-Charging Problems
Symptoms:
· No response when plugging in the charger;
· "Non-genuine Parts" message displayed;
· Slow charging or battery outages.
Repair Steps:
Step 1: Check the Lightning connector
· Use a strong flashlight to check the charging port for dust and debris;
· Use an anti-static brush to clean the connector;
· Check for broken metal pins. If so, replace the iPhone docking station module.
Step 2: Check the Charging Circuit Chip
· Use a digital oscilloscope to check if the VBUS voltage is normal;
· Check if the Tristar (charging identification IC) and TIGRIS (fast charging IC) are burned out;
· If any chips are abnormal, remove them with a hot air gun and solder new chips.

4. Screen Failure or No Display Repair Methods
Symptoms:
· Black screen;
· Unresponsive touchscreen;
· "Blipping" or "ghost touch" issues.
Repair Steps:
Step 1: Replace the Test Screen
· Replace the screen with another known working screen for testing;
· If the replacement screen works, the original screen is damaged and can be replaced.
Step 2: Troubleshoot the Display Power Supply Circuit
· Use a XZZ schematic diagrams to locate the screen power supply inductor and capacitor;
· Use a multimeter to check the screen power supply voltage;
· If the voltage is abnormal, replace the corresponding filter component or power supply chip.
5. Troubleshooting Logic Board Problems
If the above component checks yield no results, the problem may lie with the internal connections on the motherboard, particularly the solder joints between the upper and lower motherboard layers.
Repair Steps:
Step 1: Separate the Upper and Lower Motherboard Layers
· Heat the motherboard to 230°C on a heating platform;
· Gently separate the upper and lower motherboard layers with a blade, taking care not to damage the solder pads;
· Inspect the middle layer for missing solder joints or cold solder joints.
Step 2: Repair Solder Joints
· Use anti-static tweezers to remove oxides and residual solder;
· Manually fill in missing solder joints;
· Solder the upper and lower motherboard layers with high-temperature soldering and reattach them;
· Allow to cool after assembly before powering on and testing.

6. Assembly Test
· Allow the motherboards to cool for approximately 5 minutes after assembly. Reinstall the phone and connect all cables.
· Insert the SIM card, power on the phone, and go to Settings → About Device. Check that "Modem Firmware" displays correctly and that the baseband serial number has been successfully read.
Test results for this case:
The device successfully read the baseband serial number, the signal is normal, and cellular network functionality has been restored, confirming the repair is complete.
IV. The Role of Professional Repair Facilities
For users without hardware repair experience, we strongly recommend against disassembling the device yourself. The iPhone 12 Pro Max has a complex structure, and repairs require specialized tools and advanced skills. In this case, you can choose a reputable service provider, such as:
· Apple Authorized Repair Centers;
· Professional third-party repair studios.
When choosing a repair center, please confirm:
· Whether it uses genuine and high-quality iPhone accessories;
· Whether it offers warranty repair services;
· Whether it has micro-soldering and motherboard repair capabilities.

V. Key Considerations During Repair
1. Precise Operation: The logic board is extremely delicate, and improper operation may cause malfunctions in Wi-Fi, Face ID, the audio module, and other components.
2. Anti-static Protection: Wear an anti-static wristband during repairs to prevent static electricity from damaging the motherboard chips.
3. Component Cleaning: Thoroughly clean the solder pads before soldering to prevent solder balls from forming.
4. System Diagnosis: Before disassembling the device, use professional software (such as 3uTools or Apple Diagnostics) to thoroughly detect the source of the problem.
5. Sealing Pressure Control: Apply even pressure when assembling the upper and lower logic boards to prevent uneven solder joints.
Despite its striking appearance and potent performance, the iPhone 12 Pro Max is susceptible to a number of non-baseband problems when in use. For the majority of customers, most problems may be fixed with a straightforward software restart, system upgrade, or network settings change. For a selection of expert iPhone repair and diagnostic tools, go to the official China Phonefix website. To prevent additional harm from incorrect operation, a specialist should tackle issues that are hardware or logic board-level.


