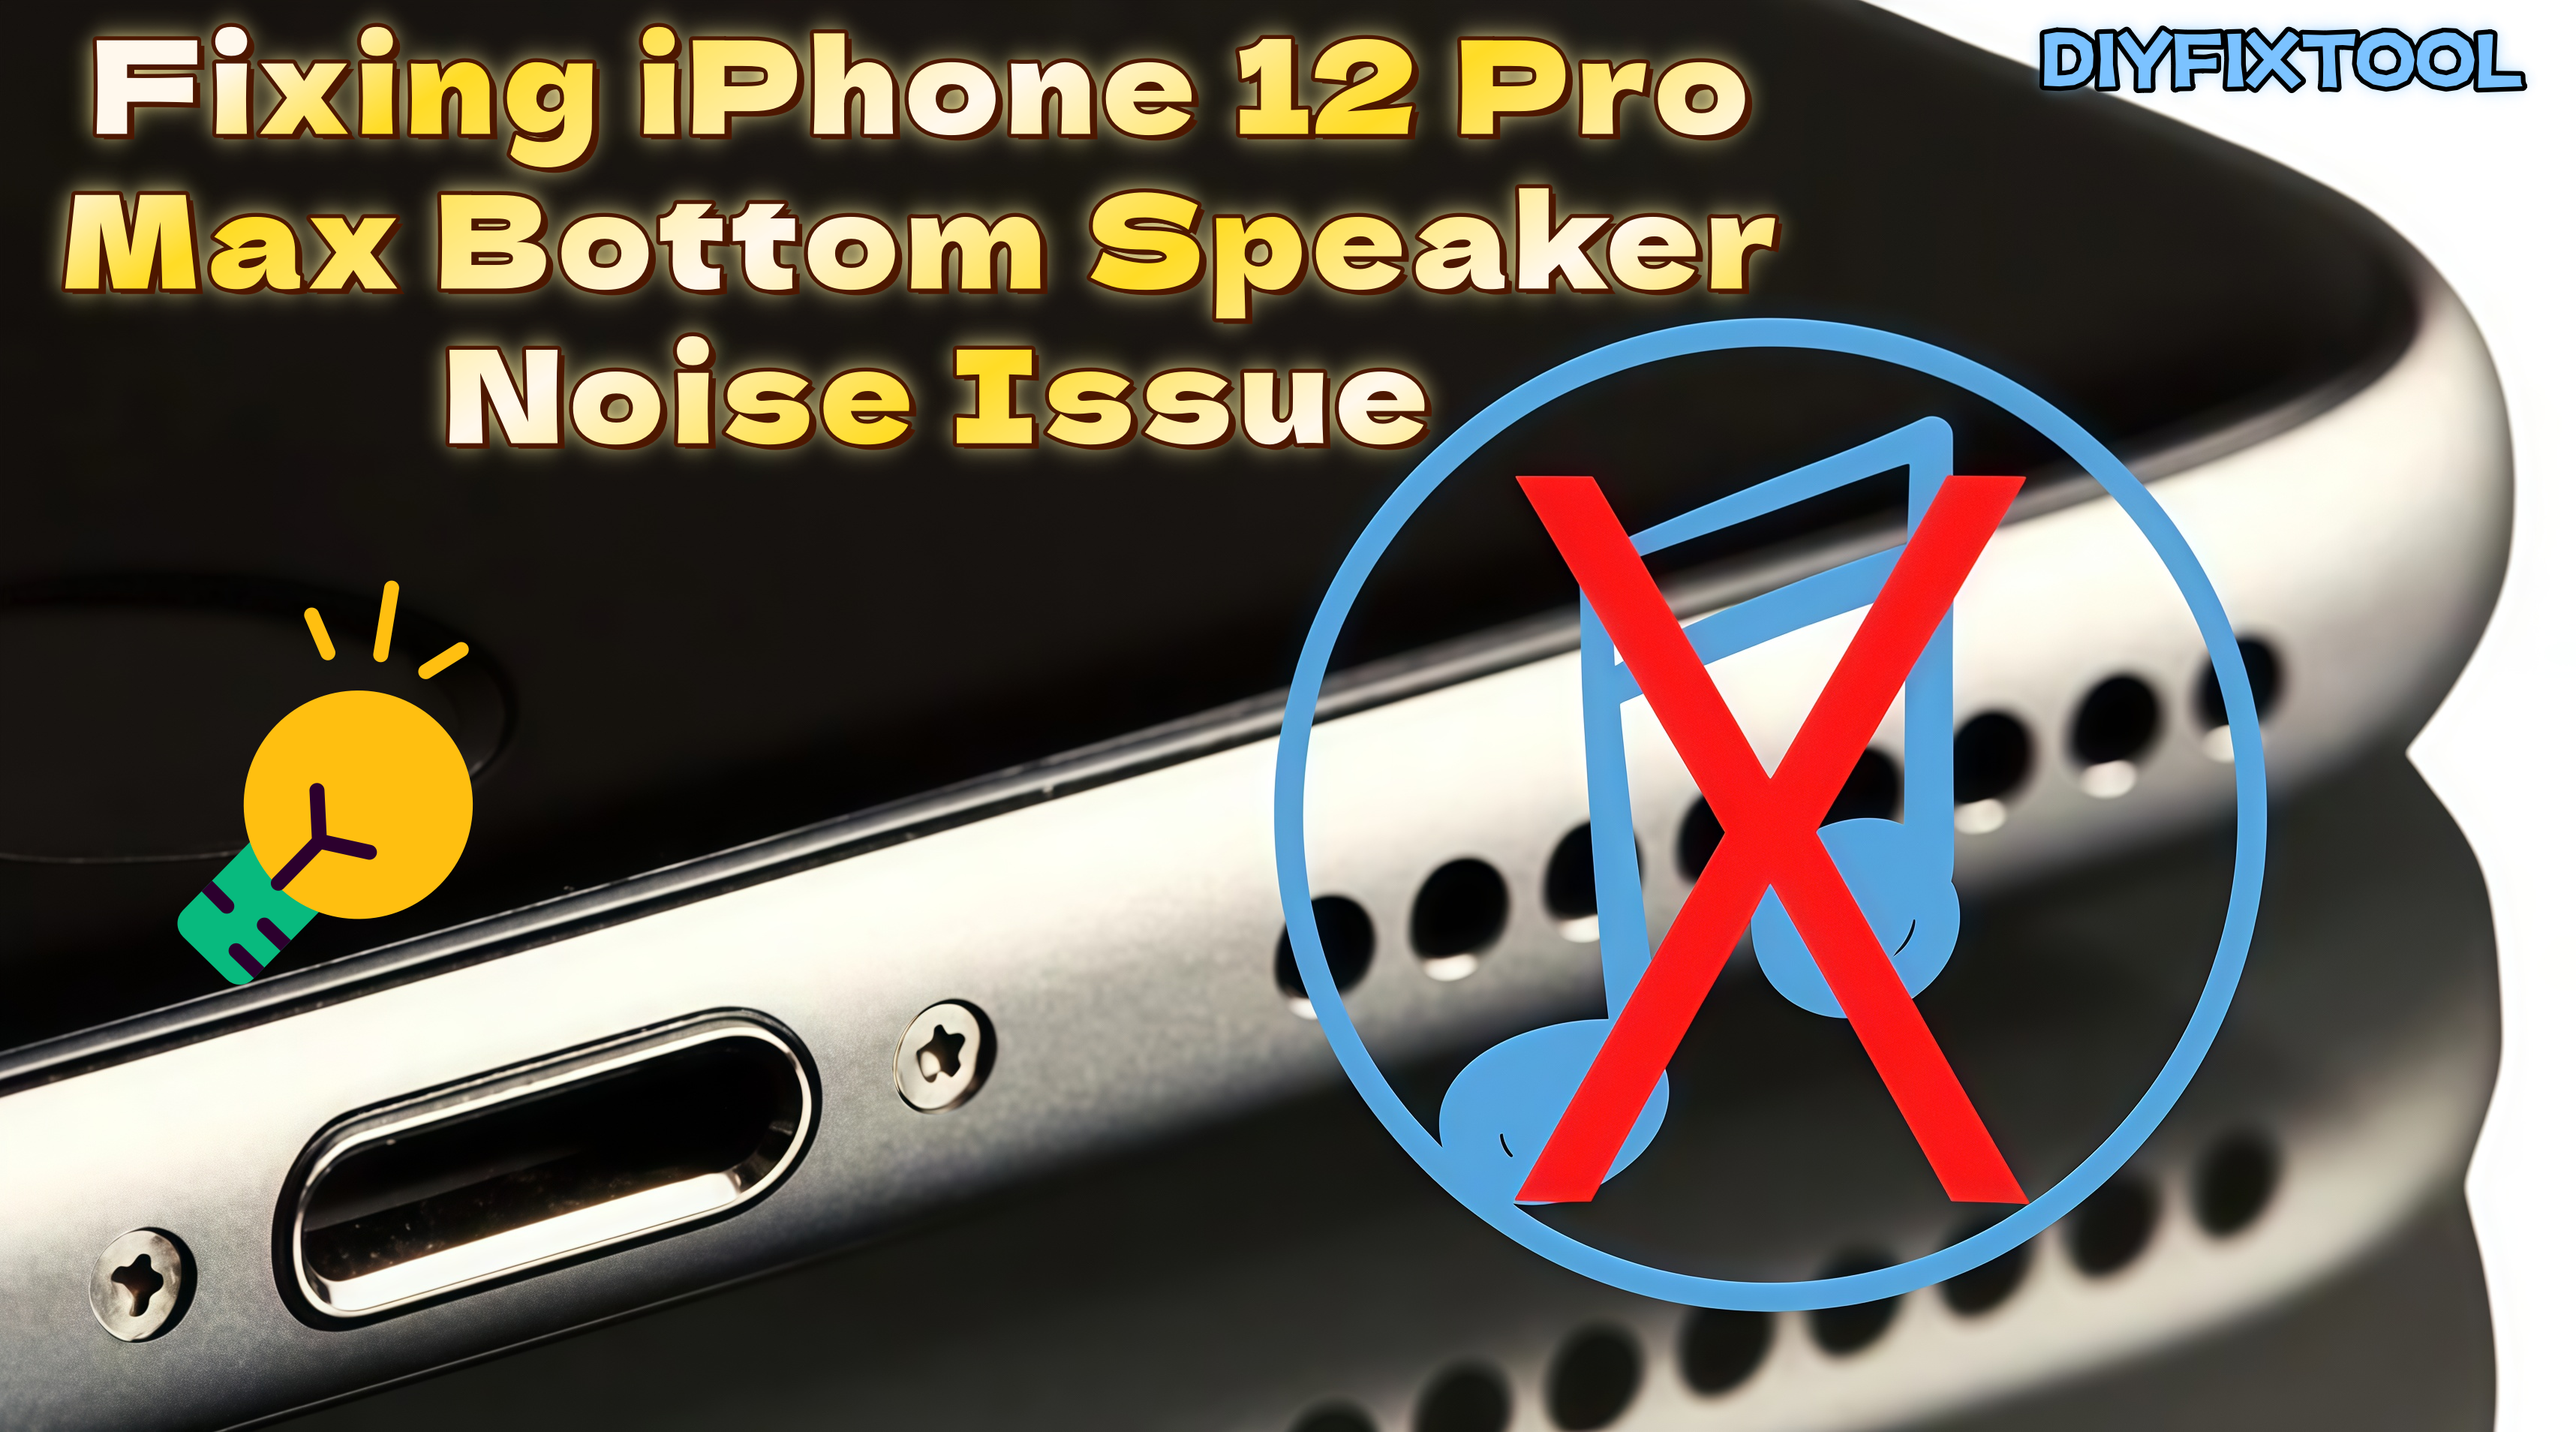
iPhone 12 Pro Max, as a popular high-end model, is known for its excellent sound quality. However, once the speaker develops noise issues, it can significantly impact the user experience. In this article, Phonefix walks you through the causes of the bottom speaker noise issue and provides a detailed explanation of diagnostic methods, repair steps, and tool usage, helping you quickly master the troubleshooting process.

I. Fault Description
To begin the repair process, it's essential to understand what exactly the user is experiencing.
1. Customer Complaint
The customer reported that when making calls or playing audio, the bottom speaker of the phone produces noise. The sound is intermittent and sometimes accompanied by a “crackling” sound.
2. Initial Test Result
The device powered on normally, and all core functions responded correctly. Audio playback testing showed the top speaker was clear, but the bottom speaker, while functional, produced muffled sound with noticeable distortion. This may indicate a hardware or circuit issue.

II. Fault Analysis and Preliminary Diagnosis
With the symptoms identified, the next step is to analyze the possible causes behind the speaker noise issue.
1. Fault Analysis
Based on the customer description and function test, the fault is preliminarily determined to be located in the bottom speaker circuit. Since the phone powers on normally and all other functions operate correctly, it can be ruled out as a full device failure. The issue is more likely related to the speaker signal line or the audio amplifier chip.
2. Resistance Check
· Using a digital multimeter and the schematic diagram, resistance was measured between the speaker connector and the audio amplifier. One signal line showed abnormal resistance, indicating a short circuit or internal chip failure.
3. Inspection and Thermal Test
· Next, a microscope was used to inspect the solder joints around the chip for cold solder or microcracks. A Infrared Thermal Camera was used to observe the chip area under power to check for abnormal heat. After inspection, the issue was finally identified as a damaged audio amplifier chip.

III. Preparation
Before disassembling and repairing the phone, ensure the following professional tools and equipment are ready:
· Electric Screwdriver Set: For removing iPhone bottom screws and internal screws on the motherboard.
· Suction cup: Used to open the screen without damaging it.
· Hot air gun: To soften the adhesive around the screen frame for easier disassembly.
· Anti-static mat: To prevent static damage to the motherboard.
· Anti-static tweezers: For handling small components.
· Digital multimeter: To test motherboard circuit resistance, voltage, and other key values.
· Microscope: To inspect fine solder joints and chip pads.
· Soldering station and hot air rework station: For removing and replacing chips.

IV. Disassembly and Fault Detection
After confirming the suspected fault area, it's time to disassemble the device to inspect the internal components.
1. Screen Disassembly
Remove the two bottom screws with a pentalobe screwdriver, then heat the screen edges with a Hot Air Gun to soften the adhesive. Use a suction cup and plastic pry tool to gently lift and open the screen. Carefully disconnect the battery and screen flex cables to avoid short circuits.
2. Locating the Speaker Circuit
Check the iPhone 12 Pro Max schematic and layout diagrams to locate the bottom speaker's flex cable connector, ensuring it is properly seated. Use a digital multimeter to compare the resistance of the key signal lines between the speaker connector and audio amplifier chip with the reference values. Any significantly lower resistance may indicate a short circuit or chip damage.

V. Audio Amplifier Chip Replacement
Once the damaged chip has been identified, we can proceed with safely removing and replacing it.
1. Chip Removal
Once the audio amplifier chip is confirmed to be faulty, adjust the hot air gun to around 320°C and carefully heat the chip area. Use Anti-static Tweezers to lift the chip from the board, then clean the solder pads thoroughly to remove any residual solder and flux, ensuring the pads remain intact and free of oxidation.
2. Installing the New Chip
Confirm that the new chip matches the original model, then apply a thin, even layer of solder to the pads. Align the chip in place and heat with a hot air gun to reflow the solder. After installation, inspect the solder joints under a microscope to ensure there are no cold joints or short circuits.

VI. Reassembly and Functional Testing
With the faulty iPhone Component replaced, the device needs to be reassembled and thoroughly tested to ensure the issue is resolved.
1. Reassemble Motherboard and Screen
Reconnect the bottom speaker flex cable, battery, and screen connectors. Then reattach the screen and tighten the bottom screws.
2. Power-On Test
Press the power button to boot the iPhone, then play an audio clip or ringtone to check if the bottom speaker output is clear. Perform a call test to verify sound quality and clarity. Use a multimeter to confirm the amplifier chip's operating voltage. If all checks pass and the sound is normal, the repair is considered successful.

VII. Conclusion
iPhone 12 Pro Max Bottom speaker noise issues may seem complex, but with the proper workflow and tools, efficient and reliable repairs are achievable. To learn more about mobile phone repairs or find high-quality repair tools, visit the China Phonefix official website.