
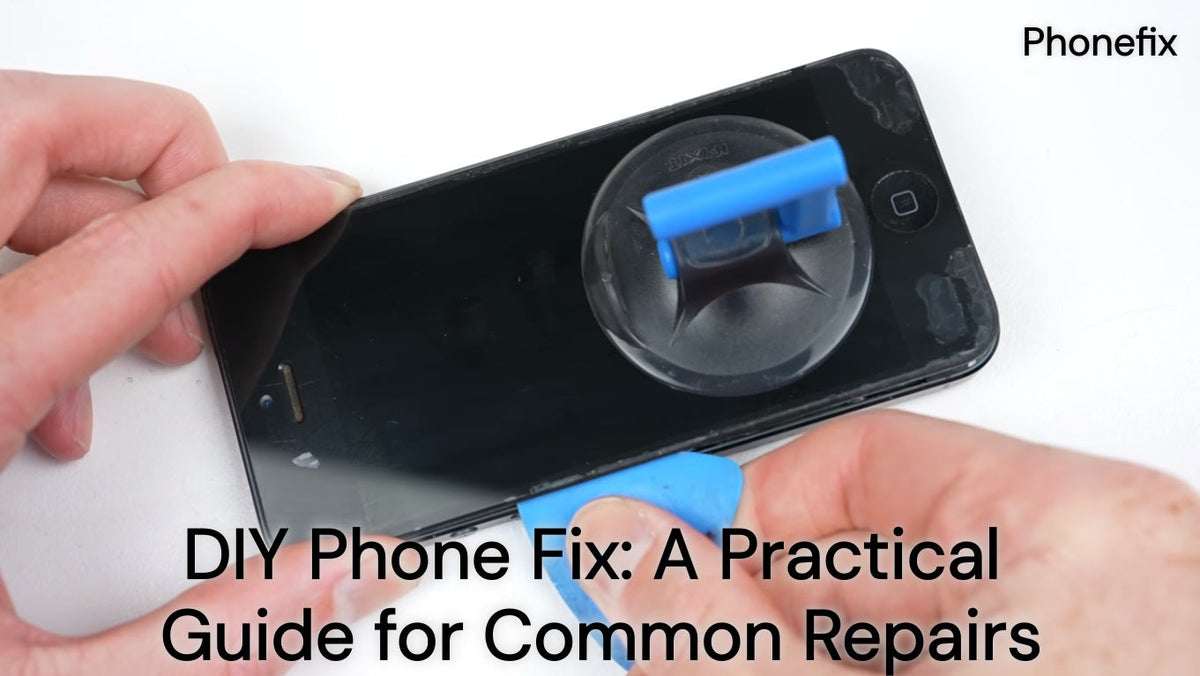
A cracked screen or a dead battery often triggers an expensive repair quote or an unnecessary upgrade. Many common phone faults, however, can be handled at home with the right information and a disciplined approach. This guide covers what a diy phone fix can realistically accomplish, how to prepare, which repairs carry acceptable risk.

I. Before You Open Anything
Most failed DIY repairs begin with a wrong assumption, not a wrong tool.
· Diagnose first
A new screen will not fix a loose display cable. A new battery will not fix a corroded charging port. Before buying any part, swap the cable and charger, restart the device, and note whether the fault is constant or intermittent. Write down any error messages.
· Match the exact model
"iPhone 13" is not specific enough. Internal layouts and part numbers change across regions and revisions. A guide for the wrong sub-model can send a plastic pick into the wrong place.
· Respect the battery before anything else
A swollen or deformed battery ends the DIY process immediately. Swollen lithium-ion cells carry fire and chemical risks, and manufacturers design them to be serviced only with proper precautions. Discharge the phone below 25% before any battery-adjacent work. A charged cell is far more dangerous if accidentally punctured.
· Ground yourself and track your screws
Internal components are sensitive to small electrostatic discharges. Touch a grounded metal surface before reaching inside. Keep screws on a magnetic mat and note which hole each one came from. A long screw forced into a shallow hole can puncture a battery or cut a flex cable underneath.
II. What a DIY Phone Fix Can Realistically Handle
Screen and battery problems dominate repair data. In a dataset of 2,727 repair records compiled from openrepair.org, screen and display faults accounted for 33.9% of Apple repairs, with battery and power issues at 16.3%. These two categories are also where DIY savings are largest, and where risk is most manageable if the device is repair-friendly.
· Charging port cleaning
A port that charges only at a certain angle usually holds compacted lint, not a failed connector. A wooden toothpick and short bursts of compressed air solve most of these cases in minutes, with no disassembly and no parts cost.
· Battery replacement
A former Apple Genius technician reported that, with professional tools and experience, about 2–4% of battery repairs developed issues requiring further work. Without tools and experience, that figure rises to roughly 10–15%. This places the realistic success window at 85–90% for a careful first attempt on a repair-friendly model. Parts typically run $15–$40 against $60–$120 at a shop.
· Screen replacement
A cracked but functional display is the classic DIY screen case. DIY screen assemblies often cost $30–$120, compared with $100–$300 or more professionally. The critical discipline is disconnecting the battery connector before touching any display cable. On iPhones, iFixit awarded the iPhone 16 a repairability score of 7 out of 10, up from 4 out of 10 for the iPhone 15, reflecting design changes that make battery access and display removal more straightforward. Older or more heavily glued models remain considerably harder.
· iPhone-specific limits
Face ID and TrueDepth components are paired with the logic board. A non-genuine or improperly calibrated replacement can leave Face ID permanently disabled for unlocking, payments, and app sign-in. If a repair touches the front sensor assembly, the DIY calculation changes.

III. The Steps That Actually Matter
Every successful repair follows the same order, regardless of the part.
· Screen replacement
Power off and discharge below 25% → remove the bottom screws → soften the adhesive with gentle heat → lift the display with a suction cup and plastic pick → disconnect the battery connector before touching any display cable → transfer the front sensor assembly if the model requires it → test the new display before sealing.
· Battery replacement
Discharge below 25% → open the device → disconnect the battery connector → apply the specified adhesive remover or gentle heat → pry the cell from the bottom edge, never from the centre → install the new battery, reconnect, and charge-test before closing.
· Charging port cleaning
Power off → inspect the port with a flashlight → loosen compacted lint with a wooden or plastic pick → blow out debris with short bursts of compressed air, holding the can upright → never insert metal pins, needles, or tweezers.
IV. FAQ
Q: Why does Face ID stop working after a screen replacement?
The TrueDepth camera and sensor assembly are paired to the logic board. If the flex cable is damaged, or the assembly is replaced without proper calibration, Face ID can be disabled permanently. A screen swap that never touches the sensor can still fail if the top edge is pried too aggressively.
Q: Why do bright spots or dead touch zones appear after a screen install?
Overtightened screws, or a long screw forced into a shallow hole, can press into the display panel or damage the flex cable underneath. The screen can test fine before sealing and fail after the final screws go in. Screw length and position matter more than most guides admit.
Q: Why can compressed air make a charging port worse?
Holding the can at an angle can spray propellant or condensation onto the contacts. That leaves residue and can short the pins. Short upright bursts are safe. Long tilted blasts are not.
Q: Why does water resistance drop after a repair?
The adhesive gasket that seals the display is single-use. Once the phone is opened, the original seal is compromised. Reassembling without a new gasket restores the fit but not the water resistance rating. Most DIY kits do not include one.

A diy phone fix trades a labour fee for time, patience, and a measured risk. Start with diagnosis and cleaning. Move to battery and screen work only on models with clear guides and matched parts. When the battery swells, the board is suspect, or the sensor assembly is involved, a professional is the correct choice. A basic set of phone repair tools, supports the repairs described here and keeps the risk inside a manageable range.


