
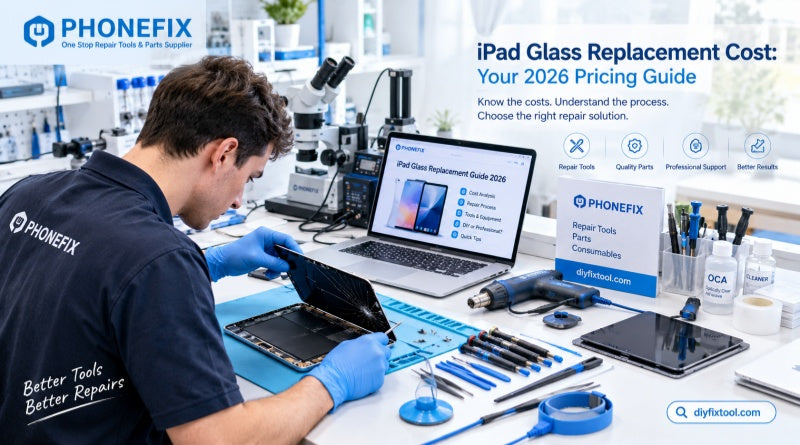
How much does it actually cost to fix an iPad after the screen accidentally shatters? In 2026, the cost of replacing iPad glass depends primarily on the device model, screen construction, extent of the damage, and the chosen repair method. For everyday users, DIY enthusiasts, and professional technicians alike, understanding the structure of different screens, the repair process, and the necessary tools can help keep costs under control while minimizing the risk of further damage.
I. How Much Does iPad Glass Replacement Cost in 2026?
There is no single, fixed price for iPad glass repair. The following ranges are provided for budgeting purposes; actual quotes will vary based on your country or region, the quality of replacement parts, the service provider, and the specific iPad model.
| Repair Type | Estimated Cost (USD) |
|---|---|
| Glass-only replacement for older non-laminated iPads | $40–$150 |
| Screen replacement for entry-level iPads at third-party repair shops | $60–$180 |
| iPad mini / iPad Air screen repair | $120–$350 |
| iPad Pro laminated display assembly replacement | $250–$600+ |
| DIY replacement glass or display parts | $20–$250+ |
These figures are estimates, not fixed prices for every model. High-end models, devices with OLED displays, and repairs performed by the original manufacturer (OEM) may incur higher costs.
What Factors Influence Repair Costs?
1. Whether the Screen Uses a Fully Laminated Design
· In non-laminated screens, the touch-sensitive glass and the LCD panel are separate components. If the LCD and touch functionality are still working, technicians can often replace just the outer glass.
· In fully laminated screens, the glass, touch layer, and display panel are bonded together. Separating the glass requires specialized equipment and significant expertise; if the repair process necessitates replacing the entire display assembly, the cost of parts will naturally be higher.
2. iPad Model and Display Technology
Replacement iPad screen for entry-level iPad models are generally more affordable, whereas repairs for the iPad Air, iPad mini, and iPad Pro typically cost more. Some newer iPad Pro models utilize OLED display technology, which can make the screen assembly significantly more expensive than traditional LCD panels.
3. Hidden Damage and Chassis Deformation
If the screen shows black spots, colored lines, unresponsive touch, or areas with no display, the damage likely extends to the display panel itself. Furthermore, a bent metal frame can complicate the installation of a new screen and compromise its long-term stability.
Repair Tip: Before starting a repair, identify the exact model and inspect the glass, touch functionality, display panel, and frame individually. Do not base the scope of the repair solely on the cracks visible on the screen surface.

II. What Tools Are Needed for iPad Glass Replacement?
If you plan to perform the repair yourself, preparing the right tools is the first step toward minimizing risks.
· Heating pad or adjustable-temperature heat gun: To soften the adhesive around the screen.
· Suction cup and plastic pry tools: To gently lift the screen and gradually separate the bonded areas.
· Precision screwdriver set: For removing screen brackets and internal securing screws.
· Anti-static wrist strap: To reduce the risk of static electricity damaging internal electronic components.
· Tweezers and plastic disassembly tools: For handling ribbon cables, adhesive strips, and small components.
· Screen separation equipment: Used for repairs where the glass can be separated from the display assembly.
· OCA (Optically Clear Adhesive), lamination equipment, or appropriate bonding materials: For re-bonding components based on the screen's specific structure.
· Cleaning tools and new adhesive: For removing residual glue and securing the new glass or display assembly.
Note: UV-curing adhesive is not suitable for all iPad screens. Technicians should select the appropriate bonding method based on the original screen structure and the specifications of the replacement parts.
III. Detailed Repair Steps for iPad Glass Replacement
The following procedure applies to iPads with compatible structures and where repair conditions are met. Because ribbon cable placement, securing methods, and disassembly sequences may vary between generations, always consult the specific repair documentation for your model before beginning.
Step 1: Inspect the device and diagnose the issue
· Test functionality: Verify that the device powers on; check the touch sensitivity, display quality (ensure there are no black spots, bright lines, or flickering), and inspect the frame for any deformation.
· Evaluate the repair strategy: If only the glass is cracked while the display and touch functions remain intact, you may replace just the glass; if the display layer is damaged, the entire screen assembly must be replaced.
Step 2: Power off and heat for disassembly
· Soften the adhesive: Power off the device and use a Screen Heating Separator to evenly warm the edges of the screen.
· Separate the screen: Use a suction cup and a thin pry tool to carefully lift the screen along its edges.
Note: Do not insert the pry tool too deeply, as this could sever internal ribbon cables. If the screen is shattered, take precautions to prevent glass shards from scattering.
Step 3: Disconnecting Power and Ribbon Cables
· Opening the Device Safely: Confirm the orientation of the ribbon cables, then slowly lift the screen (do not pull forcefully).
· Power Disconnection: Remove the securing screws and brackets. Use a plastic tool to disconnect the battery first, then detach the display and touch ribbon cables.

Step 4: Screen Separation/Replacement
· Non-Laminated Screens: Apply heat and use separation equipment to exert even pressure, separating the glass from the LCD.
· Fully Laminated Screens: This process requires highly specialized techniques and equipment; if such professional tools are unavailable, it is recommended to replace the entire display assembly.
Step 5: Removing Adhesive Residue and Bonding
· Cleaning Adhesive: Remove any residual adhesive from the surface of the LCD and the device frame.
· Bonding/Trial Assembly: If replacing only the glass, use OCA (Optically Clear Adhesive) and a laminating machine to bond the components. If replacing the entire assembly, clean the frame and verify that the new part model is correct.
Step 6: Testing and Final Assembly
· Power-On Testing: Reconnect the ribbon cables and the battery. Power on the device to test the touch functionality (including the edges and corners), display quality, brightness, and the front-facing camera.
· Final Sealing: Once everything is confirmed to be working correctly, apply adhesive to secure the screen in place.
Note: Disassembling or repairing the device may compromise its original water and dust resistance.
IV. Professional Repair or DIY? Which Is More Cost-Effective?
For users with repair experience and the proper tools, replacing just the glass on older, non-laminated iPad models can be quite cost-effective.
However, DIY involves more than just the cost of a replacement glass panel. You must also account for the investment in tools, consumables, the time required, and the potential cost of having to replace the entire display assembly if the separation process fails.
Professional repair is generally the better choice if:
· The iPad uses a fully laminated or OLED display.
· The LCD is damaged, or there are issues with touch functionality.
· The device frame is deformed, or there is a risk of liquid ingress.
· The device is of high value, and you cannot afford the potential additional losses resulting from an operational error.
If your device is still covered by an active AppleCare+ plan, verify the applicable service fees for accidental damage and the terms of coverage before deciding whether to disassemble the device yourself. Performing your own repairs may affect your eligibility for future service or warranty benefits.

V. Repair or Replace? How to Make the Right Choice
It is advisable to check the current market value of your specific model—looking at prices for used or refurbished units—and compare this against the repair quote. As a general guideline, if repair costs reach 50% of the device's current market value, it is time to re-evaluate your options; however, this is not a hard-and-fast rule. Other factors, such as the device's remaining lifespan, battery health, software support status, and your own personal usage needs, should also be considered.
Whether you choose a DIY approach or professional repair, always begin by accurately diagnosing the fault, gathering the appropriate tools, and testing the display and touch functionality before sealing the device. For repair technicians, following standardized disassembly and assembly procedures, using reliable replacement parts, and conducting thorough functional testing are essential for minimizing rework and ensuring a successful repair. If you are preparing for an iPad screen repair, visit the official China Phonefix website to explore a range of repair tools for phones and tablets, precision disassembly equipment, and essential repair consumables—everything you need for a more efficient and professional repair process.


