
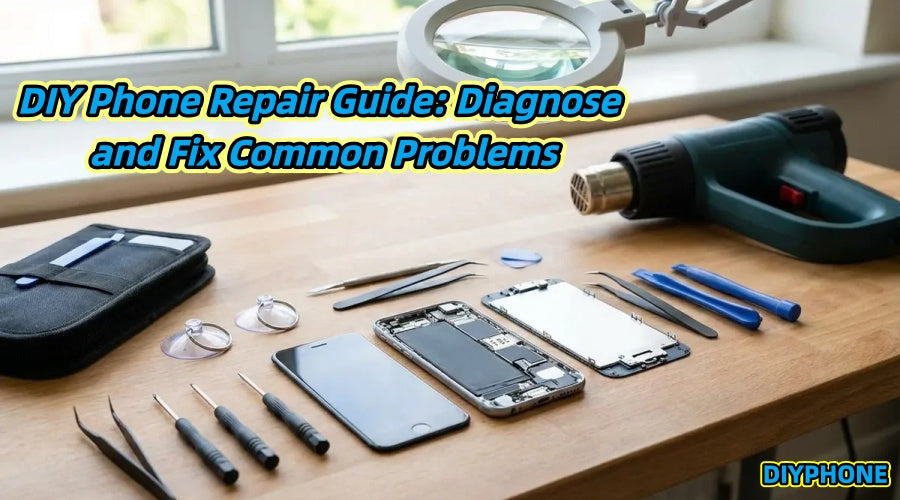
After a mobile phone has been used for a long time, it is inevitable that various problems may occur. However, in reality, some common minor faults can be repaired by yourself after proper diagnosis and simple handling. Of course, DIY repair does not mean that you can simply disassemble the phone. Incorrect operations may turn an originally minor problem into a more serious hardware failure. Therefore, before starting a repair, you should first determine the cause of the fault, prepare the appropriate tools, and then operate according to the correct procedures.

I. Before Repair: Diagnose the Problem First
When a mobile phone behaves abnormally, the most important first step is not to disassemble it, but to determine whether the problem comes from the software or the hardware.
1. Perform Basic Troubleshooting First
Problems such as a slow phone, overheating, or fast battery drain do not necessarily mean that the hardware is damaged. You can first try restarting the phone and checking whether the system has any available updates. If the problem disappears after restarting, it is likely just a temporary software issue. If the battery drains too quickly, you can enter the system settings to check battery usage and determine whether a particular app has been running in the background for a long time or whether the overall battery capacity has already declined significantly.
2. Diagnose the Fault Based on the Symptoms
· Cracks on the screen, unresponsive touch, or abnormal display are usually related to the screen assembly.
· If the phone suddenly cannot charge, first check whether there is dust or debris on the charging cable, charger, or port.
· If the speaker becomes quieter or produces obvious noise, the speaker openings may be blocked, or the speaker itself may be damaged.
· If the phone cannot turn on after being exposed to water, power should be disconnected and the moisture should be dealt with first, rather than repeatedly attempting to turn the phone on.
· If the phone frequently freezes, restarts, or behaves abnormally, software problems should be ruled out first before considering hardware repair.
3. Prepare Basic Repair Tools
DIY mobile phone repair usually requires tools such as precision screwdrivers, plastic pry tools, suction cups, tweezers, soft brushes, replacement adhesive strips, and magnetic screw mats. Different phones use different screw specifications and have different internal structures, so it is best to confirm the disassembly method for the specific model in advance. During repair, pay attention to the following:
· During the repair process, use plastic pry tools whenever possible instead of metal tools. Metal tools can easily scratch flex cables, the motherboard, or the battery, and may also cause a short circuit.
· Before repairing the phone, turn it off and disconnect the power. If the device has a removable battery, remove the battery first. For models with built-in batteries, disconnect the battery connector first after opening the device.

II. Screen and Battery Faults
1. Cracked Screen or Unresponsive Touch
The screen is one of the components of a mobile phone most vulnerable to physical damage. Minor cracks may only affect the appearance, but if the touch function has stopped working, the screen has gone black, or lines appear on the display, the screen assembly may need to be replaced. Before repairing, first confirm that the new screen model is completely compatible with the phone, and prepare the disassembly tools and new screen adhesive. The following basic steps can be used as a reference:
Step 1. Turn off the phone and disconnect the power.
Step 2. Use a Screen Heating Separator to evenly heat the edges of the screen so that the original adhesive gradually softens. Do not concentrate heat on one location for a long time, as this may damage the screen, frame, or internal components.
Step 3. Use a suction cup together with a plastic pry tool to slowly separate the screen from the edges. A cracked screen may produce sharp pieces of glass, so appropriate hand protection should be used during the operation.
Step 4. After opening the screen, do not immediately pull on it because the screen flex cable is still connected to the motherboard. First locate the flex cable, and then disconnect it.
Step 5. Remove the old adhesive and check whether the frame is deformed. Before installing the new screen, temporarily connect it for testing to confirm that the display and touch functions work properly.
Step 6. After confirming that there are no problems, install the new adhesive strips or adhesive material and accurately align the screen.
PS: The most important thing when installing a screen is alignment. If there are obvious gaps around the edges, it will not only affect the appearance but also reduce the phone's dust and water resistance.
2. Significantly Reduced Battery Life
After a phone has been used for several years, its battery capacity will naturally decline. If the phone quickly drops from a full charge to a low battery level, or if the battery percentage behaves abnormally, you may consider replacing the battery. The following basic steps can be used as a reference:
Step 1. Turn off the phone and disconnect the battery. Carefully remove the back cover and locate the adhesive securing the battery.
Step 2. Slowly remove the old battery, avoiding damage to nearby flex cables and the motherboard. After cleaning away any remaining adhesive, place the new battery in its original position.
Step 3. Reconnect the battery flex cable and perform a power-on and charging test before closing the phone. After confirming that the phone works normally, secure the back cover.
PS: Particular attention should be paid to safety when removing a battery. Do not use sharp metal objects to pry the battery directly, and do not bend, puncture, or squeeze the battery. If the battery is visibly swollen, leaking, abnormally hot, or damaged, DIY removal is not recommended.

III. Charging and Speaker Faults
1. Phone Cannot Charge
If there is no response after connecting the phone to a charging cable, it does not necessarily mean that the charging port is damaged. When a phone is regularly kept in a pocket or backpack, dust, lint, and other debris can easily accumulate inside the charging port and affect normal contact between the charging contacts. Therefore, before replacing the charging port, you can first perform a simple inspection and cleaning.
Step 1. Turn off the phone and use a flashlight to inspect the inside of the charging port for dust, lint, or other foreign objects. If obvious debris is found, use a soft Charging Port Cleaner to gently clean it.
Step 2. Do not use sharp metal tools during cleaning, and do not force anything into the port, as this may damage the charging contacts. If compressed air is needed, use dry compressed air designed for cleaning electronic devices and avoid introducing moisture into the phone.
Step 3. After cleaning, reconnect a known-good charging cable and charger for testing. If the phone charges normally, the problem was most likely caused by dust accumulation inside the port, and the charging port does not need to be replaced immediately. If the phone still cannot charge after cleaning, further inspection of the charging cable, charger, port contacts, and internal charging components is required.
PS: Do not blow directly into the charging port with your mouth, because moisture in your breath may enter the phone. If there are obvious green, white, or other signs of corrosion inside the port, or if the phone has previously been exposed to water, it is not recommended to rely on simple cleaning alone. Further inspection should be performed to determine whether liquid damage has occurred.
2. Speaker Becomes Quieter or Produces Noise
When a phone speaker becomes quieter, sounds muffled, or produces noise, it does not necessarily need to be replaced immediately. Dust blocking the speaker openings, water exposure, and software abnormalities can all cause similar symptoms, so the fault should be diagnosed first.
Step 1. Play a familiar piece of music or a video and set the phone volume to a normal level to confirm whether the problem continues. At the same time, check whether the audio output is connected to Bluetooth headphones or another device. If only one particular app has no sound, also check that app's volume and audio settings.
Step 2. Check whether there is obvious dust or debris blocking the speaker openings. Use a soft small brush to gently clean the surface. Do not insert sharp objects such as needles or toothpicks directly into the speaker openings, as this may damage the internal diaphragm or other components.
Step 3. Test the speaker again after cleaning. If the sound returns to normal, the problem was usually caused by dust blockage. If the sound remains abnormal, try restarting the phone to rule out a temporary software problem. For a phone that has previously been exposed to water, allow it to dry completely before testing the sound.
PS: If the speaker still produces no sound or continues to produce obvious noise after cleaning, restarting, and basic inspection, it may be necessary to open the phone and inspect the speaker flex cable and connector. When replacing the speaker, disconnect the power first, remove the original component, install the new speaker, and perform a function test before completing the final assembly to confirm that the sound works normally.

IV. Water Damage and Software Faults
1. What to Do After a Phone Is Exposed to Water
After a phone has been exposed to water, the most important thing is to disconnect the power as soon as possible rather than repeatedly trying to turn it on. Once water enters the phone, it may cause a short circuit while the device is powered on and may lead to corrosion over time. Therefore, after discovering water exposure, stop using the phone and prioritize drying it.
Step 1. Immediately turn off the phone and disconnect all external connections, including charging cables and headphones. If the phone supports safe battery removal, disconnect the battery to stop current from continuing to flow through the internal circuits as much as possible.
Step 2. Use dry, soft materials to absorb water from the exterior of the phone and around the ports. Do not repeatedly press the power button or other buttons, and do not immediately connect a charger to test whether the phone still works normally.
Step 3. Place the phone in a well-ventilated, dry environment and allow the remaining moisture inside to evaporate gradually. The internal structure of a phone is relatively complex, so simply drying the exterior does not mean that the inside is completely dry. Therefore, sufficient drying time is required.
PS: Although rice can absorb some moisture, it cannot effectively deal with liquid that has already entered the motherboard. Rice grains and dust may also enter areas such as the charging port and speaker.
2. Try Simple Solutions for Software Faults First
Not all phone problems require disassembly. For issues such as lagging, unresponsive apps, or occasional automatic restarts, you can first perform software troubleshooting:
· First, try a soft restart. A soft restart will not delete personal data on the phone and is suitable for dealing with temporary system abnormalities.
· Check for system updates. Software updates released by phone manufacturers usually fix known vulnerabilities and system errors, so before performing complex repairs, it is important to confirm that the system is properly updated.
· A factory reset should be used only as a last resort. Before performing it, you must back up important photos, contacts, and files because a factory reset will delete personal data stored on the device.
What truly matters in DIY mobile phone repair is being able to correctly diagnose the problem and knowing when to handle it yourself and when to stop. For common issues such as screen replacement, battery replacement, port cleaning, and speaker inspection, DIY repair may be possible. However, for high-risk faults such as a swollen battery, severe water damage, or motherboard corrosion, you should not force yourself to proceed simply to save on repair costs.
As long as you understand the correct repair approach, prepare an appropriate Mobile Phone Repair Toolkit, and strictly follow safety procedures, DIY mobile phone repair can not only reduce the cost of repairing some common faults but also help you better understand the internal structure and operating principles of mobile phones.


