
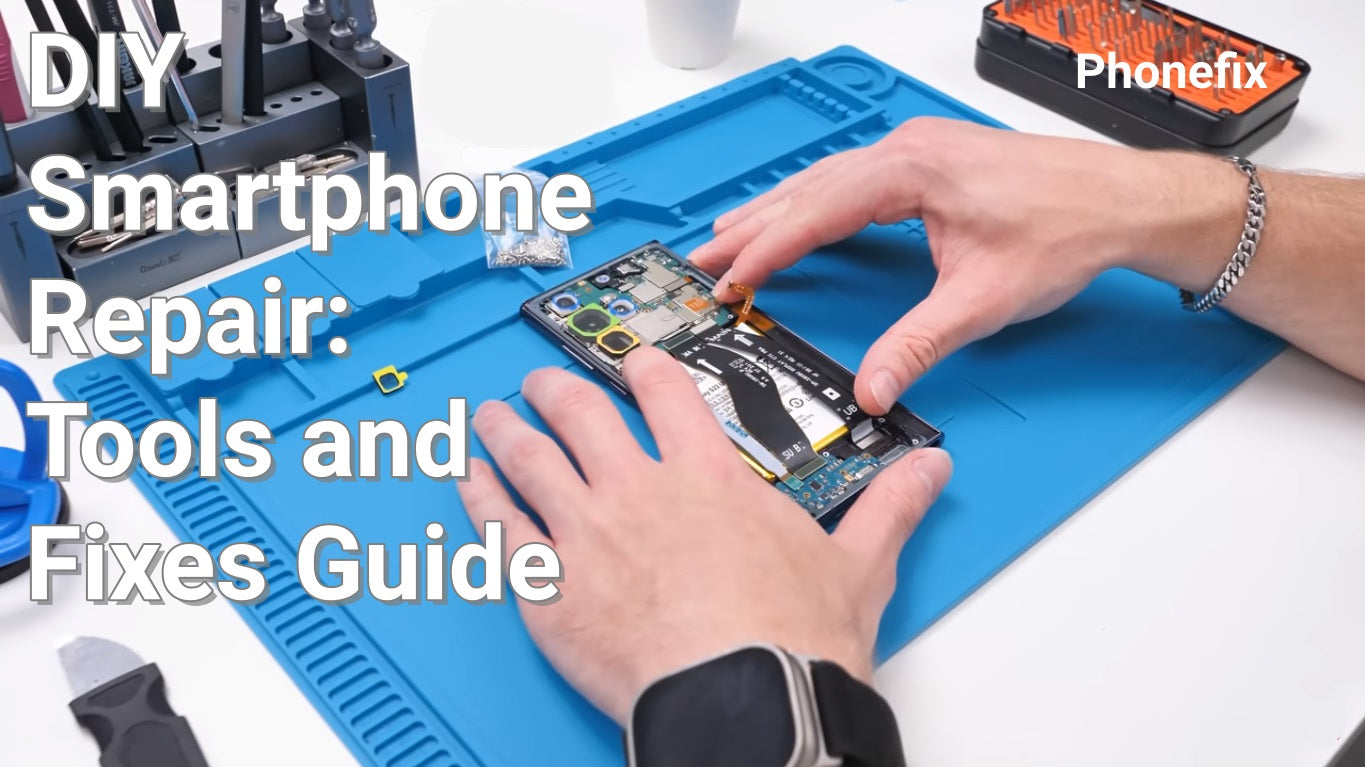
Smartphones break, batteries wear out, and charging ports stop working. Many people take their phones to repair shops for small problems that could be fixed at home. Learning to fix common phone issues is not as hard as it seems. This guide covers the essential tools needed, explains three common repairs, and answers five frequent questions.
I. Essential Tools for DIY Smartphone Repair
A good set of tools makes phone repair easier and safer. You do not need every tool on a repair bench, but a basic kit handles most jobs.
· Precision Screwdriver Set. Phones use tiny screws with different head shapes. Apple models often use Pentalobe screws. Samsung and other Android phones use Phillips or Torx screws. A set with Pentalobe P2, Phillips PH000, and Torx T3 to T5 works for many repairs. Cheap bits slip easily and damage screw heads.
· Plastic opening tools. These include spudgers and picks. They separate glued parts without scratching the metal frame. Metal tools can short-circuit internal parts, so plastic is safer.
· Suction cup. A small suction cup helps lift the screen from the frame. It creates the first gap so you can insert a pick.
· Heat source. A hot air gun softens the adhesive under the screen or back cover. Heat makes the opening process much easier.
· Tweezers. Fine-point tweezers help handle tiny connectors and brackets.
· Isopropyl alcohol (90% or higher). This liquid cleans old glue from the frame and components. It evaporates quickly and leaves no residue.
· Magnetic mat or parts tray. These hold small screws in order. Different screws in the same phone may have different lengths, so keeping them separate prevents mistakes.
· Replacement adhesive. After opening the phone, the old glue will not stick again. New adhesive strips or B7000 glue seal the device properly.

II. Common Smartphone Problems and How to Fix Them
Most phone repairs fall into three categories: cracked screens, weak batteries, and dirty charging ports. Each repair follows a clear step‑by‑step process.
1. Cracked Screen Replacement
· A cracked screen looks bad, but replacing it is one of the most popular DIY repairs.
Turn off the phone completely. If possible, drain the battery to under 25% to reduce fire risk. Apply heat around the screen edges for about one minute. The heat softens the adhesive. Place the suction cup near the bottom edge and pull gently. Insert a plastic pick into the small gap. Work the pick slowly around the screen. If the screen does not lift, apply more heat.
· Once the screen is loose, locate the flex cables that connect it to the main board. Use a plastic spudger to disconnect them carefully. Remove old glue from the frame with isopropyl alcohol and a clean cloth. Connect the new screen's cables in the reverse order. Turn on the phone to test the display and touch response before final sealing. If everything works, apply fresh adhesive and press the new screen firmly into place.
2. Battery Replacement
· Old batteries show clear signs. The phone shuts down at 20% charge, charging takes very long, or the back cover bulges. Replacing the Phone Battery is straightforward.
Power off the phone and discharge the battery below 25%. Open the phone following a model‑specific guide. Find the battery—it is a flat rectangle taking up a large space inside. · Disconnect the battery's flex cable from the main board using a plastic spudger. This step prevents short circuits.
· Many batteries are stuck with strong adhesive. Apply gentle heat to the back of the phone above the battery area to loosen the glue. Use plastic tools to pry the old battery out. Never use metal tools near the battery. Puncturing a lithium‑ion battery can cause fire or chemical burns. Clean the battery area, place the new battery, and connect its cable securely. Test the phone by powering it on before closing it up.
3. Charging Port Cleaning
· Charging problems often come from pocket lint. The charging port collects dust and fabric fibers every day. Each time you plug in the cable, the lint gets packed tighter.
· Turn the phone off. Shine a flashlight into the port to see the debris. Use a wooden toothpick or plastic pick—never metal—to gently scrape along the sides of the port. Do not touch the center pin.
· Blow out the loosened particles with short bursts of compressed air. If cleaning does not fix the issue, the port may be physically damaged and require professional replacement.

III. FAQ
1. Can a hairdryer replace a hot air gun?
Yes, for occasional repairs. A hairdryer can soften adhesive, but it does not control temperature as well as a hot air gun. For frequent repairs, a hot air gun is better.
2. Which tool is most important for phone repair?
A quality precision screwdriver set that includes Pentalobe, Phillips, and Torx bits is the most important. Without the right bits, even simple repairs become difficult.
3. How do I tell if the battery is bad or if it is a software issue?
Check the battery health in settings. On iPhones, go to Settings > Battery > Battery Health. If maximum capacity is below 80%, the battery needs replacement. Android phones have similar battery info pages. If the health looks normal but the phone drains fast, try a factory reset to rule out software problems.
4. Is DIY phone repair safe?
Yes, as long as you take precautions. Always turn off the phone. Disconnect the battery as soon as you open the device. Work on a clean, non‑carpeted surface. Touch a metal object sometimes to remove static electricity. Avoid metal tools near the battery and cables. Stop and ask for help if you feel unsure.
5. Where can I find reliable guides for my specific phone model?
iFixit provides free step‑by‑step guides with clear photos for many devices. YouTube also has many teardown videos. Search for your phone model plus the word "teardown" or "screen replacement." Watch the whole video before starting. China Phonefix also provide video, blog and phone repair tools.
DIY smartphone repair saves money, reduces electronic waste, and builds useful skills. Start with the easiest repair and move to harder ones as you gain confidence. Gather the right Phone Repair Tools before beginning and follow a guide for your exact model. Most repairs fail because of wrong tools or skipped steps. With patience and careful work, your phone can work like new again without a trip to the shop.


