Failures caused by liquid ingress or moisture are the most common issues. When liquid enters a motherboard, it not only triggers short circuits but also rapidly initiates electrochemical reactions in metal components, leading to failure. Therefore, precise and safe cleaning and circuit reconstruction are critical to repair quality. DIYPHONE will explore the professional application of grinding pens in the repair of corrosion caused by liquid ingress.

I. Fault Analysis and Tool Preparation
When a mobile phone suffers from water ingress, the motherboard does not necessarily become scrap immediately, but the liquid will form ion migration driven by electric charges.
1. Typical Damage
· Component Pin Corrosion: Tiny condensation droplets combine with the motherboard solder pads and the metal contacts of components, creating an oxide layer that directly destroys electrical connections.
· Solder Pad Detachment and Carbonization: Prolonged power supply at corrosion points can cause solder pads to carbonize, making it impossible to re-solder components.
· Circuit Breakage: Severe electrochemical corrosion can cause tiny copper foil traces to break, leading to interruptions in relevant signal chains or power rails, causing the phone to fail to boot, lack functionality, or experience power leakage.
When dealing with these faults, simply using an ultrasonic cleaner or board cleaning solution is no longer sufficient to solve the problem. Physical micro-machining methods must be employed to clear the damaged areas and expose the solderable metal substrate.
2. Core Repair Tools
Efficient repair depends on the collaborative work of professional tools:
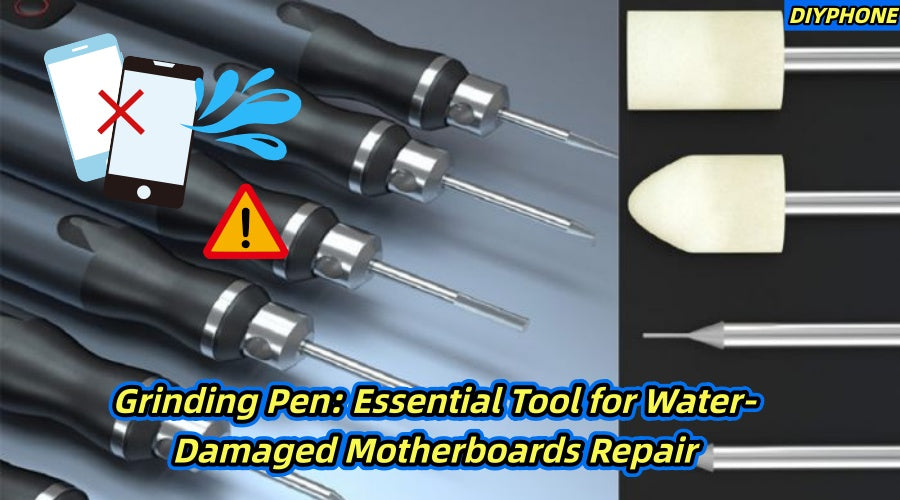
· Grinding Pen: This is the core tool for repairing corroded circuits. It is necessary to choose a model equipped with diamond grinding bits of different specifications to remove oxide layers or cut away damaged insulating lacquer in tiny spaces.
· Hot Air Gun: Used in conjunction with high-quality solder paste for chip reballing and jumper wire repairs.
· Trinocular Stereo Microscope: An essential tool for observing corrosion details and grinding depth, ensuring that surrounding normal circuits are not damaged during the cleaning process.
· Heat-Resistant Tape and Flux: To protect surrounding components from heat damage while improving soldering quality.
· Enameled Wire: Used for physical bridging of broken copper traces.

II. Implementation Steps for Corrosion Repair
Repairing a water-damaged corrosion board is a delicate operation akin to "bomb disposal" and must follow rigorous steps:
Step 1. Fault Assessment and Area Identification
First, use a microscope to conduct a comprehensive inspection of the motherboard, focusing on areas with dense capacitors and resistors, as well as the surroundings of BGA chips. Use a multimeter to detect the ground resistance of critical power rails to identify abnormal circuits. Once an abnormal resistance or obvious white oxidation spots are found in an area, the corrosion point can be locked.
Step 2. Physical Cleaning Using an Grinding Pen
For IC pins with severe oxidation or corroded solder pads, use the fine grinding bit of the grinding pen to accurately grind the damaged pads until the silver-bright metal substrate is exposed. If a circuit is broken due to corrosion, the Precision Grinding Pen can be used to remove the insulating layer (green mask) at both ends of the break to expose the underlying copper foil, creating conditions for the subsequent jumper wire soldering. If a solder pad has carbonized due to overheating, it must be carefully ground away with the grinding pen until the normal copper foil layer is reached.
Step 3. Soldering Reconstruction and Circuit Continuity
After cleaning is completed, if the IC pins are only slightly oxidized, clean them, apply sufficient flux, and use a soldering iron to re-tin and solder. For broken PCB traces, use enameled wire for jumper connections. Use the grinding pen to clean the metal contact points at both ends, and bridge the interrupted signals using the enameled wire. After soldering is finished, be sure to use UV-curing green solder mask to encapsulate the exposed copper foil and jumper wires to prevent re-oxidation caused by moisture in the air.

III. Post-Repair Inspection and Evaluation
After completing the physical repairs, do not reassemble the device immediately.
· Resistance Recheck: Use a multimeter to re-measure the ground resistance of the repaired area to ensure there are no more short circuits or open circuits.
· Current Monitoring: Connect the motherboard to a DC power supply and observe whether the trigger current is normal to check for power leakage caused by cold solder joints.
· Full Function Test: Finally, reassemble the phone and focus on testing the functional modules associated with the damaged area to ensure the repair effect is stable.
Summary
In mobile phone water ingress repairs, through the precise micro-machining of an grinding pen, combined with professional microscopic observation and scientific jumper wire techniques, many highly integrated mobile phone motherboards that seem impossible to repair can be effectively saved. The essence of mobile phone repair lies in the control of details, and the correct combination of professional Phone Repair Tools is the foundation for achieving this goal.


