
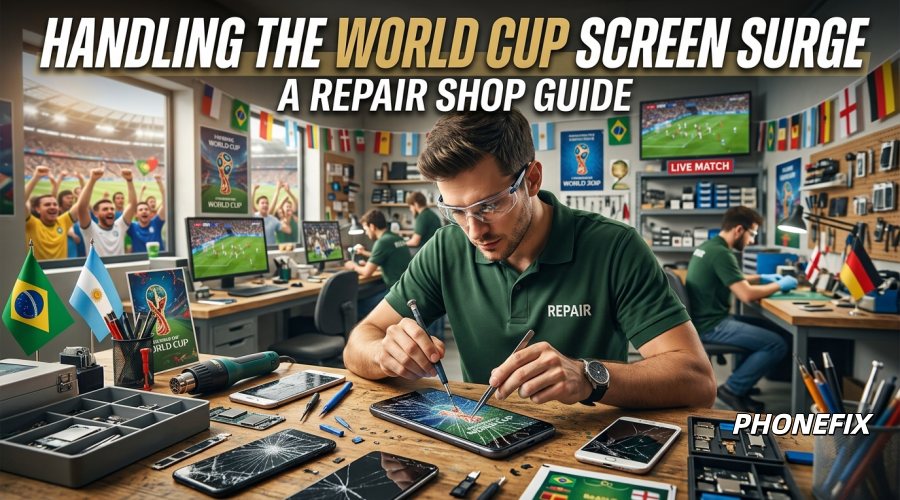
As the quadrennial World Cup kicks off, fans around the globe are immersed in a sea of revelry. However, amid the excitement, many fans often accidentally drop their phones, have them slip out due to sweaty hands, or even toss them in anger. For mobile phone repair shops, this undoubtedly brings a wave of unexpected business peaks. Facing an overwhelming number of broken-screen phones, how to achieve fast, non-destructive, and efficient batch screen replacement has become the key to whether a repair shop can convert traffic into wealth.

I. Screen Breakage Failures and Repair Preparation
A broken phone screen is not simply a matter of surface glass shattering; most modern smartphones use full-lamination technology, where the screen is tightly integrated with the touch layer and even the display layer. Under violent impact, stress concentration points can easily cause internal ribbon cable damage or liquid crystal leakage.
1. Analysis of Common Screen Damage Types
· Outer screen shattering: Only the touch glass layer is broken, while the display and touch functions remain normal.
· Inner screen damage: Manifests as display stripes, black screens, liquid leakage, or touch failure; this is the most challenging type of repair.
· Structural deformation: The phone's middle frame undergoes slight deformation upon impact, preventing the new screen from seating completely, which is a hidden risk for later screen lifting or re-shattering.
2. Key Steps for Repair Preparation
Before starting the repair, professional technicians must complete the following preparations to ensure the safety of subsequent operations:
· Status confirmation: Check if the phone can still power on, attempt to back up data, and record the device's original physical damage, especially dents on the frame.
· Electrostatic protection: Work on an anti-static mat or wear an anti-static wrist strap to prevent static electricity from breaking down precise components on the phone's motherboard.
· Material verification: Confirm that the specifications of the new screen (such as OLED or LCD material) perfectly match the model, and perform a temporary ribbon cable test first to ensure the screen has no dead pixels and the touch is responsive.

II. Repair Toolkits and Applications
Facing high-density repair demands during the World Cup, efficiency and non-destructive disassembly are core competitiveness. Below are the "must-have tools" for professional repair shops and their application scenarios.
1. Intelligent Screen Heating Station
When dealing with tightly sealed flagship models, proper temperature-controlled assistance is essential. An intelligent heating station can not only efficiently soften waterproof adhesive but also protect internal batteries and motherboards.
· Operation logic: The device has a built-in precise temperature control system that can set a constant heating temperature (usually between 80℃-90℃) and apply heat to the screen edges through uniform heat conduction to soften the waterproof adhesive.
· Advantages: Compared to traditional handheld hot air guns, a screen heating station avoids internal component damage caused by localized overheating. It also ensures consistent adhesive softening, making the disassembly process smoother and significantly increasing efficiency, which is especially suitable for batch processing of screen separation caused by drops.
2. Precision Screwdriver Disassembly Set
The screw specifications for different brands of phones vary widely, such as the pentalobe, Phillips, and tri-point screws used by iPhones.
· Disassembly key points: Repair shops must be equipped with high-hardness, anti-magnetic S2 alloy steel bits. During disassembly, screws should be placed on a magnetic mat according to their length and position to prevent the misuse of long screws during reassembly, which could damage the motherboard baseband or capacitors. Using a dedicated nylon pry tool can protect the ribbon cable connectors and prevent the plastic clips from breaking due to excessive force.
3. Adhesive Removal and Lamination Technology
After the screen is removed, the residual waterproof adhesive on the frame is the biggest obstacle to installing a new screen.
· Adhesive removal tips: Use OCA Glue Remover Liquid, apply it precisely to the residual glue on the frame, and let it sit for a moment before peeling off the old glue completely.
· Waterproof restoration: After thoroughly cleaning the frame, apply specialized frame sealing adhesive; this not only prevents dust from entering the screen but also ensures the overall seal after installation, restoring the phone's factory-level shock resistance.
4. Role of Pressure Fixing Fixtures
Many repair shops experience screen gaps or glue overflow after a screen change, which is often caused by improper securing.
· Precise pressure application: After the screen is installed, use a multi-functional pressure fixing fixture, which can provide balanced vertical pressure. During the curing process of the adhesive, the fixture prevents the screen edges from lifting and ensures the display module fits perfectly with the metal middle frame. Screens repaired with this process not only have a solid touch feel but also have significantly improved resistance to external impact, effectively avoiding the predicament of secondary repairs.

III. Steps for Screen Replacement Repair
Combined with the professional tools mentioned above, a standard, modular core operation process for mobile phone screen replacement is outlined below.
Step 1. Disassembly and Separation
Use a screwdriver to remove the bottom pentalobe screws. Secure the phone on the Screen Heating Separator and adjust the suction cup position to lock it. Slowly turn the knob to create a small gap, then use an ultra-thin pry tool to gently slice along the edge to clear the residual waterproof adhesive. Flip the screen from the side like turning a book (be careful not to break the ribbon cables for the screen and ambient light sensor).
Step 2. Power Cut and Component Transfer
Use a special bit to remove the battery ribbon cable protection cover and disconnect the battery connector to achieve a complete power cut. Then, disconnect the screen and touch ribbon cables to remove the broken screen. If you are replacing it with a bare screen without pre-installed accessories, you need to use precision tweezers and a screwdriver to carefully remove the earpiece module, FaceID/fingerprint sensor, and light sensor ribbon cable from the broken screen one by one, and transfer them to the new screen exactly as they were.
Step 3. Cleaning the Middle Frame and Glue Application
Use adhesive remover to clean the old glue residue from the middle frame. Before formal sealing, you must connect the new screen's ribbon cable to the motherboard for a "bare machine test." Power on to check if the image has any color difference or bright lines, and drag icons on the screen to test if the full-screen touch is smooth. After confirming the test, power off and cut the power, then evenly apply or stick new high-viscosity middle frame waterproof adhesive around the frame.
Step 4. Fastening and Pressure Curing
Neatly connect the new screen's ribbon cables (with the transferred accessories) back to the motherboard, and lock all the protective metal plates and screws. Align the screen perfectly with the middle frame, and press gently from top to bottom until you hear a faint clicking sound. Then, place the whole device into the pressure fixing fixture, tighten it appropriately, and let it sit for 10 to 15 minutes to allow the edge adhesive to fully cure and set. Finally, wipe off any trace amount of glue that has overflowed to complete the screen replacement.
IV. Recommendations
The revelry of the World Cup will always come to an end, but the competition in the mobile phone repair industry never stops. For mobile phone repair shops, the busyness during the World Cup is not just a test of physical stamina, but a test of the professionalization of the repair process. Through the application of the aforementioned professional Mobile Repair Tools, not only can the repair time per unit be significantly shortened, but a high standard of repair quality can also be maintained during this period, thereby winning the continued trust of fan customers.


