
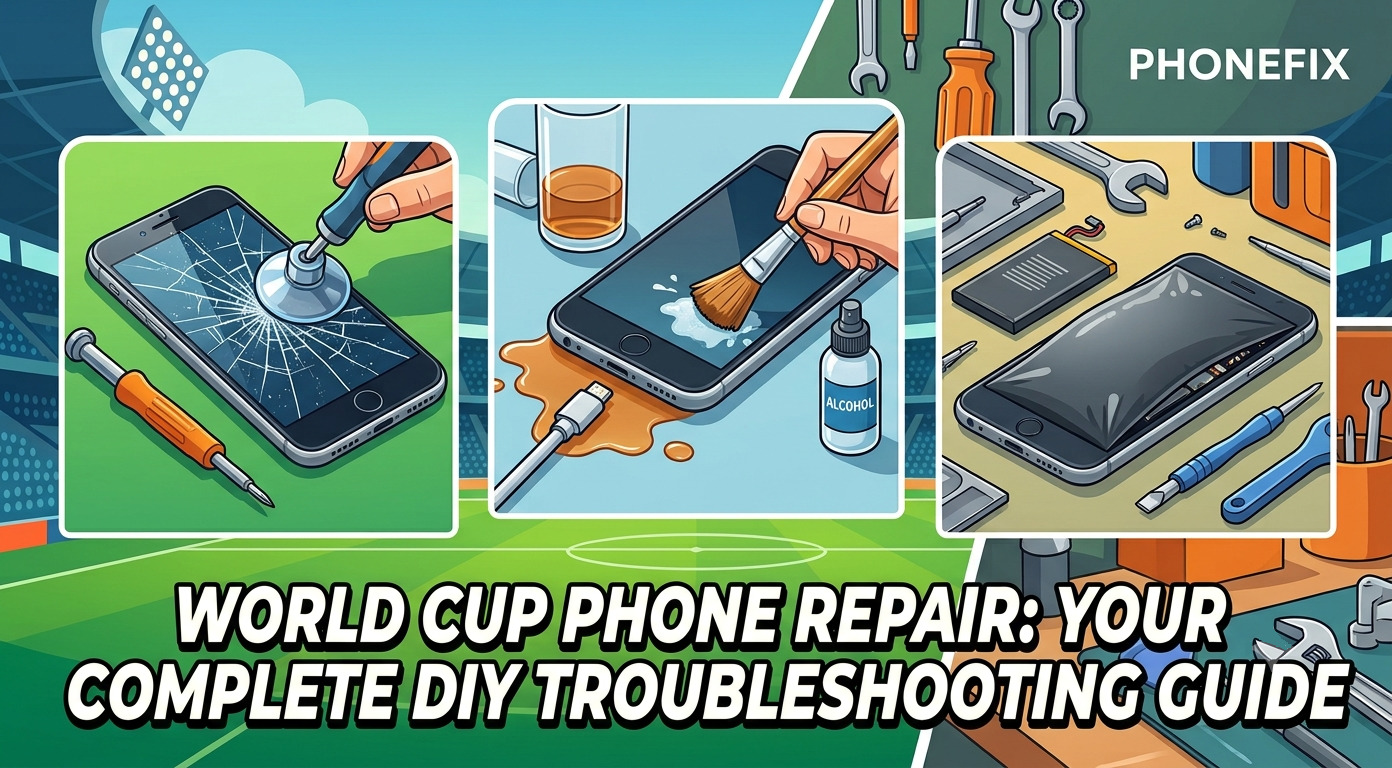
The knockout stage of the World Cup brings a dense schedule of matches. Fans spend long hours on their phones for live streaming, match data, and social interaction, which significantly increases the device workload. During this period, the occurrence of phone drops, liquid spills, and battery depletion rises notably. This guide covers the phenomena, diagnostic methods, and repair steps for these three common failures, and also lists the required tools and precautions.

I. Cracked Screen
After impact, the screen shows visible cracks, touch response becomes erratic, or display areas develop black spots, lines, or go completely black. The phone may still ring or vibrate.
1. Diagnosis
If the phone supports video output (e.g., USB‑C to HDMI), connect it to an external monitor to see if the image appears normal. This helps determine whether only the screen is damaged or the motherboard is also faulty.
2. Required Tools
PH00 cross‑head screwdriver, plastic opening pick, suction cup, isopropyl alcohol (≥90%), lint‑free cloth, new Phone Screen Assembly matching the exact model, and tweezers.
3. Steps
· Power off the phone and remove the SIM card tray.
· Unscrew the fixing screws at the bottom of the frame.
· Place the suction cup near the bottom edge of the screen, lift gently to create a small gap.
· Insert the pick into the gap and slide it around the entire perimeter to separate the screen from the frame.
· Lift the screen and use tweezers to release the latch on the display flex cable.
· Clean the old adhesive residue from the frame with isopropyl alcohol applied to a lint‑free cloth.
· Connect the new screen’s flex cable to the motherboard and ensure the latch clicks securely.
· Peel off the protective film from the back of the new screen, align it with the frame, and · press firmly around the edges.
· Reinstall the screws and SIM tray, then power on to test touch and display.
4. Precautions
Always disconnect the battery connector first before removing the display cable to prevent short circuits. If the glass is severely shattered, apply clear tape over it to hold fragments in place. If touch offset occurs after replacement, a restart usually recalibrates it.
II. Charging Port Liquid Damage
After a drink spill, inserting the charging cable produces no response, or the system shows a “moisture detected” warning, preventing normal charging.
1. Diagnosis
Use a bright flashlight to inspect the inside of the port. Look for visible liquid residue or discoloured metal contacts (greenish or whitish).
2. Required Tools
Anti‑static soft brush, Cleaning Cloth, isopropyl alcohol (99%), cool‑air blower, sealed bag and silica gel desiccant.
3. Steps
· Power off immediately and unplug all cables.
· Gently brush the inside of the port with the soft brush to remove dust and debris.
· Dampen the cloth with a small amount of isopropyl alcohol and wipe the metal contacts inside the port to remove oxidation.
· Air‑dry the port for 30 minutes, or use the cool‑air blower from a distance of 10 cm for one minute.
· If liquid may have penetrated deeper, place the phone in the sealed bag with desiccant for four hours.
· Try charging again. If it still fails, the charging flex cable assembly needs replacement.
4. Precautions
Do not use a cotton swab aggressively to avoid bending the small tongue inside the port. Never use hot air or heating equipment, as high temperatures damage the battery and plastic parts. If contacts show obvious corrosion, cleaning will not help; replace the entire charging port assembly.

III. Battery Aging
Battery runtime becomes noticeably shorter, or the phone shuts down suddenly even when the charge indicator shows above 20%. The back cover may bulge slightly.
1. Diagnosis
Use the system’s built‑in diagnostic code or install an app like AccuBattery to read the ratio of actual capacity to design capacity.
2. Required Tools
PH00 screwdriver, plastic spudger, suction cup, a new phone battery of the exact same model and capacity (mAh), and double‑sided tape designed for battery mounting.
3. Steps
· Power off and remove the back cover (for waterproof models, first unscrew the external screws).
· Locate the battery flex connector on the motherboard and carefully lift it straight up with the spudger.
· If a pull‑tab adhesive is present under the battery, pull it slowly in the indicated direction to release the old battery.
· Apply double‑sided tape to the back of the new battery, place it into the compartment, and press down firmly.
· Reconnect the battery flex cable, ensuring it clicks securely.
· Reinstall the back cover and tighten all screws.
· After power‑on, charge to 100% for the first time, then use the phone until it shuts off automatically to calibrate the battery gauge.
4. Precautions
Lithium‑ion batteries must never be punctured or bent. If the phone originally had IP68 water resistance, apply a new waterproof adhesive seal before closing the cover; otherwise, water protection is lost.
IV. Overview of Solutions
All the phone repair tools and replacement parts required for the three repairs described above are available from Phonefix. In addition, diyfixtool.com offers a wealth of news guides, industry updates, and video tutorials. It is strongly recommended to watch a disassembly video or tutorial for your specific model beforehand to become familiar with the internal layout.

Cracked screens, liquid‑damaged ports, and worn‑out batteries are the most common hardware issues during intense viewing periods. By mastering the diagnostic and repair methods described above, and with the proper Phone Repair Tools and parts, most users can resolve these problems themselves. Having the necessary supplies ready in advance allows a swift recovery even if an accident occurs, so that subsequent matches are not interrupted.


