
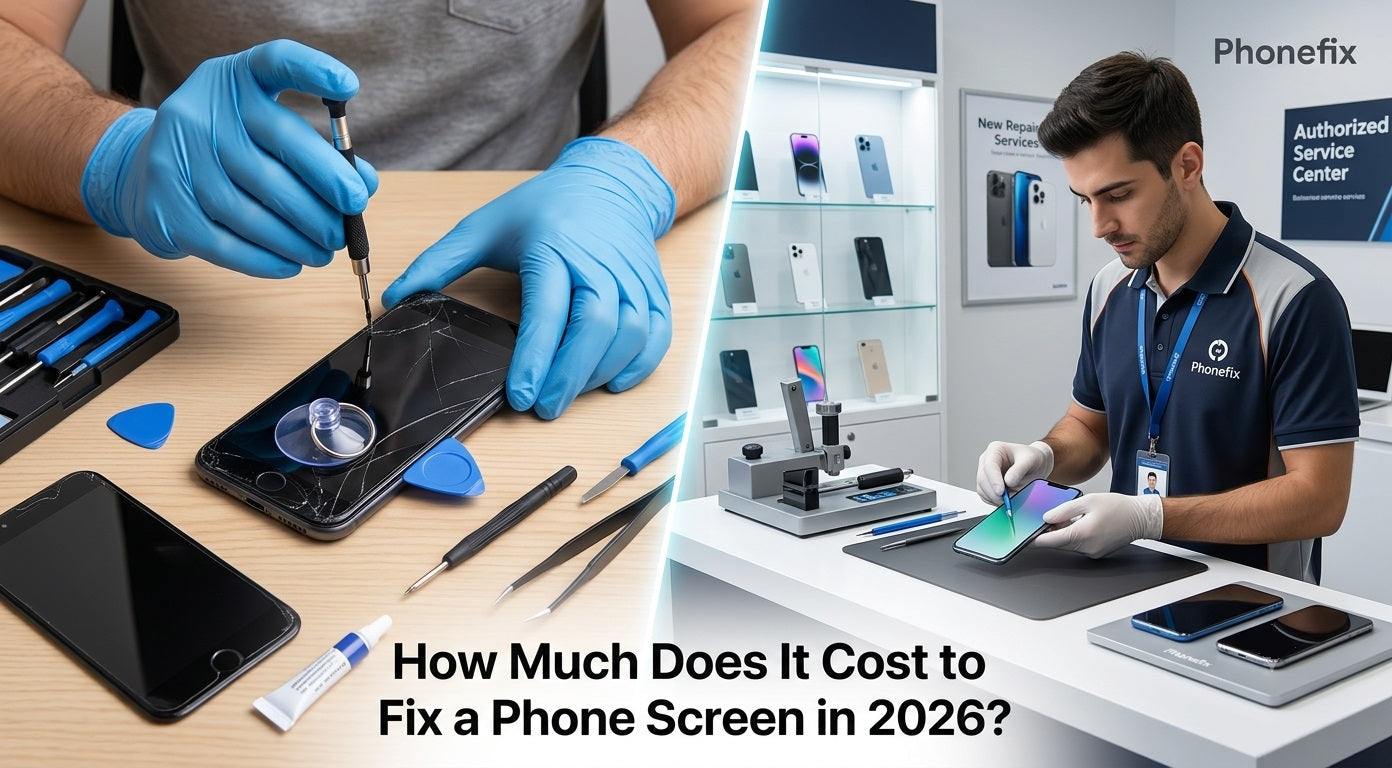
Dropping a phone and watching the screen crack is a moment every smartphone user knows too well. The cost to fix that damage varies wildly – from a $30 DIY fix to over $450 for a professional repair. This guide breaks down the real costs for 2026, compares DIY versus professional options, and shows how to choose the right repair path.

I. What Drives the Cost of Screen Repair?
Screen repair costs depend on three main factors: the screen type, the phone model, and the repair provider.
· Screen technology is the biggest cost driver. High-end phones use OLED or AMOLED displays, which cost significantly more to replace than the LCD screens found on budget devices. An iPhone OLED Screen replacement can run $80–$200 for parts alone, while an LCD screen might cost only $30–$100. The difference comes from the manufacturing complexity – OLED panels are thinner, more energy-efficient, and more expensive to produce.
· The phone model matters just as much. Apple's out-of-warranty screen repair for the iPhone 16 starts at $279 for the standard model and goes up to $379 for the iPhone 16 Pro Max. The newer iPhone 17 series sees higher costs – $329 for most models and $379 for the Pro Max. Samsung's Galaxy S25 series offers more affordable options – $174 for the S25, $199 for the S25 Plus, and $259 for the S25 Ultra. Foldable phones push costs even higher – replacing a foldable display can cost close to $1,120.
· The repair provider also changes the price significantly. Authorized service centers charge premium rates but offer original parts and repair warranties. Third-party shops provide faster service and lower prices but may use non-original parts. Local repair shops often have the lowest prices, but part quality and warranty terms vary widely.
II. DIY vs. Professional Repair: Breaking Down the Options
Phone owners face a clear choice: fix it themselves or pay a professional. Each path has distinct costs, risks, and outcomes.
· DIY screen replacement offers the lowest upfront cost. A standard LCD screen costs about $30–$100, while an OLED screen runs $80–$200. A basic tool kit adds another $20–$50 as a one-time investment. DIY screen repair kits are available for around $30–$80. The process involves powering off the device, removing bottom screws, heating the frame adhesive, gently prying the screen open with suction tools, disconnecting the battery and display cables, installing the new screen, testing all functions, and resealing the frame. DIY works best for older or less expensive phones with simple screen issues – like a cracked outer glass with an intact inner display.
· Professional repair removes these risks but costs more. Authorized service centers like Apple's Genius Bar charge $279–$379 for iPhone 16 screen replacements and $329–$379 for iPhone 17 models. AppleCare+ reduces the screen repair fee to just $29 per incident, but the two-year plan itself costs $1199–$1599. Samsung's official repairs run $174–$259 for the S25 series. These providers give you original parts, professional installation, and a warranty on the repair work. The trade-off is higher cost and longer wait times for appointments.
· Third-party repair shops offer a middle ground. Most people pay between $100 and $280 for professional phone screen repair at reputable shops. Samsung flagship repairs typically cost $200–$380 at third-party shops. These shops can fix most screens within a few hours. The catch is part quality – some use aftermarket screens that may not match the original display quality or durability.

III. How to Choose the Right Repair Path
· Consider the phone's age and value. A $400 repair on a three-year-old phone rarely makes sense. The phone's resale value probably sits below the repair cost. In these cases, DIY repair or a third-party shop becomes the logical choice. For new flagship phones still under warranty, authorized service centers provide peace of mind that justifies the premium price.
· Evaluate your skill level honestly. DIY repair demands steady hands, patience, and some technical aptitude. The process involves tiny screws, delicate ribbon cables, and strong adhesives. If taking apart a laptop seems daunting, phone repair will likely end badly. For those with repair experience, DIY offers substantial savings.
· Check warranty and insurance first. Phones still under manufacturer warranty may have screen repair coverage – either partial or full. Samsung Care+ subscribers now get unlimited $0 screen repairs for cracked screens. AppleCare+ reduces screen repair to $29 per incident. Always review the warranty and insurance terms before paying for any repair. Using an unauthorized repair shop voids the warranty permanently.
· Factor in the damage severity. A small hairline crack on the outer glass might only need a simple fix. Severe damage with deep cracks or a completely shattered screen requires more extensive work and drives up the cost. Some repairs also require replacing the entire display assembly rather than just the glass.
IV. Step‑by‑Step Guide to DIY Screen Replacement
If you decide to replace the screen yourself, follow these steps carefully. Work in a clean, well‑lit area. Organize all screws and parts to avoid losing them. Patience and preparation are the keys to success.
Step 1: Gather the right tools and parts. You need a replacement screen that matches your phone model exactly. Buy from a reputable supplier to ensure quality. For tools, prepare a precision screwdriver set with Pentalobe or Phillips bits, a plastic opening pick, a suction cup, tweezers, a Hot Air Gun, and adhesive strips or glue.
Step 2: Power off the phone and remove the SIM tray. Press and hold the power button to shut down the device completely. Eject the SIM card tray with a SIM ejector tool. This step prevents accidental shorts and protects the SIM card.
Step 3: Remove the bottom screws. Most phones have two screws next to the charging port. Use the correct screwdriver to remove them. Place these screws in a small container so they do not roll away.
Step 4: Heat the edges of the screen. Use a hot air gun or on a low setting. Warm the edges evenly for about 1–2 minutes. The heat softens the adhesive that holds the screen in place. Do not overheat – excessive heat can damage the battery or internal components.
Step 5: Insert a plastic pick and gently pry the screen open. Attach the suction cup to the bottom edge of the screen. Pull gently to create a small gap. Slide a plastic opening pick into the gap. Run the pick along the edges to cut through the adhesive. Work slowly and carefully. Do not insert the pick too deep – you might damage internal cables.
Step 6: Lift the screen and disconnect the battery. Once the adhesive is broken, lift the screen from the bottom, but do not pull it completely away. The screen connects to the motherboard via ribbon cables. Locate the battery connector and gently disconnect it using a plastic tool or tweezers. Disconnecting the battery is a crucial safety step.
Step 7: Disconnect the display cables. Remove the screws holding the metal brackets over the display connectors. Carefully unplug the display flex cables from the motherboard. Some phones have multiple cables – take note of their positions.
Step 8: Transfer small parts to the new screen. If the new screen does not come with the front camera, earpiece, or home button pre‑installed, you must move these components from the old screen. Remove them carefully and attach them to the new display in the same orientation.
Step 9: Clean the frame and apply fresh adhesive. Remove any remaining old adhesive from the phone frame. Clean the surface with isopropyl alcohol to ensure a good seal. Apply new adhesive strips or glue along the frame edges. Follow the adhesive instructions for curing time.
Step 10: Install the new screen. Connect the display cables to the motherboard. Reattach the metal brackets and tighten the screws. Reconnect the battery connector. Before sealing the screen, power on the phone and test the touch response, display quality, and all functions (camera, speaker, buttons). If everything works, proceed to seal the screen.
Step 11: Press the screen into place and seal. Align the new screen with the frame and press down firmly around the edges. Use clamps or rubber bands to hold it while the adhesive cures. Let it sit for at least a few hours before using the phone.
Step 12: Final checks. After the adhesive sets, insert the SIM tray and test the phone one more time. Check for any gaps or uneven edges. The screen should sit flush with the frame.

For expensive new phones, professional repair offers the safest path. For older devices, DIY or third‑party shops provide cost‑effective solutions. Understanding these options and knowing the exact steps for DIY helps every phone owner make informed decisions when that inevitable drop happens. Having the right Phone Repair Tools on hand makes all the difference for anyone attempting a DIY screen replacement.


