An iPhone is a vital part of daily routines, but its lithium-ion battery inevitably degrades over time. Your device may drain rapidly, heat up during light tasks, or shut down unexpectedly. A fresh power cell completely restores the original processing speed. Making an informed choice requires a clear understanding of the available financial tiers, service methods, and practical procedures. This guide breaks down official and third-party costs and details a safe do-it-yourself process.

I. Official Apple, Independent Shop, and DIY Battery Replacement Costs
What you spend depends on the repair route, your iPhone model, and where the parts come from. Comparing these options side by side will help you find the most practical choice.
1. Official Apple Service
Apple maintains a fixed fee structure based on the generation of the device.
· For the newest flagship models, including the iPhone 17 Pro series and iPhone Air, the official apple battery replacement cost is $119.
· The standard fee for the base iPhone 17, the iPhone 16 series, and the iPhone 15 series is set at $99.
· Mid-range legacy devices spanning from the iPhone 12 to the iPhone 14 series carry a replacement charge of $89, while older legacy devices like the iPhone 8 or iPhone SE cost $69.
· If an active AppleCare+ plan is in place and the battery capacity drops below 80%, Apple provides the service at no extra charge.
2. Third-Party Independent Repair Shops
Certified independent service providers offer a middle ground when answering how much to replace iphone battery assemblies outside the Apple ecosystem. Independent shops generally charge between $45 and $79 for modern iPhones. These local providers often deliver much faster turnaround times, and they frequently complete the entire swap within thirty minutes.
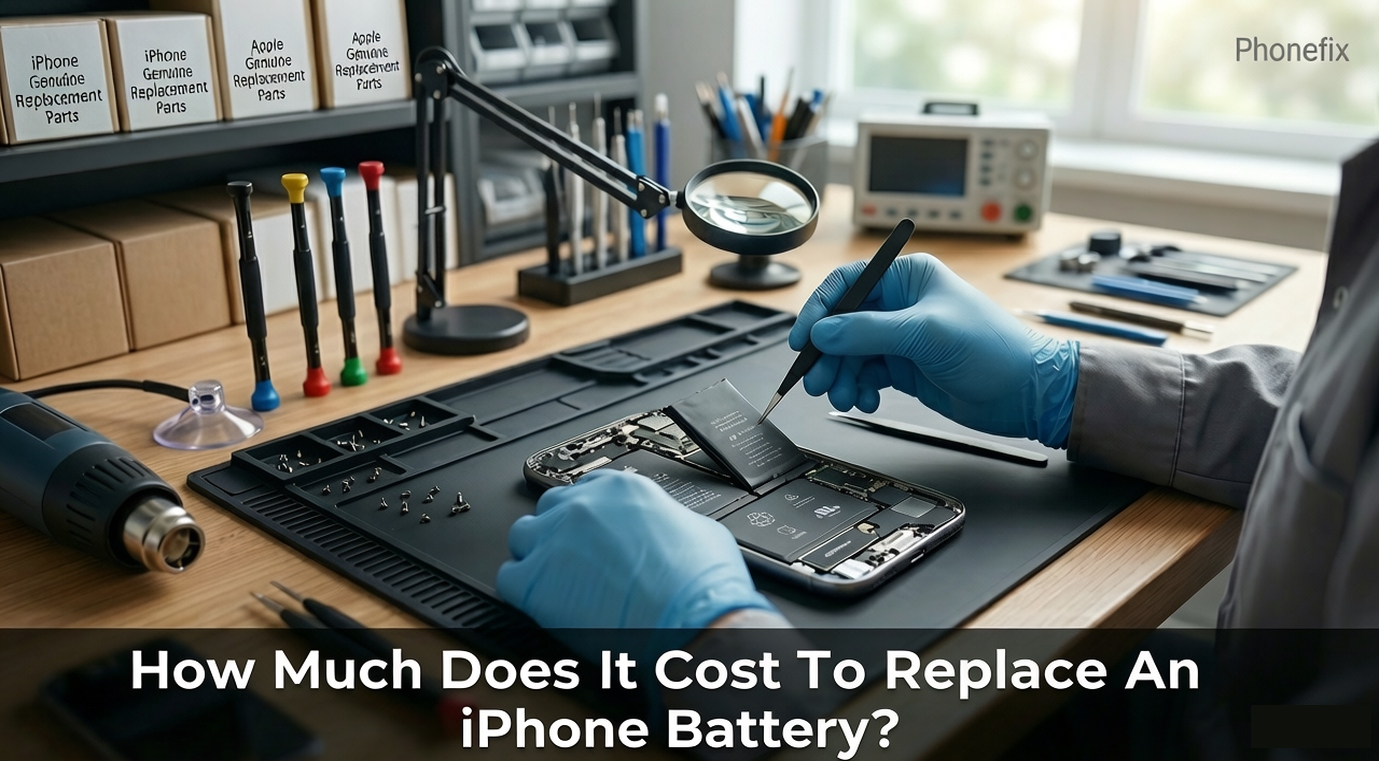
3. DIY Battery Replacement
Buying your own repair tools and replacing the battery yourself is the most affordable way to go.
· Online, you can find high-quality phone repair toolkit priced according to the complexity of your iPhone model.
· These kits generally come with a spudger, a blade, Torque Screwdriver, and other necessary implements.
· With the DIY approach, your only expense is the materials—but remember, you assume all the structural risks involved in the process.
II. How to Replace an iPhone Battery
Before attempting a self-repair, honestly evaluate your technical skills and the phone's physical state. These will determine whether you can safely do it at home or need professional assistance.
Can You Safely DIY This Repair?
A DIY repair is highly feasible if the screen is entirely free of cracks, the frame is unbent, and the phone has no history of heavy liquid exposure. Conversely, if the screen is lifting or the back glass is bulging, the battery is physically swollen. Swollen cells are inherently unstable, and they pose a severe fire risk if punctured. Home users must never apply heat or pressure to a swollen battery; professionals must handle such cases immediately. Knowing how much is it to replace an iphone battery professionally helps users decide whether to safely hand over a damaged device or proceed at home.

DIY Procedure
1. Discharge and Power Down: You must drain the battery below 25% before you open the chassis. A depleted lithium-ion cell is far less reactive than a fully charged one if a tool accidentally punctures it. Turn off the device completely.
2. Remove Chassis Screws: A specialized screwdriver is required to remove the two pentalobe screws. These screws are located on the bottom edge of the iPhone next to the charging port. Keep track of these specific screws for reassembly.
3. Soften Frame Adhesive: You must apply controlled heat to the outer edges of the display. Use a hot air gun or a specialized Screen Heating Pad for approximately one minute. This heat softens the waterproof adhesive strip holding the screen assembly to the rear housing.
4. Slice the Adhesive Seal: Attach a suction cup to the lower half of the glass screen and pull up gently. This action creates a microscopic gap along the bottom seam. Carefully insert a thin plastic opening pick into the gap, and move it slowly along the left and right edges to cut through the sticky seal. The pick must not penetrate deeper than 3 millimeters, or you might tear the delicate screen ribbon cables located on the right side.
5. Open and Disconnect: Open the display assembly slowly like a book from the left side. Keep the opening angle under 90 degrees to prevent cable strain. You must unscrew the metal shield plates covering the logic board connectors. Pop off the battery connector first using a plastic spudger tool to completely isolate the power.
6. Pull the Adhesive Strips: Highly stretchable adhesive pull tabs secure the old battery to the housing. Grasp these tabs gently with tweezers and pull them horizontally away from under the battery cell. Rushing this step will cause the tabs to snap, and that complicates the removal process.
7. Install and Reseal: Lay the new battery cell into place with fresh adhesive tape. Apply a new precut waterproof adhesive gasket to the frame edges. Reattach the ribbon cables, screw the metal shields back down, and press the display firmly back into the housing. Finally, reinstall the bottom pentalobe screws.
III. FAQ
1. Will I lose my data during a DIY battery replacement?
A standard battery swap does not wipe your storage, but hardware accidents can happen. You should always perform a full iCloud or computer backup before you open the phone chassis.
2. Why does my iPhone show an "Unknown Part" message after a DIY repair?
Apple pairs the original battery serial number to the logic board. If you install an aftermarket cell or even an original battery from another iPhone without official calibration software, iOS will display this notice. The phone will function normally, but you will lose the Battery Health percentage display.
3. What should I do if the adhesive pull tabs snap during removal?
Do not use metal screwdrivers or knives to pry the battery out, because you might puncture it. You can drop a few drops of high-concentration isopropyl alcohol under the battery to soften the remaining glue, and then gently lift it with a flat plastic tool.
4. Is the iPhone still waterproof after a home repair?
Opening the phone breaks the original factory waterproof seal. You should avoid exposing your phone to liquids after a DIY repair.
5. How should I calibrate my new battery after installation?
You should charge the new battery to 100% and keep charging it for at least two more hours. Then, use the phone normally until it powers down completely due to low battery. Finally, charge it uninterrupted back to 100% to calibrate the internal power management system.

Navigating hardware maintenance demands patience, precision, and a clear understanding of your own technical limitations. You may choose a premium official service, or you may tackle a careful DIY repair. Either way, utilizing the correct tools and following strict safety protocols ensures the smartphone remains reliably powered. For those who choose the independent path, professional results always require the support of specialized cell Phone Repair Tools to handle the microscopic internal components safely.


