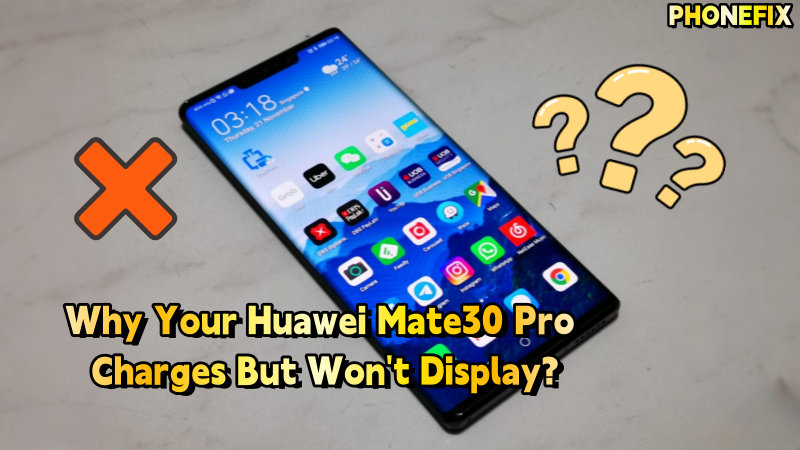
A Huawei Mate30 Pro user visited the repair shop with a confused expression: when connected to a charger, the phone showed "Charging" but the screen stayed black, and the device overheated abnormally. Worse, the issue persisted after the user tried forced restarts, changing chargers, and swapping data cables—the phone got extremely hot, could charge but wouldn’t light up the screen. What exactly went wrong? In this article, the China Phonefix team will share the full repair process to restore the Huawei Mate30 Pro to normal operation.
I. Repair Preparation: Tool List & Troubleshooting Logic
Before starting repairs, we need to prepare professional Phone repair tools and clarify initial troubleshooting directions.
1. Core Phone Repair Tools
|
Tool Name |
Purpose Description |
|
DC Regulated Power Supply (Ammeter) |
Monitor boot/charging current changes to check if the motherboard power supply is normal |
|
Hot Air Gun + Constant-Temperature Soldering Iron |
Disassemble/solder chips, inductors, and other components; precise temperature control is required to avoid motherboard damage |
|
Rosin (Flux) |
Used in the "rosin smoking method" to locate overheating faults—rosin melts at the abnormal heating area |
|
Tweezers + Pry Bar |
Assist in removing delicate parts like screen cables and chips to prevent damage from rough operation |
|
Measure component voltage/resistance to verify if chips/inductors are damaged |
|
|
New Display Chip (SM3010) |
A replacement chip (original or compatible) for damaged display chips |
2. Initial Troubleshooting Directions
Based on the user’s description, the "charges normally but black screen + overheating" issue points to two possible causes:
Screen failure: Loose screen cable or damaged inner screen;
Motherboard display circuit failure: Damaged display chip or power inductor, preventing the screen from receiving normal driving voltage.
II. Repair Process: Locating the "Culprit" Step by Step
Step 1: Ammeter Test to Rule Out Screen Failure
First, we connected the motherboard to a DC power supply (disconnecting the original battery to avoid interference) and pressed the power button to observe current changes:
Without the screen cable: Current jumped from 0 to ~100mA, then stabilized at 400mA—matching the normal boot current curve (proving the motherboard’s core circuit was intact);
With the screen cable: Current spiked to 1.7A during the "display phase" of boot, and the motherboard back overheated—this confirmed the screen itself was fine; the problem lay in the motherboard’s display driver circuit.
Step 2: Rosin Smoking Method to Locate Overheating Points
Since abnormal current pointed to the display circuit, we needed to find the overheating component. The "rosin smoking method" helped here:
.Apply a thin layer of rosin on the motherboard’s display chip (SM3010) and surrounding inductors;
.Power on the phone again—rosin near the SM3010 melted and smoked rapidly, indicating short-circuit or overload heating in this area.
Step 3: Disassembly & Inspection to Confirm Damaged Components
Using a hot air gun (set to ~350℃), we carefully removed the SM3010 display chip and adjacent boost inductor, finding two key issues:
The display chip’s power pins were blackened (clear burn marks);
The boost inductor’s coil was oxidized, and a multimeter showed 0 resistance (normal is a few ohms)—proving the inductor was short-circuited.
Step 4: Replace Damaged Components to Fix the Issue
.Clean the Pad: Use a soldering iron tip to remove residual solder and burn marks from the motherboard, ensuring the pad is flat;
.Replace Inductor + Display Chip: Solder the new boost inductor first, then align the SM3010 chip with the pad and solder it at low temperature (to avoid overheating damage);
.Secondary Test: After soldering, power on the phone current stabilized at ~400mA, and with the screen cable connected, it jumped to 600mA (normal display driver current). The screen lit up successfully!
Step 5: Reassemble & Verify the Fix
Reinstall the motherboard, reconnect the original battery and screen, then test with a charger:
The screen lit up normally and entered the system without lag;
Charging temperature returned to normal (no abnormal overheating);
After 30 minutes of continuous use, display, touch, and charging functions worked perfectly—the fault was fully resolved!
III. Repair Conclusion: Root Cause & Experience Summary
1. Final Fault Cause
The root issue was a short-circuited boost inductor in the motherboard’s display circuit, which caused the SM3010 display chip to burn from overloaded power:
The boost inductor supplies stable high-voltage power to the display chip; a short circuit let uncontrolled current flood the chip, overheating and destroying it;
The burned chip cut off the screen’s driving signal (causing black screen), while the short-circuited inductor drew excessive current (causing charging overheating).
2. Repair Experience
Current testing is critical: Ammeter readings quickly distinguish between screen and motherboard faults, avoiding unnecessary screen replacements;
Rosin smoking efficiently locates overheating: For "overheating without visible damage," melted rosin marks the fault core—faster than testing components one by one;
Precision is key for chip soldering: The SM3010 is delicate—control the hot air gun to 320–350℃ and limit soldering time to <10 seconds to avoid pad/chip damage.
IV. User Tips: How to Avoid Similar Issues?
.Avoid charging while playing high-load games: Heavy use increases display circuit current, accelerating inductor/chip aging;
.Use original chargers: Non-original chargers have unstable voltage that can damage display circuit components;
.Address minor overheating early: If your phone gets slightly hot while charging (but still works), get it checked soon—small issues can turn into chip burns.
V. Closing: Repair’s Purpose Is to Make Technology Practical
The repair’s challenge was the misleading symptom: "charges but black screen" is easy to mistake for a screen fault. But with professional tools and logical troubleshooting, we found the core issue: "inductor short circuit → display chip burn." For phone repairs, technology is a means, not an end—solving users’ real problems is what matters.
If your phone has similar issues, please find a nearby phone repair shop or contact professional repair personnel. Do not disassemble it yourself, as this may cause further damage!


