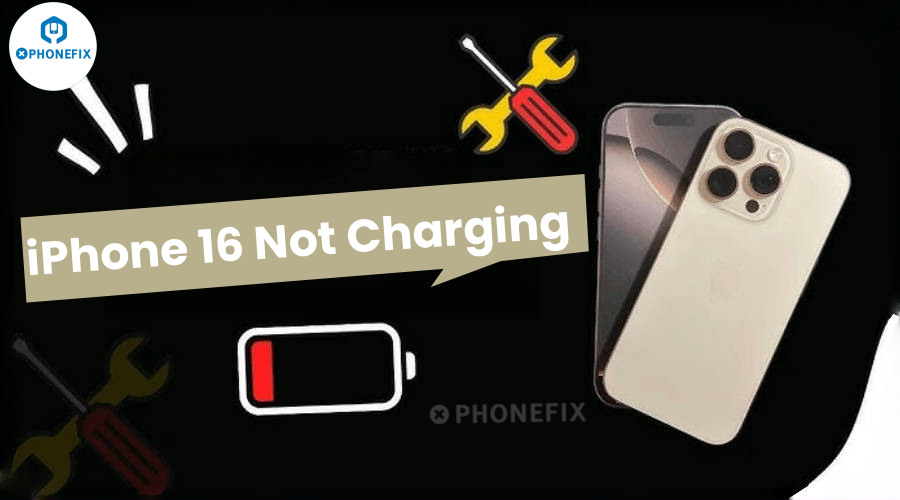
When you wait for the bell to sound on your iPhone 16, nothing happens. There is no charging symbol, the screen freezes, and the battery level remains unchanged. Fear grips: Is the charger for the iPhone 16 defective? Does the iPhone 16 have a dead battery? Is the iPhone 16 charging port broken, or worse? Let's see what's wrong before you spend hundreds of dollars at the Apple Store. It might be easier to fix than you think, and you can even do it yourself. Read this article from Phonefix to learn the steps to fix your iPhone 16 not charging.

Understanding the typical causes of your iPhone 16's non-charging issue is essential before you begin to resolve it. Initially, the iPhone 16 charger or charging cord is broken. For instance, an unstable power supply can be caused by a poor-quality charging cable or adapter; the iPhone 16 charging port can become blocked or oxidized, and dust and lint buildup can interfere with normal charging. In addition, IOS system software issues, like system crashes or irregular battery management, can also result in issues with the iPhone 16 charging function. Let's take a look at solving this problem with Phonefix.
1. Basic Repair Technique
To troubleshoot your iPhone 16 not charging, please follow these steps:
Step 1: Try multiple power connection methods. First, plug the device into different types of power sockets for testing. It is recommended to use common sockets, Macbook USB ports, and third-party power accessories first. After each power change, wait for about 30 seconds to see if the device displays a charging icon or vibration feedback. If it still cannot charge, force restart the device to eliminate the impact of temporary system failure.

Step 2: Observe the iPhone 16 charge cable under sufficient light for cracks and burn marks, and focus on checking whether the metal sheet of the plug is oxidized and deformed; for charging cable inspection, confirm that there is no exposed copper wire in the wire (especially at the bend). If any physical damage is found, such as a broken plug, be sure to stop using the charger immediately and replace it with a new one to avoid the risk of short circuit. It is also recommended to check whether there is dust accumulated in the charging port of the device, which can be cleaned by gently sweeping with a dry soft brush.
To make sure the connection between the charging cable, adapter, and socket is secure, it is advised to use a wall power outlet first. Alternatively, you can swap out the socket for testing. Make sure the charging cable is plugged in and clean the device's charging port of any debris that may have accumulated, such as dust or lint.

Proceed to charge for 30 minutes after finishing the aforementioned procedures. If your iPhone 16 is still not responding or is showing the battery icon, try restarting it. To get the Apple logo, you must first press and hold the "volume -" button, then press and hold the right power button. After the forced restart, keep charging for 30 minutes. If the issue persists, you could require a more advanced repair solution.
2. DIY Precision Repair
The iPhone 16 needs to be fixed more precisely if the basic fix fails. Please be aware that disassembly may void the warranty and that expert operation is advised for hardware failures like DIY disassembly repairs of charging IC damage, battery failure, or motherboard short circuit. A set of precision screwdrivers (including Pentalobe and cross head), suction cups and prying tools, anti-static tweezers, a hot air gun (softening rubber strips), and a digital multimeter (detecting circuits) are required before beginning any repairs. The following are the precise steps:

Step 1: Turn off the iPhone 16 and heat the screen's edge for two minutes with a hot air gun to 60°C to soften the waterproof glue. To avoid short circuits, carefully remove the screen using a suction cup and a prying tool, disconnect the iPhone battery cable, and inspect the iPhone charging port cable for corrosion or looseness.
Step 2: Replace the USB-C interface module if the iPhone charging port is broken. It is necessary to remove the anchoring screws and weld a new module. The BGA rework station must be processed in the event that the charging IC chip fails, and sending it for repair is advised.
Step 3: Use a digital multimeter to find the battery voltage, which is typically between 3.7 and 4.2 volts. The battery must be changed if it is less than 3V. After completing the previous procedures, reconnect all of the wires, test the charging function by turning on the power, and finish the repair by sealing the glue.
Using expert tools is essential to resolving the iPhone 16's charging issue, whether it is a simple check or self-repair. iPhone repair kits from China Phonefix come with premium replacement parts, thorough instructions, and precise tools made especially for the iPhone 16. With the issue of tool matching eliminated, they make the repair procedure safer and more effective for users of all skill levels.


