
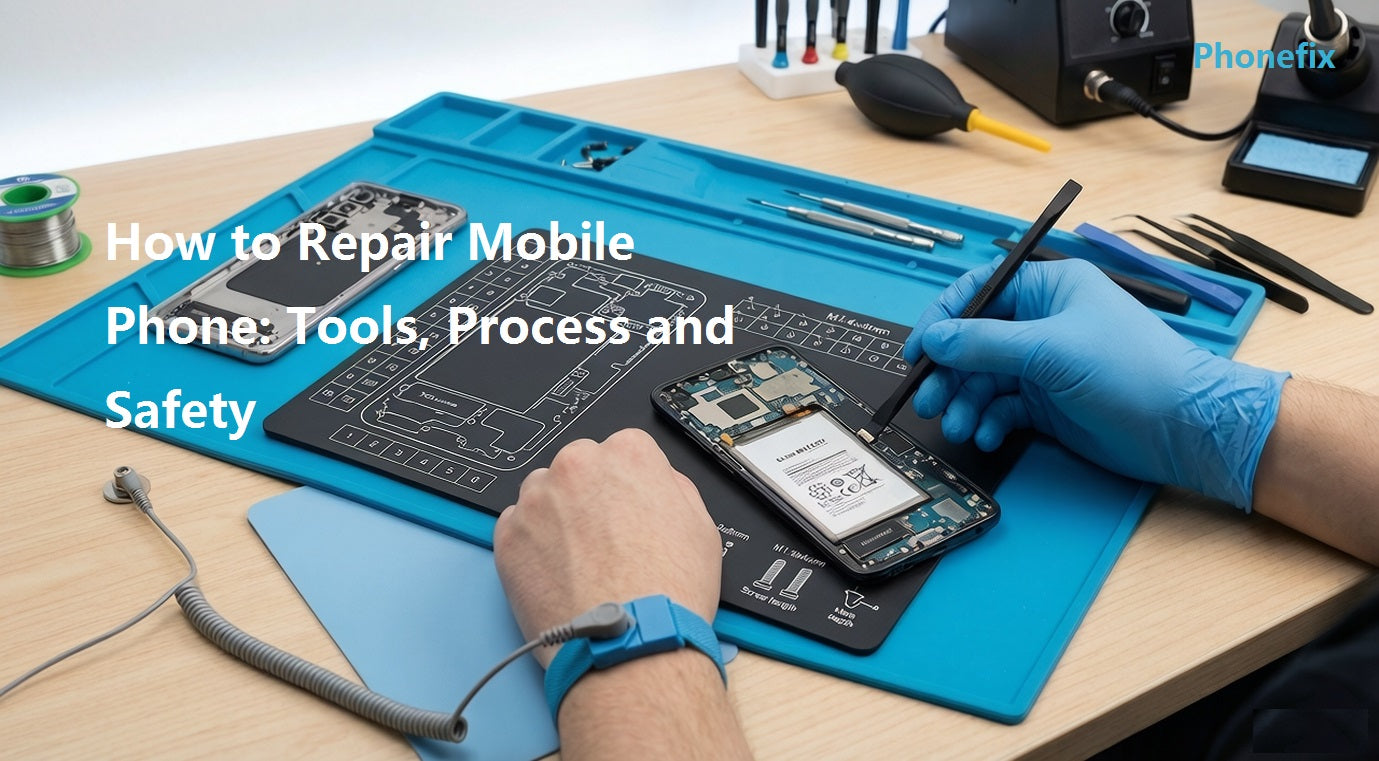
Every year, over 50 million smartphones suffer accidental damage, cracked screens, swollen batteries, or broken charge ports. Repair shops charge high fees, and many users simply buy a new device instead of fixing the old one. This practice generates massive electronic waste and wastes money. DIY repair offers a practical alternative. It cuts costs, extends the life of a phone, and gives the owner full control over the device. This guide covers the necessary tools, the repair steps, and the important safety considerations.

I. Benefits and Importance of DIY Phone Repair
· Do-it-yourself phone repair saves significant money.
A professional screen replacement may cost one-third of the phone’s original price, while a DIY screen kit often costs less than half of that. Battery swaps are even cheaper—a new battery purchased online costs a fraction of the service fee.
· Beyond cost, DIY repair reduces electronic waste.
Smartphones contain precious metals and rare earth elements. Extending the life of a device by just one year reduces the environmental footprint. Many users also appreciate the learning experience. Understanding the internal structure of a phone builds confidence and skills that apply to other electronics.
· Why preparation and methodical work matter
However, DIY repair is not risk-free. Static electricity, improper tools, or excessive force can cause damage. Without the right knowledge, a simple screen replacement can turn into a dead device. That is why preparation and methodical work matter.
II. What to Prepare Before Starting a DIY Repair
· Preparation begins with the right tools.
A basic repair kit must include precision screwdrivers (Phillips, pentalobe, and tri-point bits), plastic spudgers or opening picks, fine-tipped tweezers, a suction cup, and a magnetic mat to organize tiny screws. Many ready-made Cell Phone Repair Tool Kits contain all these items.
· Anti-static protection is non-negotiable.
Electrostatic discharge (ESD) can damage sensitive ICs without visible signs. Wear an anti-static wrist strap and work on an ESD-safe mat. Ground the strap to a metal surface before touching any internal component.
· The workspace must be clean, well-lit, and clutter-free.
A bright lamp helps spot small screws and fragile connectors. Place a white sheet or towel under the phone to catch dropped parts. Keep a small container for each screw group—different screws have different lengths, and mixing them up can puncture the motherboard during reassembly.
· Before opening the phone, back up all data.
Charging the battery to about 50% is also wise, as some diagnostics require power. Finally, obtain a repair guide specific to the phone model.

III. Specific Operational Steps for Phone Repair
1. Diagnose the fault first
Do not open the phone until the problem is clearly identified. Observe the symptoms carefully. Does the screen flicker only at certain brightness levels? Does the battery drain quickly only when using certain apps? Check for physical signs—cracks, liquid damage indicators, or loose ports.
· For software glitches, restart the device, update the system, or boot into safe mode. A factory reset may resolve persistent issues, but only after backing up data.
· For hardware problems, use a multimeter to test voltage at the battery connector and continuity on flex cables. This confirms whether a component is dead or just disconnected. Accurate diagnosis prevents unnecessary part replacement.
2. Disassemble with care
· Power off the device completely. Remove the SIM card tray.
· For sealed phones, apply gentle heat around the screen edges using a Hot Air Gun. Heat softens the adhesive.
· Insert a plastic pick into the gap and work slowly around the perimeter. Never use metal tools near the glass—they can shatter the screen.
· Once the back cover or screen lifts, disconnect the battery first. This cuts power to the board and prevents shorts.
· Then disconnect other flex cables—display, digitizer, charging port, and buttons.
· Take photos with another device at every stage. Lay out screws and brackets in order of removal.
3. Replace the faulty component
When sourcing replacement parts, quality matters. iPhone Repair Parts Wholesale suppliers offer OEM pulls and aftermarket options. For Android devices, many Wholesale iPhone Repair Parts suppliers also carry generic parts, but ensure compatibility. Research the specific model number before purchasing. A mismatched screen may cause touch lag or color shifts.
· Install the new component carefully.
· Align the connector properly and press it in until it clicks.
· Secure any metal brackets and screws. Handle ribbon cables gently—they tear easily.
4. Test before full reassembly
· Connect the battery and power on the device. Check the repaired function.
· If the screen was replaced, test touch response, brightness, and color. If the battery was swapped, monitor charging speed and percentage.
· Run a full diagnostic—camera, speakers, microphone, Wi-Fi, and buttons.
· If something fails, revisit the connections. A loose flex cable is often the culprit.
5. Final reassembly and sealing
· Once everything works, power off and reassemble completely.
· Refer to the photos taken during disassembly. Place each screw in its correct hole.
· Apply new adhesive strips to seal the screen or back cover.
· Press firmly around the edges to restore water resistance and prevent dust ingress.
· Perform one final test after full assembly.
IV. What to Watch For and When to Stop
· After the repair, monitor the device for a few days. Check battery life, charging behavior, and screen responsiveness. Watch for unusual heat or rapid battery drain—these may indicate a faulty replacement part or a poor connection. Keep the device away from moisture for 48 hours to let the adhesive cure fully.
· Some problems require professional equipment. Board-level repairs (like replacing a charging IC or reballing a processor) need a hot air rework station and microscope. Liquid damage often leaves corrosion under multiple chips—cleaning that requires ultrasonic baths and specialized chemicals. If the battery is swollen, do not puncture it; take it to a recycler. If the device emits smoke or a burning smell, stop immediately.
· If a screw strips or a connector breaks, further DIY effort may worsen the damage. In these cases, seek a professional repair service.

DIY phone repair is a valuable skill that saves money and reduces waste. Success depends on proper tools, accurate diagnosis, and patient work. This guide has outlined the preparation, the step-by-step actions, and the post-repair checks. Remember to invest in quality Phone Repair Tools and know when to step back. With careful execution, most common issues—screens, batteries, and charge ports—can be fixed at home, giving old devices a second life.


