
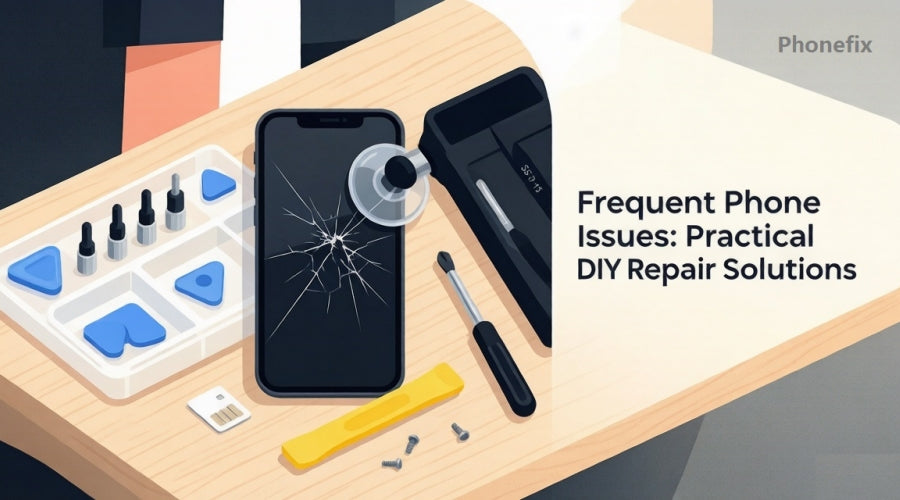
Smartphones are almost with users all day long. When a device breaks down, it makes daily life very inconvenient for phone users. You may find that many problems come from a small group of repeated faults, and these faults can actually be fixed quickly by yourself. Want to know how? This guide covers common smartphone problems. It is divided into two main parts: the most common phone problems and practical ways to fix them.

I. Common Smartphone Issues
Users encounter five recurring malfunctions more often than others. Recognizing these problems early saves time and prevents further damage.
1. Cracked or shattered glass screen
The display shows visible cracks, spider‑web patterns, or missing glass pieces. Touch sensitivity may decrease, or the screen may become unresponsive in certain areas. Sharp edges can cut fingers.
2. Rapid battery drain
The battery percentage drops noticeably within a short time, even without heavy usage. For example, the charge falls from 80% to 20% in under two hours of light browsing. The phone may also shut down unexpectedly when the indicator still shows remaining power.
3. Overheating
The back or sides of the phone feel hot to the touch during routine tasks like checking emails or watching short videos. The device may slow down, dim the screen, or display a temperature warning. Prolonged heat can damage internal components.
4. Water or liquid damage
The phone has been dropped into water, splashed with rain, or exposed to spilled drinks. Immediate symptoms include a non‑functional screen, distorted sound from the speaker, or failure to power on. Corrosion develops gradually if moisture remains inside.
5. Charging failure
The phone does not respond when plugged in, or it charges only at certain cable angles. The charging symbol may appear and disappear repeatedly. Sometimes the phone vibrates continuously but never gains battery percentage.
II. Solutions for Each Problem
1. Preparation: Tools and Workspace
Before starting any repair, gather the required tools and set up a proper work area. Follow these preparation steps:
· Assemble a basic repair kit containing: precision screwdrivers (Phillips, flathead, and Pentalobe for iPhones), a plastic pry tool or spudger, a suction cup, tweezers, and plastic opening picks.
· Prepare a hot air gun to soften adhesives for screen and battery replacements.
· Get a wooden toothpick and a can of compressed air for cleaning ports.
· Have isopropyl alcohol (90% or higher) and microfiber cloths ready for cleaning dirt and residue.
· Workspace: choose a clean, flat, and well‑lit surface.
· Use a magnetic mat or small containers to sort screws by size and location – mixing them leads to assembly errors.
· Discharge static electricity by touching a grounded metal object before handling internal parts. An anti‑static wrist strap provides extra safety.
· Keep a computer or tablet nearby to view model‑specific tutorial videos or service manuals.
· Allocate enough time and work patiently – rushing breaks cables or strips screw heads.
After completing these preparations, proceed to the specific fixes below.
2. Solution for a Cracked Screen
For minor surface cracks:
· Apply a tempered glass screen protector immediately. Clean the screen with a microfiber cloth, align the protector, and press it down. This stops cracks from spreading and protects fingers.
For deeper cracks that affect touch function, perform a full screen replacement. Follow these numbered steps:
· Purchase a replacement kit that matches the exact phone model number. The kit includes the new screen assembly, adhesive strips, and necessary screwdrivers.
· Power off the phone completely and remove the SIM card tray.
· Heat the edges of the phone with a hot air gun for about one minute to soften the adhesive.
· Insert a plastic pry tool between the frame and the damaged screen, then gently lift around the entire perimeter. Do not push too deep – display cables lie near the edge.
· Once the screen lifts, flip it open like a book.
· Locate the flex cables connecting the screen to the motherboard. Use tweezers to flip the small metal latches and pull each cable straight out.
· Remove the old screen completely.
· Attach the new screen by reversing the cable connections, then press the assembly firmly into the frame to seal the adhesive.
· Test the new screen for touch response and brightness before fully closing the device.

3. Solution for Rapid Battery Drain
Start with software adjustments:
· Check battery usage in settings, identify power‑hungry apps, and disable background refresh and location services for them.
· Reduce screen brightness or enable adaptive brightness.
· Turn off auto‑sync for email and social accounts when not needed.
If battery health shows maximum capacity below 80%, replace the battery. Follow these steps:
· For phones with removable back covers: power off, open the cover, and swap the old battery with a new compatible one.
· For sealed models, purchase a battery‑specific kit that includes adhesive pull‑tabs.
· Heat the back cover gently to loosen the glue.
· Use a suction cup and a pry tool to open the back cover.
· Locate the battery connector on the motherboard and disconnect it first to cut power.
· Pull the adhesive strips under the battery slowly with stainless tweezers, then lift the old battery out.
· Install the new battery with fresh adhesive strips, reconnect the cable, and reassemble the back cover.
· After installation, charge the phone to 100%, then let it drain completely once, followed by a full recharge – this calibrates the battery gauge.
4. Solution for Overheating
Take these actions in order:
· Remove the protective case, as it traps heat.
· Close all unused background applications.
· Run a trusted security scanner to detect malware that may overwork the processor.
· Keep the phone away from direct sunlight and other heat sources.
· Restart the device to clear temporary background processes.
· If overheating persists, turn off the phone for ten minutes to allow passive cooling.
· Avoid using the phone while charging, because charging generates additional heat.
In most cases, these steps restore normal temperature.
5. Solution for Water Damage
Act immediately after water exposure. Follow these steps without delay:
· Turn off the phone and do not press any buttons. Do not connect the charger.
· Wipe the exterior with a dry, absorbent cloth.
· Remove the SIM card and any memory card.
· Place the phone in a sealed container filled with silica gel packets – these absorb moisture effectively.
· Leave the device inside for at least 24 hours.
· After 24 hours, remove the phone and attempt to power it on.
· If it turns on, test all functions: speaker, microphone, camera, and touchscreen.
· If the phone does not respond, do not attempt further disassembly – corrosion on the logic board requires professional ultrasonic cleaning.
Do not use a hair dryer or place the phone on a radiator, because heat warps internal parts.
6. Solution for Charging Failure
Work through these checks step by step:
· Try a different charging cable and wall adapter – faulty accessories cause many charging problems.
· Inspect the charging port with a flashlight. If dust or lint is visible, turn off the phone and gently scrape the debris out using a wooden toothpick or a soft plastic pick. Do not use metal objects inside the port.
· Blow short bursts of compressed air into the port.
· After cleaning, plug in the cable again. If charging starts, the issue is resolved.
· If the phone still does not charge, restart the device – a software glitch may block the charging process.
· For phones that support wireless charging, test with a wireless charger. If wireless charging works, the port itself is defective.
· To replace the charging port, open the device and swap the charging flex cable. This procedure mimics screen replacement: heat the edges, open the casing, locate the charging flex, disconnect it, and install a new one.
· This repair requires steady hands – flex cables are fragile.

Most smartphone failures fall into these five categories, and each category has clear, doable solutions. Following the described steps restores many devices without visiting a repair shop. For complex cases involving motherboard damage or persistent software faults, professional help remains advisable. Successful home repair depends on patience, correct tools, and a willingness to stop when uncertain. Having the right mobile repair tools makes every step easier and safer.


