[Faulty Model] iPhone 16 Pro/Pro Max;
[Fault Symptom] Touchscreen issues on iPhone 16 Pro and 16 Pro Max occur after installing the screen while powered on;
[Fault Cause] The IO_AOP_TO_TOUCH_BSYNC1 circuit is burned out, causing the touchscreen to malfunction.

I. Problem Analysis: Root Cause of Touch Issue
Touch issues on iPhone 16 Pro and Pro Max typically occur after a screen replacement or after an external impact (such as a drop). The root cause is damage to light sensor circuits (such as IO_AOP_TO_TOUCH_BSYNC1 and IO_AOP_TO_TOUCH_ALS_BSYNC1) on the motherboard. Damage to these circuits prevents the touchscreen from receiving signals from the touch controller, resulting in touch failure.
The connection between the light sensor and the touch control circuitry can be damaged, especially during iPhone screen replacement, if handled improperly or if the device is subjected to strong impact. This problem typically manifests as an unresponsive or sluggish touchscreen. Repairing this type of problem often requires delicate micro-soldering techniques and appropriate tools. For inexperienced users, it's recommended to seek professional help.
II. Repair Options
Depending on the difficulty of the repair and the device's condition, there are two repair methods:
1. Professional Repair (Recommended)
Professional repair technicians possess the necessary skills and tools to reconnect damaged circuits using a high-precision soldering iron and a microscope, along with fine jumper wires. Professional repair not only guarantees effective repairs but also effectively prevents further damage caused by improper handling.

2. DIY Micro-Soldering Repair (Not Recommended for Beginners)
If you have micro-soldering skills and the appropriate tools, you can attempt a DIY repair. However, it's important to note that DIY repairs are extremely difficult, and improper handling can render the device irreparable. Therefore, only users with some soldering experience should attempt this method.
In this article, Phonefix will focus on how to fix touch screen failures through DIY micro-soldering. This process requires extreme care and precision.
III. DIY Microsoldering Repair Process
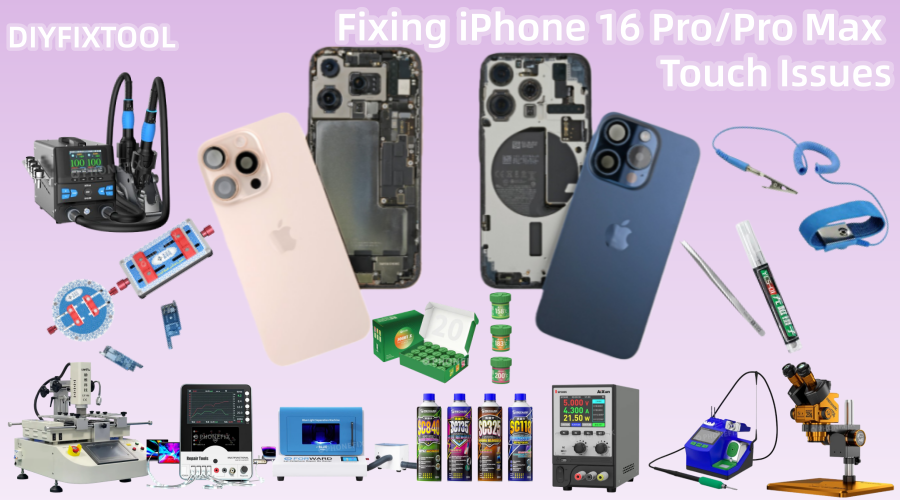
1. Preparing Tools and Repair Materials
Before beginning the repair, you'll need to gather the necessary tools and materials to ensure a smooth repair process:
· High-precision, adjustable-temperature soldering iron: For precisely soldering tiny circuit connections.
· HD Stereo Microscope: For magnifying the circuitry on the logic board to ensure the repair process doesn't damage other components.
· Fine-tip tweezers: For precisely manipulating small components and handling delicate circuits.
· High-quality solder paste: For improving soldering quality and ensuring a secure, non-detachable solder joint.
· Ultra-thin, flexible jumper wires: For reconnecting broken wires.
· Solder wick or solder braid: For cleaning shorts and restoring proper wiring.
· Disassembly tool kit: For disassembling the iPhone's case, screen, and internal components.
· New light sensor flex cable (optional): If the light sensor cable is damaged, you can choose to replace it.
2. Opening the iPhone
Opening the iPhone is the first step in the repair process. First, make sure your iPhone is powered off and use a dedicated disassembly tool to remove the back cover. After opening the device, disconnect the battery and display connectors. This is crucial because during the subsequent repair process, you need to ensure that no electrical current flows through the device, potentially damaging other components.

3. Locate Damaged Circuits
Use a stereo microscope to carefully inspect the iPhone motherboard, focusing on circuits related to touch functionality. Specifically, check the following areas:
· IO_AOP_TO_TOUCH_BSYNC1 circuit: Check this circuit for breaks or shorts. This circuit is closely related to touchscreen functionality.
· IO_AOP_TO_TOUCH_ALS_BSYNC1 circuit: This circuit is also related to touch control. Damage to it can cause the touchscreen to malfunction.
If a break or short is detected on any circuit, micro-soldering repairs are necessary.
4. Repairing the Circuit
Repair methods vary depending on the damage:
· Broken Circuit: If the IO_AOP_TO_TOUCH_BSYNC1 circuit is broken, reconnect the broken ends with a thin jumper wire. Be extremely careful to ensure the jumper wire connection points do not create new shorts or other problems. When soldering, control the temperature of the soldering iron tips and the amount of solder to avoid damaging surrounding components.
· Shorted Circuit: If a short is detected, first use solder braid to remove the short. Then, reconnect the circuit using a jumper wire. After soldering, check that the circuit is connected properly to avoid creating new shorts.
5. Testing the Repair
After soldering, do not rush to reassemble the device. Perform a preliminary test to ensure that touch functionality is restored. Reconnect the battery and display, power on the device, and test whether the touchscreen is responsive. If the touchscreen is responsive and there are no lags or glitches, the repair is successful.

6. Reassembly and Final Inspection
If touch functionality is restored, you can then carefully reassemble the device. During reassembly, ensure all connectors are securely connected and that no parts are missing. Replace the screen, back cover, and other components, and verify that all phone functions are functioning properly.
IV. Common Problems and Solutions
During the repair process, you may encounter the following common problems:
· Touchscreen Still Unresponsive: If the touchscreen remains unresponsive after repair, it could be due to loose solder joints or a poorly connected jumper cable. Double-check the solder joints to ensure each connection is secure.
· Short Circuit: If a short is detected, use solder braid to remove the short and ensure the circuit is functioning properly. Then, resolder the jumper cable to ensure there are no other issues.
· Device Won't Power On: If the device won't power on after repair, it could be due to a poorly connected battery. Check that the battery connector is securely plugged in and ensure the battery is providing power.
It takes careful micro-soldering skills to fix touchscreen problems on the iPhone 16 Pro/Pro Max, particularly those brought on by broken light sensor circuitry. It is advised that you take your phone to a professional repair shop if you have no experience with micro-soldering. Experts fix your gadget effectively and safely using high-precision tools and methods. If you choose to fix it yourself, you are welcome to visit China Phonefix to get your own DIY tools and pay close attention and be patient.


