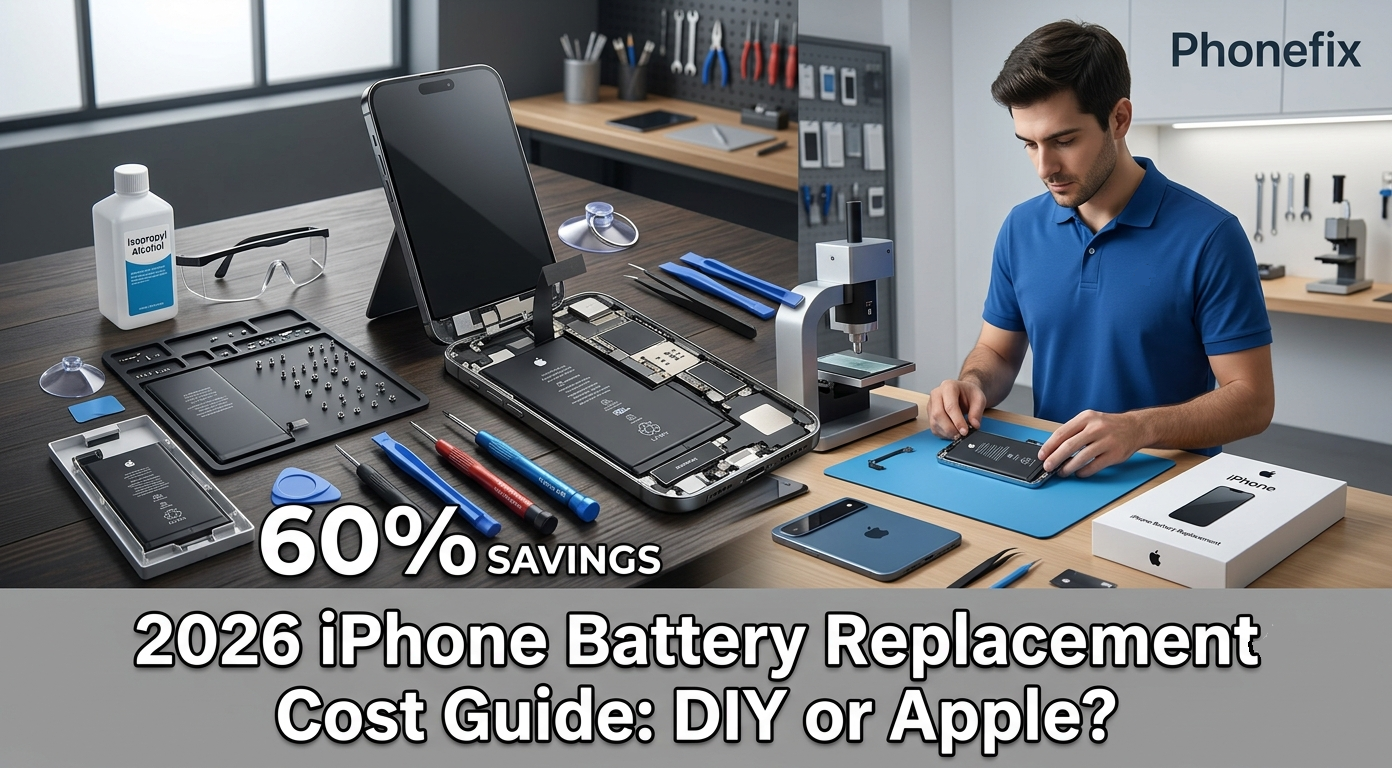
An iPhone battery gradually degrades after hundreds of charge cycles, leading to shorter battery life and throttled performance. Smartphone owners often face a choice between official Apple repair services and replacing the battery at home. This guide reveals exactly how to save 60% or more on battery replacement. We'll break down the total financial cost, software restrictions, repair procedures, and overall value of replacing an iPhone Battery at home.

I. Official Apple Service vs. DIY Replacement Cost Breakdown
Official battery replacements from Apple provide certified workmanship and genuine parts, along with full water resistance restoration. However, third‑party DIY kits offer a significantly lower upfront price.
· Apple Store / Authorized Providers: Out‑of‑warranty replacements range from $69 for older budget models up to $119 for late‑model Pros. Active AppleCare+ subscribers pay $0 if capacity drops below 80 percent.
· Apple Self Service Repair: Genuine parts straight from Apple cost $70 to $99, plus a $25–$30 credit for returning the old battery. But renting Apple's heavy tool kit adds a $49 fee – which means you actually pay more ($119–148) than simply visiting an Apple Store ($99). Unless you repair multiple devices, this option is financially pointless and only highlights how attractive third‑party kits are.
· Third‑Party DIY Kits: High‑quality aftermarket kits cost between $20 and $45, saving roughly $50 to $70 compared to an out‑of‑warranty Apple Store visit – that’s a 60–70% reduction.
| iPhone Model | Apple Official Price | DIY Estimated Cost | Your Savings |
| iPhone 17 Pro / Pro Max | $119 | $45 – $50 | Save 58–62% |
| iPhone 17 / 17 Plus | $119 | $35 – $45 | Save 62–71% |
| iPhone 16 Pro / Pro Max | $119 | $35 – $45 | Save 62–70% |
| iPhone 16 / 16 Plus | $99 | $30 – $40 | Save 60–70% |
| iPhone 15 Pro / Pro Max | $99 | $30 – $40 | Save 60–70% |
| iPhone 15 / 15 Plus | $99 | $28 – $38 | Save 62–72% |
| iPhone 14 Pro / Pro Max | $99 | $28 – $38 | Save 62–72% |
| iPhone 14 / 14 Plus | $99 | $25 – $35 | Save 65–75% |
| iPhone 13 Pro / Pro Max | $89 | $25 – $35 | Save 61–72% |
| iPhone 13 / 13 mini | $89 | $22 – $32 | Save 64–75% |
| iPhone 12 series | $89 | $20 – $30 | Save 66–78% |
| iPhone 11 series | $69 | $20 – $28 | Save 59–71% |
| iPhone XR / XS / X / SE(2/3) / 8 | $69 | $15 – $25 | Save 64–78% |
II. Essential Tools and Safety Checklist
Completing a clean battery swap requires the right equipment. Using proper, specialized hand tools prevents stripped screw heads, torn ribbon cables, and pierced battery casings.
1. Tool Kit:
· Precision Screwdrivers: Pentalobe P2, Tri‑point Y000, and Phillips #000.
· Opening & Pry Tools: Suction cup, thin plastic opening picks, nylon spudger.
· Heating Source & Adhesives: Hot Air Gun, hair dryer, or a heated pad; fresh pre‑cut battery pull tabs and a new frame adhesive seal.
· Magnetic Mat or Paper Grid: Crucial – iPhone screws vary in length; mixing them up can puncture the logic board. Sketch a grid and place each screw exactly where it came from.
2. Safety Checklist:
· Safety glasses – protect your eyes if the battery vents.
· 90%+ isopropyl alcohol – helps dissolve stubborn adhesive if pull tabs break.
· Discharge the battery below 25% – a low‑charge cell is far less likely to cause thermal runaway if punctured.
· Work on a clean, non‑static surface – ESD can fry delicate components.

III. Crucial Warnings and Repair Process
1. Pre‑Repair Warnings and Software Locks
· Software Locks: Apple links the battery board to the main logic board via encrypted serial numbers. Installing an uncalibrated or third‑party battery triggers an “Unknown Part” pop‑up in Settings and permanently disables the Battery Health percentage display. You can still use the phone normally, but you lose that metric.
· Thermal Safety: Puncturing a lithium‑ion cell with sharp tools can cause a violent, flammable thermal runaway. Always discharge below 25% and never use metal tools to pry the battery.
· Water Resistance: Opening the phone breaks the factory seal. You must apply a new adhesive gasket during reassembly to keep basic splash protection – but note that DIY repairs cannot restore the same IP68 rating as factory sealing.
· Critical: Display Flex Cable Limit – When you swing the display open, do not exceed a 90‑degree angle (like opening a book cover). Going further will tear the delicate Face ID / display ribbon cables, resulting in a costly screen replacement.
2. Replacement Guide
· Preparation & Opening
Turn off the iPhone completely. Remove the two Pentalobe P2 bottom screws. Apply gentle heat to the front glass edges for 1–2 minutes. Attach a suction cup near the home button / bottom edge, and gently slide a plastic pick around the perimeter to slice through the adhesive seal. Never insert the pick deeper than 3 mm to avoid damaging internal flex cables.
· Disconnecting the Battery
Swing the display open no more than 90° – support it with a heavy object or a rubber band to keep it steady. Unscrew the metal shield plates using Tri‑point Y000 and Phillips drivers. Using a plastic spudger, disconnect the battery connector first – this isolates the battery’s electrical connection and prevents short circuits during the rest of the repair.
· Removing the Old Cell
Locate the flexible white pull tabs at the top and bottom of the battery. Pull them out slowly and horizontally with steady, even tension. If a tab snaps, apply a few drops of isopropyl alcohol under the cell, wait two minutes, then gently pry it up using a flat plastic card (never metal). Keep the old battery upright and place it in a non‑conductive container.
· Installation & Resealing
Apply fresh adhesive strips to the new battery and press it firmly into the chassis. Clean the frame edges with alcohol to remove old glue residue. Lay down the new perimeter waterproof seal – ensure it sits evenly without creases. Reconnect the display and battery cables (battery connector last), and replace all metal brackets. Double‑check screw placement using your magnetic grid – wrong screws can damage the board.
· Final Testing & Assembly
Power on the device briefly to check charging, touch response, and Face ID. If everything works, press the screen firmly back into the frame until you hear a uniform click, then re‑tighten the two bottom Pentalobe screws. Run a quick battery cycle test – charge to 100% and use it down to 20% to confirm normal performance.
IV. Final Verdict: Who Should DIY?
· If you own an iPhone 11 or older with a degraded battery, DIY is a no‑brainer – you'll slash costs by 60–70% and gain valuable repair skills, all while keeping your old device out of the landfill.
· However, if you're using an iPhone 15 Pro or newer, think twice. The risk of cracking the fragile back glass, losing reliable water resistance, and triggering the dreaded “Unknown Part” warning simply isn't worth sacrificing your device's trade‑in value and daily reliability. For newer flagships, pay Apple the $99 – it preserves your warranty, maintains full IP68 sealing, and retains the highest resale value.
· For budget‑conscious users with out‑of‑warranty models, equipping yourself with reliable Phone Repair Tools and following this guide makes the process safer, smoother, and far more manageable. Just remember: the savings are real, but so are the risks – proceed with patience, respect the safety warnings, and you'll likely succeed.

Replacing an iPhone battery at home saves you 60‑70% compared to Apple's retail price – but it's a trade‑off between cost and convenience. Evaluate your device's age, your technical comfort, and your tolerance for software quirks before you pick up that screwdriver. If you decide to go ahead, this guide has given you the full picture – now you can make an informed choice.