
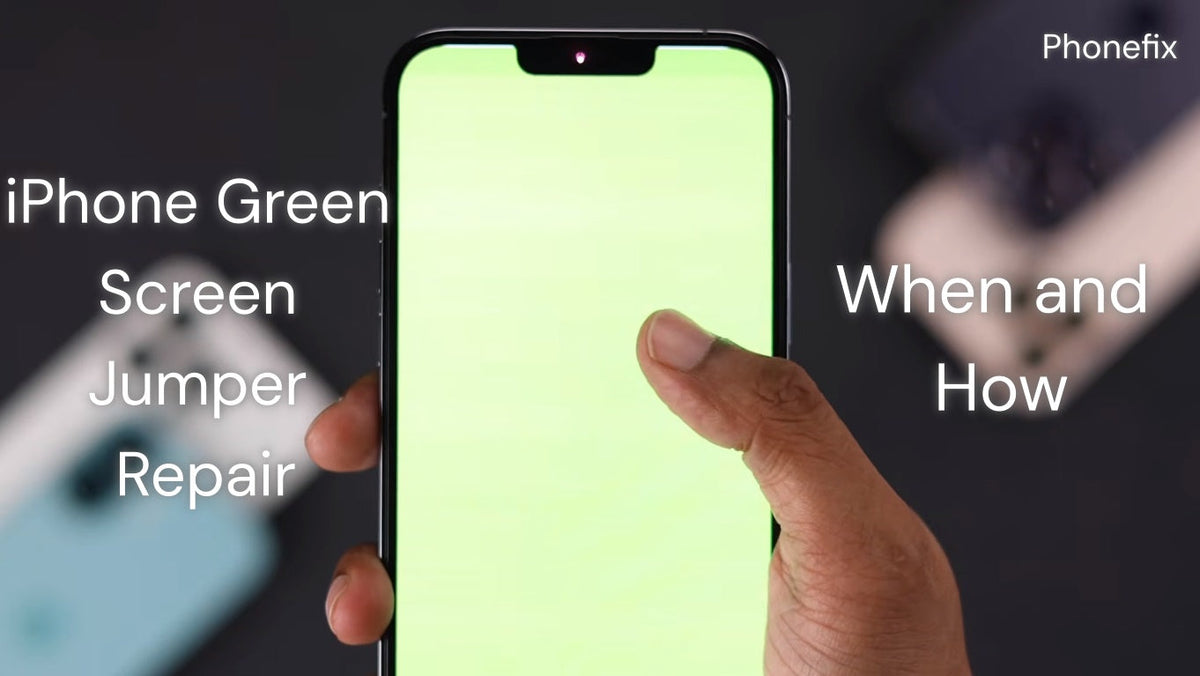
A green iPhone screen often points to a physical fault in the display path, not to a dead panel. A jumper repair can restore a broken electrical connection at low cost. The method is suitable only when the model and the fault type match. This guide covers the common symptoms, the causes behind the green screen, the jumper repair procedure, the conditions under which the repair is appropriate, and the tools and steps required for a home attempt.

I. Common Symptoms
The green screen can be separated into several patterns.
· A solid green overlay. The whole display is covered, and a restart does not clear it. Vibration, sound, and touch often continue beneath the green layer. This pattern points to a display-path fault.
· An intermittent green flash. The screen turns green for one or two seconds, recovers, and repeats the cycle.
· A persistent green screen after a software update. The fault appears immediately after the update and does not fade.
· A green screen with no vibration, no sound, and no computer recognition. The fault may sit deeper on the board. A simple jumper is less likely to help in this case.
A quick check can be made at home. A forced restart is performed first. The phone is then connected to a computer, and touch and vibration are observed. These results help separate a display-path fault from a board-level fault.
II. Why the Screen Turns Green
The green screen has two broad sources: software and hardware.
1. Software triggers are less common and easier to rule out. A forced restart, a recovery mode reinstall, or a system repair tool may resolve a firmware or GPU output fault. Some iPhone 13 users reported the green screen after an iOS update. This suggests a software trigger on a display path that was already marginal.
2. Hardware causes are more common in persistent cases. On the iPhone 13 series, the standard fault list includes:
· a failing OLED panel
· a damaged display flex cable
· impact or liquid damage
· a board-level display driver issue
3. The OLED panel uses separate red, green, and blue sub-pixels. When voltage control to the green sub-pixels goes abnormal, the green units stay lit while the others do not. A broken or partially detached flex cable can also interrupt the clock (CLK) signal that synchronizes the display. A green or white screen can then appear even when the panel itself is still intact.
III. What a Jumper Repair Is
A jumper repair is a micro-soldering technique. A thin enameled wire is soldered between two points on the display flex or the board to restore a connection that has been physically broken. The wire is often 0.02 mm to 0.1 mm in diameter. In one documented iPhone 13 Pro Max repair, two connection points on the display flex were isolated, and a jumper wire was soldered to the connectors. The break was bypassed, and the signal reached the display again.
Two practices are often called jumper repair, and they should be separated.
· A correct jumper. A confirmed broken trace or cold solder joint is repaired. Continuity is checked before and after soldering.
· A forced jumper. Voltage is forced through a failing circuit without diagnosis. The screen may light up for a few days, but the driver IC is overloaded, and the panel can be burned beyond repair.
A jumper repairs a connection, not a panel. It does not restore a worn-out OLED panel, and it does not repair a failed driver IC.

IV. When a Jumper Repair Is Appropriate
The conditions below can be checked before any soldering is done.
1. The green screen appeared suddenly after a drop or a flex-cable disturbance. A mechanical event points to a trace break rather than a panel failure.
2. The phone is otherwise fully functional. If it vibrates, produces sound, and connects to a computer, the logic board and operating system are likely working.
3. A continuity test confirms a broken trace or a cold solder joint. A multimeter and magnification are used for this check.
4. The model is an iPhone 13 or earlier. The jumper method is most associated with the iPhone 13 family, where the fault pattern often matches a repairable connection break.
A jumper repair is not appropriate in the following cases.
· The OLED panel itself is failing, with discoloration, lines, or ink-like spots.
· Liquid damage has corroded multiple connections.
· The phone is an iPhone 14 or newer. From the iPhone 14 generation onward, the display lines and driver structure are fixed under a bracket at the bottom of the panel. The failure mode is often a damaged signal path or a failing driver IC, not a voltage logic problem that a jumper can bypass. Forced jumpers on these models are largely ineffective and can cause further damage.
V. Tools and Procedure for a Home Jumper Repair
A home jumper repair is a realistic project when the tool list is complete and the steps are followed in order. The work is small, but it is repeatable on a home bench with a microscope and a steady hand.
1. Opening tools:
· a pentalobe P2 screwdriver;
· a precision Phillips or Torx set;
· a suction cup and plastic opening picks;
· a heat source for the adhesive-sealed display.
2. Handling tools:
· fine anti-static tweezers;
· an anti-static wrist strap.
3. Jumper tools:
· 0.02 mm to 0.1 mm enameled copper wire;
· a temperature-controlled fine-tip soldering iron;
· flux;
· a stereo microscope or high-magnification loupe;
· a digital multimeter;
· UV-curable solder mask and a UV lamp.
A complete tool kit makes each step easier to control.
4. Procedure
· The phone is powered off, and the bottom screws are removed.
· The display is heated and separated from the frame without slicing the flex.
· The display connector is disconnected.
· A multimeter is used to identify the pin with no voltage or a short.
· The solder mask is scraped from the connection points, and both ends are tinned.
· The jumper wire is soldered in place. Soldering time is kept short to avoid heat damage to the flex.
· The wire is secured with UV solder mask and cured under a UV lamp.
· The display is reconnected, and the phone is tested for display, touch, and sensor function.
5. Practical Notes for the Home Bench
· Magnification and good lighting are essential. The soldering points are measured in tenths of a millimeter.
· A low-wattage iron with a fine tip keeps heat under control.
· Slow, even heat during display removal reduces the risk of flex tearing.
· A multimeter reading taken before soldering separates a broken trace from a failing panel.
· A jumper placed on the wrong fault type can turn a repairable display into permanent scrap. The diagnosis step is worth the extra time.
· With these precautions in place, a home repair is a practical option rather than a last resort.

A jumper repair is a legitimate, low-cost option for a confirmed trace break on an iPhone 13 or earlier model. It is not a universal fix for the green screen, and the fault must be diagnosed before any wire is soldered. When the model and the fault type match, the original display can be restored at roughly half the cost of a full panel replacement. A home bench with a proper setup and a complete set of phone repair tools supports this repair.


