The iPhone 17 Pro has two charging ports: MagSafe and USB-C. Despite its apparent simplicity, the charging process depends on a number of mechanisms, such as interface connections, motherboard identification circuits, cable protocols, and system detection. The phone may display issues including not charging when plugged in, intermittent charging, charging at an angle, a loose data cable, or only being able to charge at a specific angle or with a specific cable if the charging port is malfunctioning. The goal of this Phonefix article is to assist you in methodically locating the cause of the issue and carrying out the safest and most efficient charging port repair without requiring risky procedures.

I. Necessary Preparation and Basic Troubleshooting
Before you start, first ensure the problem is not caused by external factors. Many situations that seem like a "broken charging port" are not actually hardware failures.
1. Check the Charging Cable and Adapter
Testing with original or certified cables is the most basic step.
You can try the following methods to determine if the problem is with the cable:
· Try a different USB-C charging cable, preferably an original Apple cable or a certified cable.
· Try a different charging adapter. Ensure the adapter supports iPhone Fast Charging (20W or higher).
· Try charging your phone using a computer's USB-C port.
If the problem is resolved after changing the cable, it indicates the issue isn't with the iPhone 17 Pro's charging port.
2. Restart your iPhone
Occasional system errors can also cause charging problems.
Follow these steps to restart your device:
· Press and hold the power button until "Slide to power off" appears on the screen.
· Wait 1 minute after sliding to power off to allow internal processes to completely stop.
· Press and hold the power button again to turn it on.
If there's a temporary system glitch, a restart usually resolves the issue.
3. Force Restart
If the screen is frozen or the phone is unresponsive, try a force restart:
· Quickly press the volume up button once;
· Quickly press the volume down button once;
· Press and hold the power button until the Apple logo appears.
A force restart will not erase data and is a safe procedure.
II. Cleaning the Charging Port
The iPhone's USB-C port is located at the bottom, making it prone to accumulating clothing fibers, dust, and metal shavings. If you find that the data cable cannot be inserted deeply, the plug is loose, or it requires a change in angle to charge, it's 90% likely because dust is pressed firmly onto the bottom of the port.
1. Always turn off your iPhone before cleaning.
· Turning off the power prevents short circuits during operation and reduces the risk of damage.
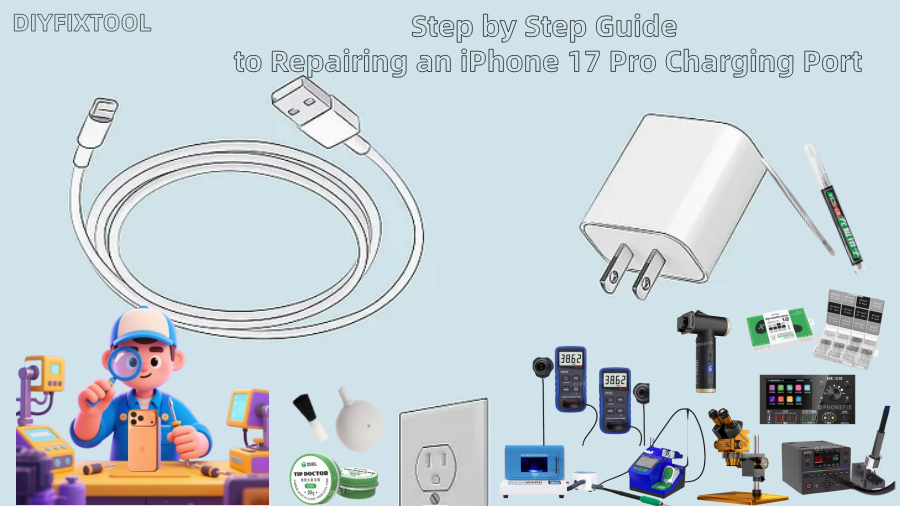
2. Prepare necessary cleaning tools
You will need the following tools (all safe non-metallic tools):
· Wooden, bamboo, or plastic toothpicks (never use metal needles);
· Soft-bristled brush, such as a camera cleaning brush, paintbrush, or device cleaning brush;
· Small flashlight or desk lamp;
· Lint-free cotton swabs;
· 95% or higher isopropyl alcohol (optional);
Avoid using metal tools, as the USB-C port has densely packed internal contacts, and scratching it with metal tools may damage the gold fingers or even cause a short circuit.

3. Inspect the inside of the port
Turn on a flashlight and observe the inside of the port for the following:
· Dark clumps of dust;
· Compacted lint;
· Metal shavings;
· Grease or grime;
· Unidentified foreign objects;
Any foreign object may obstruct the normal contact between the plug and the contacts.
4. Gently clean the bottom with a toothpick
Slightly flatten the toothpick to make the tip soft and flat.
Then proceed as follows:
· Gently insert a toothpick into the bottom of the connector, avoiding contact with the metal contact area.
· Gently scrape the bottom, like sweeping, to remove dust.
· Remove the toothpick after each scrape to avoid pushing the dust further in.
· Repeat several times until the dust is significantly reduced.
Key point: Be very gentle; do not press down on the contacts.
5. Further cleaning with a soft-bristled brush
· Gently sweep the inside of the connector with a dry, soft-bristled brush to help remove fine dust.
· Sweep from multiple directions to allow the bristles to remove any remaining dust.
6. Deep cleaning with isopropyl alcohol
If there is oil or liquid residue inside, further cleaning can be performed:
· Apply a small amount of isopropyl alcohol (alcohol content at least 95%) to a cotton swab.
· Squeeze out excess liquid, avoiding dripping water from the cotton swab.
· Gently wipe the inside of the connector, avoiding contact with the contact area.
· After cleaning, wait at least 5 minutes for the alcohol to completely evaporate.
Afterward, try connecting the charging cable again. Many users find the problem resolved.
III. Additional Checks for MagSafe Users
If you are using a MagSafe charger instead of USB-C, sometimes the problem doesn't originate from the bottom charging port. Please follow these steps to clean:
1. Wipe the MagSafe circular magnetic area on the back of your iPhone with a slightly damp, lint-free cloth.
2. Clean the surface of the MagSafe charger, especially the magnetic ring and the central coil.
3. Allow it to dry completely before trying to charge again.
The MagSafe electromagnetic structure easily attracts metal dust, so regular cleaning is also important.

IV. Further Software Troubleshooting
Not all "cannot charge" issues are hardware problems; some system or settings issues can also affect charging.
1. Check your iOS system version
· Go to Settings → General → Software Update;
· If your iOS version is too old, there may be USB-C protocol compatibility issues.
2. USB Restricted Mode May Affect Charging
· Go to Settings → Face ID & Passcode;
· Ensure "USB Accessories" is not restricted.
If this option is turned off, the phone may restrict USB accessories after the screen has been locked for a certain period, resulting in no response when a cable is plugged in.
3. Abnormal Battery Temperature Causes Charging Interruption
· If the phone temperature is too high or too low, the system will automatically pause charging to protect the battery.
· You can place the phone in a room temperature environment to allow it to cool down before trying to charge it again.
V. In-Depth Hardware Repair
The following content involves disassembling an iPhone 17 Pro. It is not recommended for ordinary users to attempt this; it is for informational purposes only. If you have no disassembly experience, this step should be performed by a professional repair technician.
1. Preparations before disassembly
You will need:
· iPhone professional screwdriver;
· Screen suction cup and plastic pry tool;
· Heating pad (for softening the adhesive on the frame);
· Anti-static gloves;
· Precision screw organizer;
· Replacement charging port flex cable assembly;
2. Remove bottom screws and open the screen
· Unscrew the two pentalobe screws at the bottom.
· Heat the screen edge for approximately 1–2 minutes.
· Use the suction cup to lift the bottom gap of the screen and slide the pry tool along the edge to cut the adhesive.
· Flip the screen to the right like turning the pages of a book, avoiding pulling on the flex cable.
3. Disconnect the battery and display flex cable
· Remove the metal retaining cover.
· Disconnect the battery flex cable.
· Disconnect the display flex cable.

4. Disassemble the speaker and bottom structural components
· Remove the speaker mounting screws.
· Pry open the charging port flex cable connection point.
· Remove the screws and clamps securing the flex cable.
5. Remove the old USB-C flex cable.
· Use a plastic pry tool to separate the flex cable from the mid-frame.
· Carefully handle the microphone hole and the rubber ring.
· Completely remove the flex cable assembly.
6. Install the new USB-C flex cable.
· Align the microphone hole with the connector.
· Secure the screws, ensuring they are not loose.
· Reconnect the flex cable clips.
7. Reinstall the screen and test.
Test before sealing:
· Does it charge normally?
· Does data transfer work normally?
· Does the microphone work normally?
· Does the signal work normally?
After everything is normal, apply waterproof adhesive and seal it completely.
Most of the time, charging problems with the iPhone 17 Pro can be fixed without disassembling the device and are caused by dust buildup, damaged cables, or system malfunctions. Welcome to China Phonefix to select your customized professional mobile phone repair tools if you're searching for tools that are appropriate, long-lasting, and professional. Screwdrivers, pry bars, heated pads, microscopes, soldering stations, and full repair kits are all available here.


