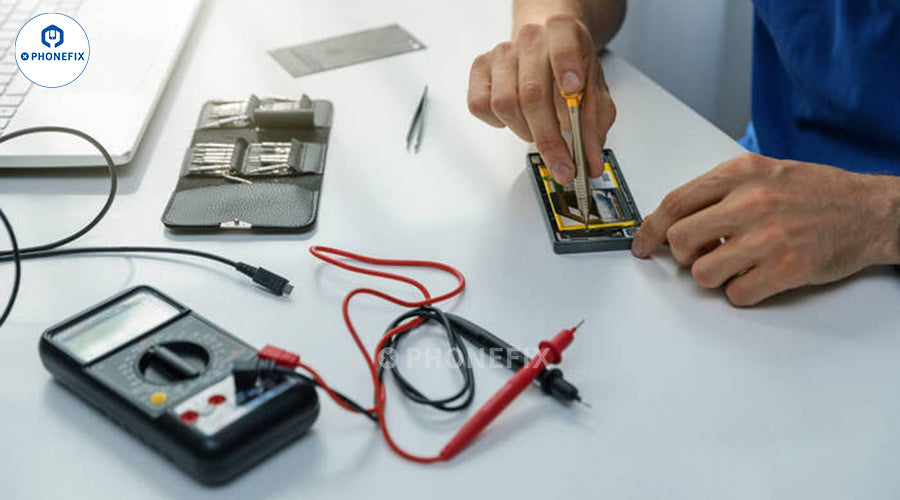
The phone screen suddenly goes black, the charging port has poor contact, the screen is broken... These sudden failures not only delay your work and miss important information, but you may also have to wait in line and spend a lot of money to send it to the repair shop. Don't worry about small problems with your phone anymore! Phonefix will list the top 10 repair techniques that you can repair yourself.

10 DIY Phone Repair Skills:
1. Screen Replacement
2. Battery Replacement
3. Charging Port Repair
4. Camera Module Replacement
5. Speaker and Microphone Repair
6. Water Damage Repair
7. Button Replacement
8. Software Troubleshooting
9. Data Recovery
10. Sourcing Quality Parts and Accessories
1. Screen Replacement
After the phone fell, the screen was covered with cracks and the touch function failed? Don't rush to replace the whole phone! Master the skills of iPhone Screen Replacement, prepare the corresponding model screen, Small Screwdriver and Suction Cup, carefully separate the broken screen, and accurately connect the cable to restore the clear "vision" of the phone. Remember to turn off the power in advance to avoid static electricity from damaging the internal components. 2. Replace the battery
The battery of your mobile phone is consuming as fast as an hourglass. Is charging once every half a day a normal thing? Replacing the iPhone Battery yourself is the key to saving battery life. Buy an adapter battery, use a Heating Platform to soften the adhesive after disassembling the phone, carefully disconnect the old battery cable, and install the new battery. The battery life will be "revived" immediately, easily meeting the needs of a whole day's use.
3. Repair the charging port
When charging, you need to repeatedly plug and unplug and shake to charge, but the charging port is still full of dust? This means that the charging port is loose or blocked. Use tweezers or a cleaning brush to clean foreign objects. If you find that the port is damaged, you need to prepare tools such as a Hot Air Gun, solder, and an anti-static bracelet.
Before operation, be sure to disconnect the Power Supply of the mobile phone, adjust the temperature of the heat gun to the appropriate gear (generally 300-350℃), evenly heat the solder joints around the charging port, and after the solder melts, use tweezers to carefully remove the old interface.
Clean the residual solder and impurities on the motherboard, then align the new charging port to the position, use solder wire and Soldering Iron to solder, and ensure that the solder joints are full, firm and without cold solder joints. After completion, check carefully to confirm that the connection is correct, and the mobile phone can resume normal "eating", and charging is no longer a problem.
4. Replace the camera module
The photos are blurred and the screen is black, and you have missed countless beautiful moments? Replace the iPhone Camera Module to regain the fun of shooting. Determine the camera that corresponds to the phone model, carefully remove the old module with tweezers, and pay attention to aligning the clips and cables when installing the new module, so that you can easily take clear photos.
5. Speaker and microphone repair
Can't hear the other party's voice clearly during a call, and there is no sound when playing a video? There may be a problem with the speaker or microphone. Remove the iPhone Back Cover, check if there is dust clogging, and clean it with a Soft Brush; if the parts are damaged, replace the new speakers and microphones, and the sound will be "fresh" again.
6. Mobile phone water repair
The phone accidentally fell into the water and "frozen" instantly? Don't turn it on immediately! Take out the phone immediately, use a paper towel to absorb the surface moisture, put it in a sealed bag filled with rice to absorb the moisture (or use a professional desiccant), let it stand for 24 hours, and then try to disassemble the iPhone Motherboard and wipe it dry to minimize damage.
7. Button replacement
The power button and volume button do not respond when pressed, and the operation depends entirely on the screen? Replace the buttons to restore the control feel of the phone. Disassemble the phone to find the button module, remove the damaged button with Tweezers, and make sure the contacts are aligned when installing the new button so that you can easily find the familiar button touch.
8. Software troubleshooting
Frequent phone crashes and application crashes are all caused by software. Enter safe mode to check whether there is a conflict with third-party applications, try to restore factory settings (back up data in advance), or update the system through the official flashing tool to "sweep mines" for the phone system and restore smooth operation.
9. Data recovery
Did your phone accidentally delete important photos and files? Never write new data blindly! With the help of professional data recovery software, or try to use Data Cable connecting to a computer and scan with a recovery tool, you can recover the lost data in some cases and minimize the loss.
10. Buy high-quality accessories
The key to the quality of repair lies in the quality of accessories. Choose screens, batteries and other accessories with good reputation and suitable models through official flagship stores of regular ecommerce platforms and professional mobile phone accessories markets to avoid secondary damage caused by inferior accessories and ensure successful repairs.
Conclusion:
Master these 10 DIY mobile phone repair skills, and device failure will no longer be a problem you can’t solve! Whether it’s a cracked screen, aging battery, or software freezes, they can all be easily resolved. If you can’t wait to start your DIY journey, phonefix will be your reliable partner when looking for High-quality iPhone Accessories. Professionally adapted parts and thoughtful after-sales support make your repair journey more worry-free and more efficient.


