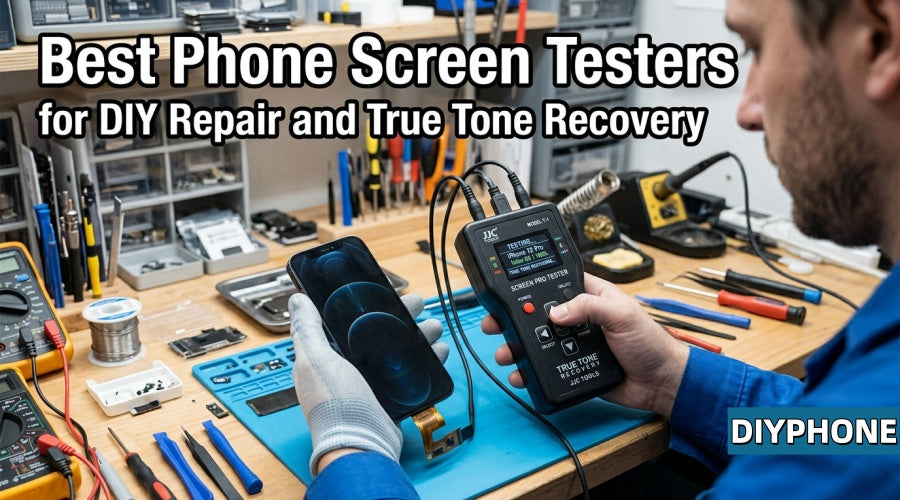
If you frequently replace iPhone screens or are attempting your first DIY repair, installing a new screen without prior testing can lead to issues like dead pixels, unresponsive touch, or color casts. Discovering these after assembly requires secondary disassembly, which risks damaging the motherboard connectors. Using a professional screen tester independently beforehand effectively avoids these problems and improves repair efficiency.

I. Screen Testing Principles
1. Testing and Protection Mechanisms
· Protecting Motherboard FPC Connectors: The screen sockets on phone motherboards are designed with extreme precision, and frequent plugging and unplugging can easily cause pin deformation or desoldering. Using a tester can reduce test wear and tear on the motherboard sockets.
· Reducing Rework Costs: Completing screen testing before applying waterproof adhesive and assembling screws allows you to detect screen defects in a timely manner, avoiding wasted working hours and structural damage caused by disassembling after assembly.
· Independent Drive and Monitoring: The tester features a built-in microcontrol chip capable of independently outputting display signals and touch sampling signals that comply with screen interface protocols. It can light up the screen without relying on the phone motherboard to boot up, while monitoring operating voltage and dynamic current in real-time to screen for hidden short circuits.
2. Repair Scenarios and Testing Equipment
· Cross-Generational Compatibility Requirements: In actual repairs, it is often necessary to handle testing needs ranging from early models to the latest flagship screen segments, which places demands on the compatibility and parameter display intuitiveness of testing equipment.
· Practical Application: For rapid testing of cross-generational iPhone screens, the Phone Display Touch Tester is a common adaptation solution. Equipped with a 2.8-inch digital display screen, this device can intuitively present boot information, test screen parameters, and real-time current and voltage data. It comprehensively integrates True Tone restoration, display testing, touch testing, and 3D testing functions, assisting repair personnel in rapidly diagnosing hidden issues.

II. Screen Touch Response Testing
1. Touch and Interaction Testing
· Full-Screen Line Drawing and Area Testing: By drawing continuous lines or dragging icons with fingers on the screen, the response trajectory of the touch digitizer is tested to check for unresponsive dead zones across all areas of the screen.
· Touch Stability Detection: Under multi-touch testing, observe whether the screen exhibits automatic clicks or touch drift (ghost touch) phenomena, and detect feedback values at different pressure levels for models supporting 3D Touch.
2. Tool Selection for Dual-Platform Repairs
· Multi-Brand Accommodation Requirements: Many repair scenarios are not limited to Apple devices, simultaneously requiring the ability to handle screen testing and repair demands for mainstream Android phones such as Samsung and Xiaomi.
· Practical Application: For scenarios that need to accommodate both Apple and Android systems, the Touch Screen Diagnostic Tools can provide good comprehensive support. This device not only supports the iPhone 6-16 series, but can also be used for display testing, touch response testing, 3D Touch pressure testing, and True Tone data restoration of mainstream Android phone screens, featuring an intuitive operating interface and strong adaptability.
III. True Tone Repair Technology
1. True Tone Data Migration
· Data Transfer Mechanism: After replacing the screen on iPhone 8 and later models, the underlying data within the original screen's chip (such as the glass cover serial number) needs to be written to the new screen to restore the True Tone display function. The tester first reads the underlying code inside the original screen's EEPROM chip and stores it in memory, then precisely burns it into the new screen's chip.
· Color and Grayscale Restoration: Utilizing red, green, blue, white, black, and multi-level grayscale images, it accurately detects whether OLED/LCD screens have extremely subtle color casts, uneven lighting (shadow/bright screens), or Gamma curve abnormalities.

2. Application of Testing Tools
· Drive Testing: With the enhancement of screen refresh rates and transmission protocols, performance requirements for testers in MIPI screen protocol processing and high-precision image restoration are also increasing.
· Practical Application: In scenarios pursuing high-precision display restoration and deep protocol testing, the JCID Phone Screen Tester demonstrates its professional advantages. It supports screen testing for the full series from iPhone 7-17 Pro Max as well as Android screens, integrating the advanced MV01 screen testing module. Focusing on MIPI screen testing technology, it performs accurately in monochrome testing, high-precision image testing, and grayscale gradient testing, making it suitable for in-depth quality control.
IV. Screen Testing and True Tone Repair SOP
1. Equipment Preparation
· Connect the tester to a 5V power supply and turn on the device power.
· Check the test socket (or small board module) for the corresponding model, and confirm that the socket pins are free of deformation and foreign object blockages.
2. Original Screen Data Reading
· With the test socket in a powered-off state, snap the original screen flexible cable onto the test socket.
· Press the "Read" button on the tester, and the device will scan and back up the True Tone code and glass cover serial number inside the original screen's EEPROM chip. Once the prompt indicates successful reading, the old screen can be removed.

3. New Screen Data Writing
· Snap the flexible cable of the new screen to be installed onto the test socket.
· Press the "Write" button to burn the temporarily stored True Tone data into the new screen's chip. Once the device prompts that writing is complete, the True Tone display function can be restored.
4. Screen Function Power-On Testing
· Connection: Connect the new screen to the test socket and power it on.
· Display Check: Switch between different monochrome and grayscale images to observe whether there are shadows, dead pixels, or uneven displays around the screen.
· Touch Check: Enter the touch test interface, draw lines with fingers across the entire screen area (especially edges and corners), and confirm that touch is smooth without broken lines.
· Current Monitoring: Observe the current value on the tester panel to confirm that the current is within the normal operating range.
V. Practical Precautions
1. Power-Off Cable Connection and Disconnection
·When connecting or disassembling screen flexible cables, make sure to ensure that the test socket is in a powered-off state. Plugging and unplugging while powered can easily lead to instantaneous current surges, causing damage to the screen flexible cable chip or the tester socket.
2. Accurately Snapping FPC Flexible Cables
The test socket pins are relatively fragile. When snapping the flexible cable, align the position first, then gently press to snap it into place. If you feel greater resistance, stop operation immediately and check whether the pins are skewed, and do not apply heavy force.

3. Matching Small Boards and Models
The tester must be used in conjunction with the test small board for the corresponding model. Before testing a screen of a specific model, please check whether the test small board supports that model.
4. Tool Purchase Recommendations
Choosing qualified testing equipment and accessories is the basis for ensuring test accuracy and repair safety. When selecting various repair tools and testing equipment, it is recommended to choose professional mobile repair tools and equipment service platforms such as phonefix to obtain reliable product quality and after-sales support.
In general, a screen tester is definitely an essential tool for every mobile phone repair enthusiast pursuing perfect quality. Spending a little time doing comprehensive testing and True Tone writing before assembly can not only help you completely avoid various troubles brought by defective screens, but also give you an extra layer of success assurance while enjoying the fun of DIY.