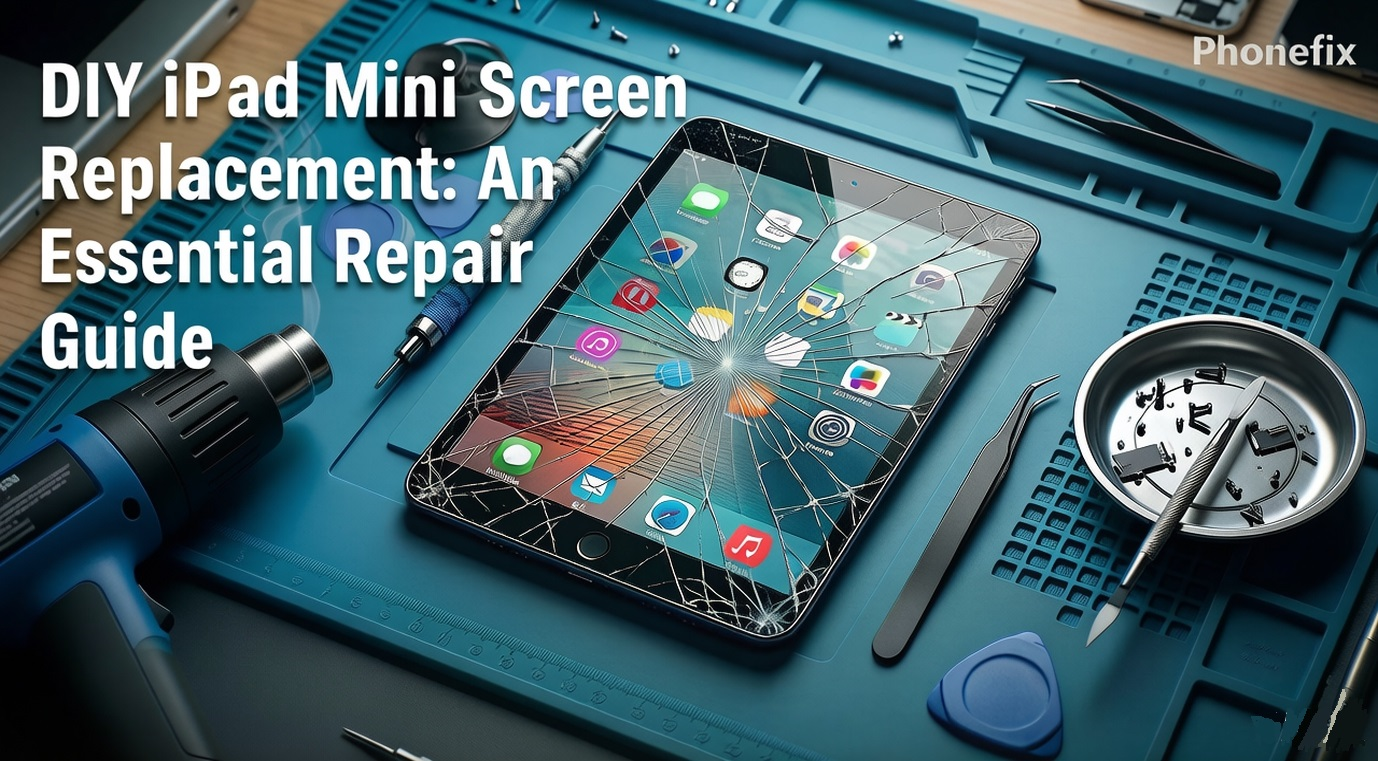
Replacing a damaged iPad Mini screen is a precise balancing act. Because these compact tablets pack high-density display technology into a much smaller footprint, the internal components are exceptionally cramped, leaving almost zero margin for error. This comprehensive guide breaks down how to successfully diagnose your screen damage, gather the correct commercial-grade tools, and complete a full screen swap safely.

I. Diagnosing the Screen Damage First
The iPad Mini lineup utilizes two entirely different display architectures depending on the specific generation you own:
· Older Legacy Models (Mini 1/2/3): Feature a separate outer glass digitizer (the touch-sensitive layer) resting above an independent, underlying LCD panel (the image-generating layer).
· Modern Laminated Models (Mini 4/5/6): Feature a fully laminated display assembly where the protective cover glass, touch digitizer, and LCD are chemically fused into a single hardware unit.
To determine your exact repair path, look closely at how the damage manifests:
· Glass Crack Only (Touch & Image Work): If your glass is shattered into a spiderweb pattern but the screen renders perfect images and registers touch, it is technically outer glass damage. However, on any laminated model, attempting to separate that glass from the delicate LCD without professional laboratory refurbishment machinery will destroy the entire panel. A full assembly replacement is the only viable DIY path.
· Digitizer Failure (Unresponsive Touch): Dead zones or a screen that refuses to respond to your fingers mean the digitizer has failed.
· LCD Failure (Image Distortion): Vertical colored lines, distorted graphics, permanent black spots, or a completely black display with a visible backlight indicate internal LCD damage.
Diagnostic Rule of Thumb: For any iPad Mini, regardless of whether the issue is just a hairline glass crack or a total blackout, a full iPad Mini Screen Assembly replacement is non-negotiable.
II. Tools Parts and Workspace
Precision consumer electronics repairs require highly specialized equipment. To tackle this complex fix without permanently destroying your logic board or tearing critical sensors, you must prepare a dedicated, clean workspace layout equipped with the following:
· Controlled Heat Source: An electronics-heating pad or a variable-temperature hot air gun designed to soften the stubborn factory-applied structural adhesive.
· Opening Tools: Heavy-duty suction cups and an array of ultra-thin, flexible plastic opening picks. Metal tools must be strictly avoided, as they instantly chip glass and permanently warp the aluminum housing.
· Internal Drivers: A PH000 Phillips Precision Screwdriver and a Torx or Pentalobe driver, depending on the exact engineering generation of your Mini.
· Static and Component Safety: ESD-safe (electrostatic discharge) plastic spudgers, fine-tipped non-conductive tweezers, and an anti-static wrist strap.
· Securing Materials: High-bond, pre-cut structural adhesive strips tailored explicitly to the exact millimeter dimensions of your iPad Mini model.
Set up your physical workspace in a well-lit, dust-free room. The ideal ambient room temperature should be maintained around 70°F to 75°F. If your environment is too cold, the iPad's internal adhesive will remain incredibly rigid and brittle, making screen removal agonizingly difficult and exponentially increasing the likelihood of shattering the glass into thousands of dangerous, tiny microscopic splinters.

III. The Step-by-Step Replacement Sequence
1. Preparation and Safety: Back up your entire iPad database to iCloud, completely disable the "Find My" tracking feature in your settings, and discharge the internal lithium-ion battery below 25%. A fully charged lithium battery can easily spark or suffer a thermal runaway event if accidentally punctured; keeping the charge exceptionally low drastically reduces this hazard.
2. Softening the Perimeter: Apply controlled heat along the outer borders of the iPad's screen frame. Keep your Hot Air Gun moving constantly in a sweeping motion, aiming for a consistent surface temperature of roughly 140°F (60°C) for approximately 90 seconds per side. Never hold the heat source over one spot, or you will instantly scorch the underlying components.
3. Slicing the Adhesive: Plant a heavy-duty suction cup on the glass edge opposite the internal flex cables. Pull upward with firm, steady pressure to create a microscopic gap, and immediately slide a plastic opening pick inside. Guide the pick slowly around the perimeter to slice the glue, inserting extra picks at the corners to prevent the cooling adhesive from resealing.
4. Opening the Assembly: Swing the loosened screen open slowly like a delicate book. The incredibly fragile display ribbon cables link the panel directly to the logic board on one specific side. Do not pull the screen away entirely; instead, prop it open securely at roughly a 45-degree angle.
5. Releasing the Cables: Use your precision screwdriver to remove the metal shielding brackets protecting the battery and display connectors. Always disconnect the battery ribbon cable first to completely cut power to the logic board. Then, use a plastic spudger to gently pop off the display and touch digitizer flex cables from their sockets.
6. Transferring Essential Components: If your premium replacement screen did not come with factory-installed sub-components, carefully migrate the ambient light sensor, the front camera alignment brackets, and the physical Home/Touch ID button assembly from your old broken screen over to the new one.
7. Dry Testing the Panel: Plug the new screen's ribbon cables directly into the logic board and temporarily reconnect the battery power cable. Rest the screen loosely inside the aluminum frame without applying any adhesive, and power the device on. Thoroughly test the touch response across the entire display grid, check the full range of brightness levels, and verify that all biometric features function correctly.
8. Final Sealing: Power down the iPad completely. Clean away every trace of old glue residue from the aluminum frame using a lint-free cloth and high-purity isopropyl alcohol. Lay down your fresh pre-cut adhesive strips, carefully line up the new screen assembly, and press down evenly around the edges.
IV. Financial Reality: DIY vs. Professional Costs
Understanding the market cost for parts and labor helps determine whether the financial risk of a DIY fix is justified.
The DIY Replacement Route ($50 – $130):
This is highly economical if you already own basic tools. High-quality, pre-tested replacement screen assemblies generally sit in this range. Older legacy models sit near the lower end, while premium assemblies for the iPad Mini 6 command the higher end.
Independent Local Repair Shops ($120 – $220):
A solid middle-ground option. You pay for both parts and technician labor. Turnaround is usually fast (often same-day), but component quality and warranty lengths vary significantly depending on the shop.
Official Apple Out-of-Warranty Service ($199 – $349):
The most expensive path, tier-priced by model generation. However, if you carry an active AppleCare+ plan, this out-of-pocket cost plummets to a flat $49 service fee deductible.
The 50% Financial Rule: If your iPad Mini is an older generation and the official repair quote from a shop or Apple exceeds 50% of its current used market value, attempting the DIY repair yourself or upgrading to a new device makes the most logical financial sense.

V. Troubleshooting and Common Pitfalls
· The most catastrophic mistake made during an iPad Mini repair is tearing a hidden internal flex cable when initially lifting the broken glass. To prevent this devastating error, never insert your plastic opening picks deeper than a quarter of an inch into the frame.
· If your screen begins to lift at the corners a few days after completing the repair, it indicates that the aluminum frame was not cleaned thoroughly or the adhesive lacked sufficient pressure to cure correctly. To fix this, place the sealed iPad flat on a level table and lay a couple of heavy textbooks on top of it overnight to ensure a permanent bond.
· If the screen remains entirely black after installation but you can still hear notification sounds or haptic feedback, turn off the tablet, reopen it, and ensure the main display cable is fully clicked into its socket on the logic board.
Patience, methodical operation, and the use of a reliable Phone Repair Tool Kit will give you the best possible chance of a flawless restoration. Remember, every successful repair comes from thorough preparation and careful execution. If you're not entirely confident in your technique, or if your device is particularly valuable, seeking help from a professional repair technician is also a wise choice. Whichever path you choose, safety comes first, and getting your iPad Mini back to normal use as soon as possible is the ultimate goal.


