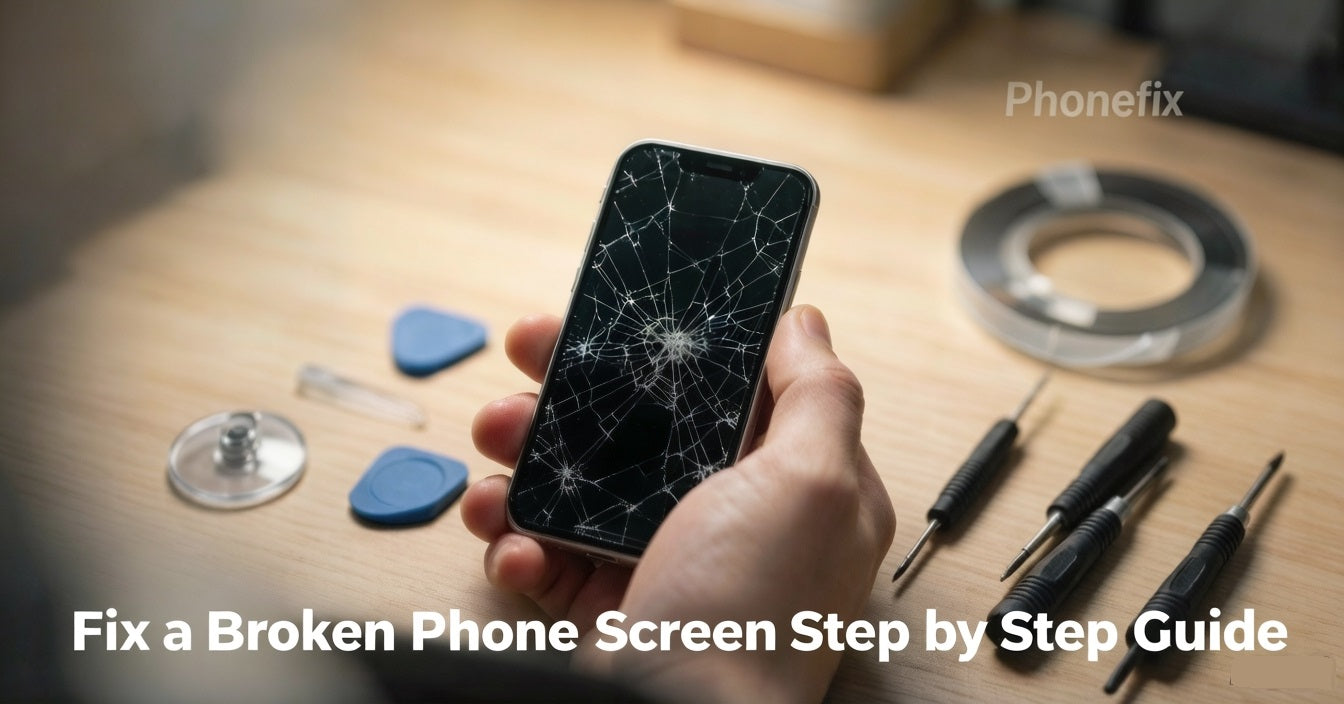
That sickening moment when your phone hits the floor face‑down, we've all lived it. But don't write off your device just yet. This guide will show you how to diagnose the damage, prep safely, replace the screen using the proper phone repair tools, and weigh DIY against pro repair, so you can move forward without panic.

I. Diagnosing the Damage: What is Actually Broken?
Before ordering parts or driving to a shop, you need to understand what you are dealing with. A modern smartphone screen is not just a single piece of glass; it is a highly engineered sandwich consisting of three distinct layers:
· The Outer Glass: A protective layer designed to take the brunt of an impact.
· The Digitizer (Touch Layer): A transparent, grid-like sensor bonded just beneath the glass that translates your finger movements into actions.
· The Display Panel (OLED or LCD): The deepest layer that actually generates the images, colors, and light you see.
To figure out which layers have failed, perform these three quick diagnostic steps:
· Test the Touch Responsiveness: Open a note-taking app and type a message, ensuring every letter registers. Drag an app icon across every square inch of the screen. If it drops or ignores your finger in certain spots, your digitizer is damaged.
· Inspect for Display Artifacts: Look closely at a bright, plain background. Do you see vertical green lines, flickering light, or black "ink-bleeding" patches? If so, your OLED/LCD panel is broken.
· Evaluate the Crack Severity: Is it a hairline surface scratch, or a deep spiderweb pattern where actual chunks of glass are missing? Heavy fragmentation means glass shards can easily puncture the delicate display layers underneath if left unrepaired.
Why this matters: If only the outer glass is broken but the touch and display work perfectly, you have a cosmetic issue. However, because modern screens use fused assemblies (where all three layers are glued together at the factory), you will almost always need to replace the entire screen module, regardless of whether one layer or all three are broken.
II. Preparation and Tool Checklist
Repairing a phone requires precision, patience, and the right environment. Never dive into a repair on a whim.
Step 1: Backup Your Data
Before doing anything else, back up your device. A sudden screen failure can lock you out permanently.
· iPhone: Go to Settings > [Your Name] > iCloud > iCloud Backup and tap Back Up Now, or plug it into a computer to back up via iTunes/Finder.
· Android: Go to Settings > Google > Backup and ensure your data is synced, or use a proprietary cloud (like Samsung Cloud).
Step 2: Establish an Anti-Static, Safe Workspace
Static electricity can instantly fry a phone's logic board. Power down the device completely before starting. Work on a clean, non-conductive surface like a wooden or plastic desk—avoid metal tables or working on carpets. Wearing an anti-static wrist strap grounded to a metal object is highly recommended.
Step 3: Gather Your Tools
· Precision Screwdrivers: Specifically Pentalobe (for iPhone bottom screws), Phillips, and Torx drivers.
· Suction Cup & Plastic Prying Tools: Used to lift the screen gently.
· Plastic Guitar Picks/Opening Cards: For slicing through tough internal adhesives.
· A Hot Air Gun or Hairdryer: Crucial for softening the factory glue holding the phone together.
· Plastic Tweezers: To handle tiny screws and brackets safely.
· Replacement Screen Adhesive: Die-cut waterproof adhesive strips made specifically for your phone model.

III. The Screen Replacement Journey: A Step-by-Step Walkthrough
While every phone model has slight variations, the core methodology for replacing a fused screen assembly follows these six universal steps.
Step 1: Heat and Separate the Frame
Use your hot air gun or hairdryer on a low-medium setting to gently warm the edges of the phone for 2–3 minutes. This softens the waterproof adhesive. Apply a suction cup to the bottom half of the screen, pull up with firm, steady pressure to create a microscopic gap, and insert a plastic opening pick. Slide the pick carefully around the perimeter to slice through the glue.
Warning: Do not shove the pick too deep, or you risk slicing fragile ribbon cables.
Step 2: Disconnect the Battery (The Most Critical Step)
Once the screen opens like a book, do not pull it away completely. It is still tethered by delicate cables. Look for the metal bracket protecting the battery connector. Unscrew the bracket, use a plastic spudger to pry the battery connector off the board, and isolate it. Never skip this step. Disconnecting the battery cuts power to the board, preventing short circuits that can permanently destroy the phone.
Step 3: Remove the Old Screen Assembly
Locate the display and digitizer ribbon cables connected to the logic board. Unscrew their retaining brackets and gently pop the connectors out of their sockets like tiny Lego bricks. You can now fully remove the shattered screen.
Step 4: Prep and Clean the Chassis
A successful repair depends on a clean surface. Use tweezers and a microfiber cloth to scrape away all remnants of the old, gummy adhesive and loose glass splinters from the phone's frame. If the frame is uneven or dirty, the new screen will not sit flush and may crack under pressure.
Step 5: The "Dry Run" Test
Before applying any permanent glue, plug the ribbon cables of the new screen into the logic board. Reconnect the battery temporarily and turn the phone on. Test the brightness, look for dead pixels, and type across the keyboard. If everything works beautifully, turn the phone off, disconnect the battery again, and unplug the screen. Never skip the test phase; returning a defective screen is impossible once it is permanently glued down.
Step 6: Final Adhesion and Curing
Apply your new precut adhesive strips to the clean frame of the phone. Reconnect the display cables, screw down the retaining brackets, and snap the battery connector back into place. Carefully align the new iPhone OLED Screen with the frame and press down gently around the edges. Wrap the phone in rubber bands or place it under a few light books, leaving it undisturbed for at least one hour to allow the adhesive to fully cure and set.
IV. DIY Repair vs. Professional Service: Weighing the Options
Is a DIY repair right for you, or should you leave it to the pros? Let’s look at the hard truths of both paths.
The DIY Path
· Pros: It is incredibly cost-effective. Buying a quality replacement screen and a basic tool kit online can save you anywhere from $50 to $150 compared to shop prices. There is also an immense sense of satisfaction in reviving your own technology.
· Cons & Risks: Modern smartphones are tightly packed puzzles. One slip of a screwdriver can puncture a battery (causing a fire hazard) or sever a face-recognition cable. Furthermore, because modern screens are fused, you cannot just replace the glass at home—you must buy the more expensive full assembly. Lastly, opening your phone immediately voids any remaining manufacturer warranty or water-resistance ratings. This route is best reserved for older, out-of-warranty devices or individuals with high patience and steady hands.

The Professional Path
· Pros: Total peace of mind. Professional technicians have specialized micro-soldering tools, heating platforms, and precision software to calibrate replacement screens (preserving features like Apple's True Tone or Samsung's color profiles). Best of all, reputable shops offer a 30- to 90-day warranty on their parts and labor.
· Cons: Cost. Depending on your phone model and geographic location, a professional screen replacement generally ranges from $80 to $400.
The Golden Rule: If you own a flagship phone that is less than a year old, pay a professional or use your insurance; the calibration requirements and high parts cost make DIY a massive financial risk. If your phone is two or three years old, out of warranty, and a shop repair costs more than the phone is worth, it is the perfect candidate for a DIY adventure.
A broken phone screen is undoubtedly frustrating, but it is not a tragedy. It is a manageable hardware failure with a clear path to a solution. Do not let the cracks cause you anxiety. Take a deep breath, look at your budget, assess your comfort level with right Phone Repair Tools, and choose the path that makes the most sense for you.


