
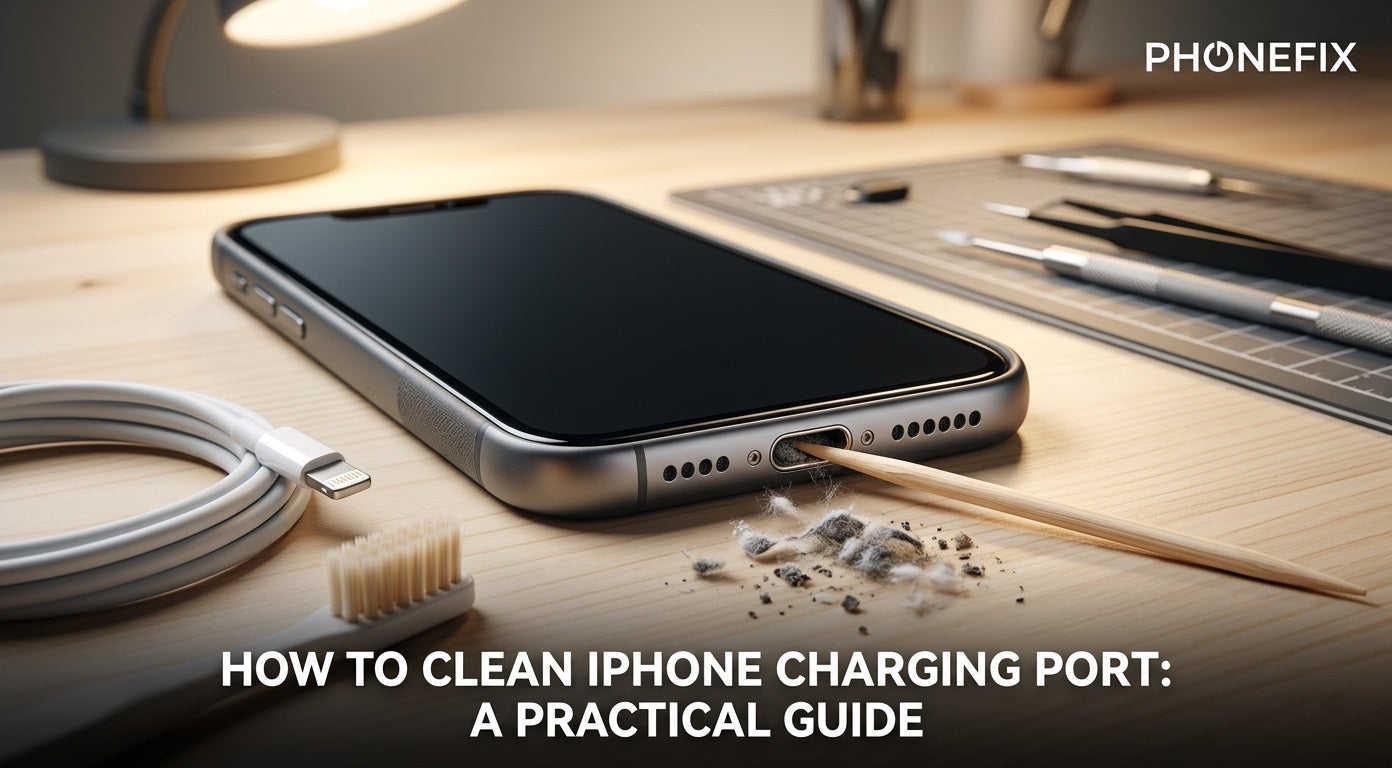
A phone that refuses to charge often points to one culprit: a clogged charging port. Pocket lint, dust, and debris pack into the small opening over time and block the connection between the cable and the internal pins. This guide covers when to clean the port, how to do it safely, what to check afterward, and how to prevent future buildup.
I. When and Why to Clean the Charging Port
Signs that the port needs attention
The iPhone Charging Cable no longer clicks into place. It sits loose or falls out easily. The phone charges only when the cable is held at a certain angle. Charging starts and stops repeatedly. A message appears saying "This accessory is not supported" even with an original Apple cable. These symptoms usually point to debris inside the port, not a broken phone.
Why cleaning matters
Compacted lint traps moisture against the metal contacts. This moisture causes corrosion over time and can damage the logic board. A dirty port also creates resistance, which slows charging speed and generates excess heat. Cleaning the port restores proper contact and prevents long-term hardware failure.
Critical warning before starting
The charging port contains delicate pins that transmit power and data. Damaging these pins requires a full port replacement. Apple explicitly warns against using metal objects, compressed air, or any liquid inside the port. Physical damage from improper cleaning is not covered under warranty.
II. How to Clean the Charging Port
Tools and Preparation
· Power off your iPhone completely before starting.
· Use a bright flashlight or LED lamp to inspect inside the port.
· Gather safe, non-metallic tools: a wooden toothpick, a plastic pick, or a clean, dry, soft-bristled toothbrush.
· Avoid metal needles, pins, or paperclips—they can permanently break the delicate internal contacts.
· Avoid inserting liquids or harsh cleaning solutions directly into the port.
Step 1: Remove loose debris first
Insert just enough brush bristles to fill the port. Twist the brush gently to loosen and lift out debris. Brush outward, away from the port, to avoid pushing debris deeper. For toothpick users, insert the tip along the side walls of the port, not the center. The center contains the gold contact pins. Scrape gently from the bottom upward, bringing debris out with each stroke. Work in short, controlled movements.
Step 2: Remove stubborn debris
If debris remains compacted, use a Cleaning Brush to gently hook it out from the edges. Work from the sides inward. Never press hard against the bottom of the port.
Step 3: Clear out loosened particles
Hold the phone with the port facing downward. Tap the phone gently against a soft surface to let particles fall out. A few short, gentle puffs of air from the mouth can also help—but keep the phone angled down so debris falls out, not in.
What to avoid completely
No liquids. No water, alcohol, or cleaning solutions inside the port. Liquids damage the waterproof seal and cause corrosion. No Blu-Tack or adhesive materials—they leave residue and can pull out pins. No hair dryers—heat warps internal components.

III. Verification and Diagnosis After Cleaning
Physical check
Insert the charging cable. It should click into place with a firm, secure fit. A loose connection means debris remains inside.
Functional test
Plug the iPhone into a known-good power source. Look for the lightning bolt icon on the battery symbol. Open Settings > Battery and confirm the phone displays "Charging".
Cross-check the cable
If the phone still does not charge, test with a different Apple-certified cable. Cables wear out internally and cause the same symptoms as a dirty port. A different cable that works confirms the port is clean and functional.
When to stop trying
If cleaning does not restore charging and a different cable also fails, the port may be physically damaged. Scratched or bent pins require professional repair. Book an appointment at an Apple Store or an authorized service provider.
IV. Daily Maintenance
Preventive habits
Keep phones out of dusty pockets when possible. Empty pockets of lint before putting the phone inside. Use a case with a port cover, but remove the cover before charging—cheap covers trap debris inside.
Regular light cleaning
Once a month, inspect the port with a flashlight. If dust is visible, use a dry soft brush to sweep it out. Regular light cleaning prevents the deep compaction that causes charging failures.
V. FAQ
Q: Can I use a cotton swab?
Cotton swabs are too large for the Lightning port. They push debris deeper and leave fibers behind.
Q: My phone got wet. What should I do?
Do not insert anything into the port. Let the phone dry completely in a well-ventilated area for at least 24 hours. Do not use rice—it introduces dust.
Q: Why does my phone charge wirelessly but not with a cable?
This confirms the charging port has an issue. Wireless charging bypasses the port entirely. If wireless works but wired does not, the port needs cleaning or repair.
Q: How often should I clean the port?
Clean only when symptoms appear. Over-cleaning increases the risk of accidental damage.

A clean charging port restores reliable charging and extends the life of the iPhone. Most charging problems resolve with a careful cleaning using the right tools. When the port remains unresponsive after cleaning and cable testing, professional service is the next step. For those who prefer dedicated equipment, specialized Phone Repair Tools are available for precision cleaning, though basic household items work just as well when used correctly.


