
Phone screen bubbles frustrate many users. Some bubbles sit on the surface under a screen protector. Others hide inside the LCD layers themselves. This guide covers both situations and gives clear steps for each.

I. Know What You Are Dealing With
Not all bubbles are the same. A quick check saves time and prevents wrong moves.
1. Screen protector bubbles appear on top of the Phone Screen. They sit between the protector film and the glass surface. Two types exist:
· Air bubbles look clear and smooth. Press gently on one. It moves or shifts. These bubbles contain only trapped air.
· Dust bubbles have a dark center or a visible speck. Press them. They do not move. Dust particles cause these bubbles.
2. LCD layer bubbles sit deeper. They form between the cover glass and the LCD panel during manufacturing or after a repair. These bubbles appear without a screen protector installed. They look like small round spots or cloudy patches. Light may make them “wink” when the screen tilts. These are harder to fix.
II. Remove Screen Protector Bubbles
Most bubble problems involve screen protectors. These fixes work for both tempered glass and film protectors.
1. For air bubbles near the edge:
Get a plastic card or the squeegee from the protector kit. Wrap the card in a soft cloth to avoid scratches. Place the card on the bubble. Push firmly toward the nearest edge of the screen. The air escapes from the edge. Repeat for each bubble. If a bubble stays, lift the edge slightly with a fingernail. Let the air out. Press the protector back down.
2. For dust bubbles in the middle:
Pushing does not work here. The dust speck blocks the adhesive from bonding. Lift the protector from the nearest corner. Work slowly until reaching the bubble. Get a piece of scotch tape or the dust removal sticker from the kit. Slide the tape sticky side up under the glass. Touch the dust speck on the adhesive side. The tape grabs it. Let the protector fall back into place. Press the area down smoothly.
3. Alternative methods:
· Heat method: Set a hair dryer to low heat. Point it at the bubble area for a few seconds. The heat softens the adhesive. Push the bubble out with a card. Keep the dryer moving. Do not overheat the screen.
· Wait method: Small air bubbles sometimes disappear on their own. Leave the phone for 24 to 48 hours. The adhesive slowly settles. The air escapes naturally.

III. Handle LCD Layer Bubbles
Bubbles inside the LCD layers require more serious action. These bubbles often appear after a screen replacement. They result from trapped air between the OCA (Optically Clear Adhesive) layer and the glass or LCD surface.
1. For minor LCD bubbles right after lamination:
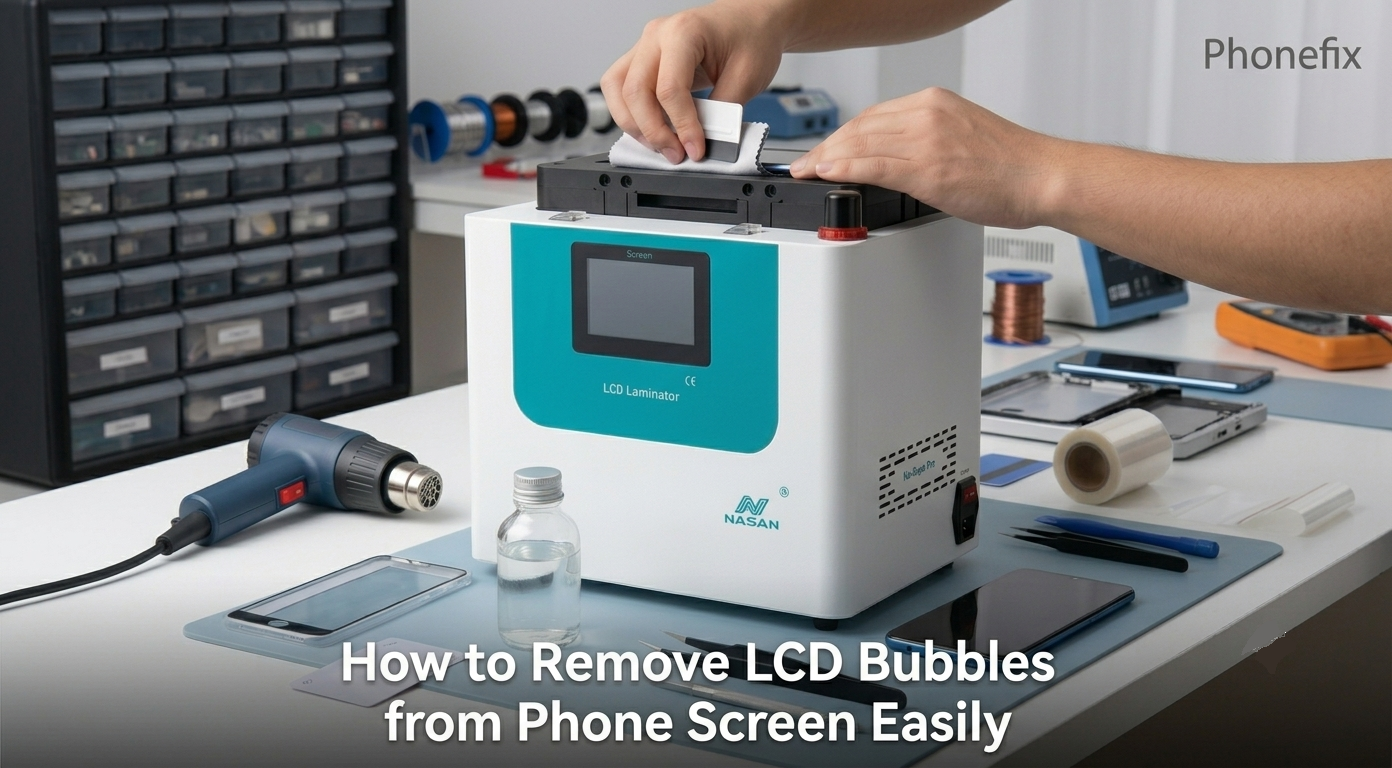
A Bubble Remover Machine offers the best solution. These machines use controlled pressure and mild heat. The pressure compresses trapped air. The adhesive settles. The bubble shrinks into the OCA layer. Professional repair shops use these machines. The process takes about 15 minutes.
2. For bubbles caused by dust or contamination:
A bubble remover machine cannot fix dust trapped inside the stack. The screen needs disassembly. Remove the cover glass. Clean the LCD surface thoroughly. Remove all residue and dust. Apply fresh OCA film. Laminate the glass back onto the LCD. Then run the assembly through a vacuum chamber. The chamber removes air bubbles. UV light cures the adhesive.
3. For edge delamination bubbles:
Some screens develop bubbles starting at the edges over time. This happens when the adhesive fails. Heat from a hair dryer may temporarily shrink the bubble. But the air remains trapped. The bubble often returns larger as the adhesive cools. The permanent fix requires removing the old adhesive entirely and rebonding the layers. Most users take the phone to a repair shop for this work.
4. When to replace the screen:
Some LCD bubbles cannot be repaired economically. Large bubbles covering significant screen area indicate serious delamination. Multiple bubbles scattered across the display suggest poor manufacturing or severe damage. Replacement often costs less than professional repair in these cases.
IV. Prevention Tips
Prevention stops bubbles before they start.
· Clean the screen thoroughly before applying any protector. Use a microfiber cloth and screen-safe cleaner. Remove all dust and fingerprints. Work in a dust-free environment. A bathroom after a hot shower works well. The steam settles airborne dust.
· Apply the protector slowly from one edge to the other. Do not drop it flat onto the screen. Press from the center outward toward the edges. This pushes air out as the protector goes down.
· Choose quality screen protectors with good adhesive. Cheap protectors often have uneven adhesive layers. They lift at the edges. Bubbles form more easily.
· For professional screen repairs, ask the shop about their bubble removal process. Quality repair shops use vacuum chambers and bubble remover machines. They inspect screens under side light after lamination. This catches bubbles before the customer receives the phone.

Phone screen bubbles range from simple surface issues to complex layer problems. Surface bubbles under screen protectors respond to pushing, lifting, or waiting. LCD layer bubbles often need professional equipment like vacuum chambers and bubble removers. Knowing the bubble type guides the right fix. Many bubbles disappear with the correct method. For persistent or deep bubbles, a repair shop with proper Phone Repair Tools delivers the best outcome.


