
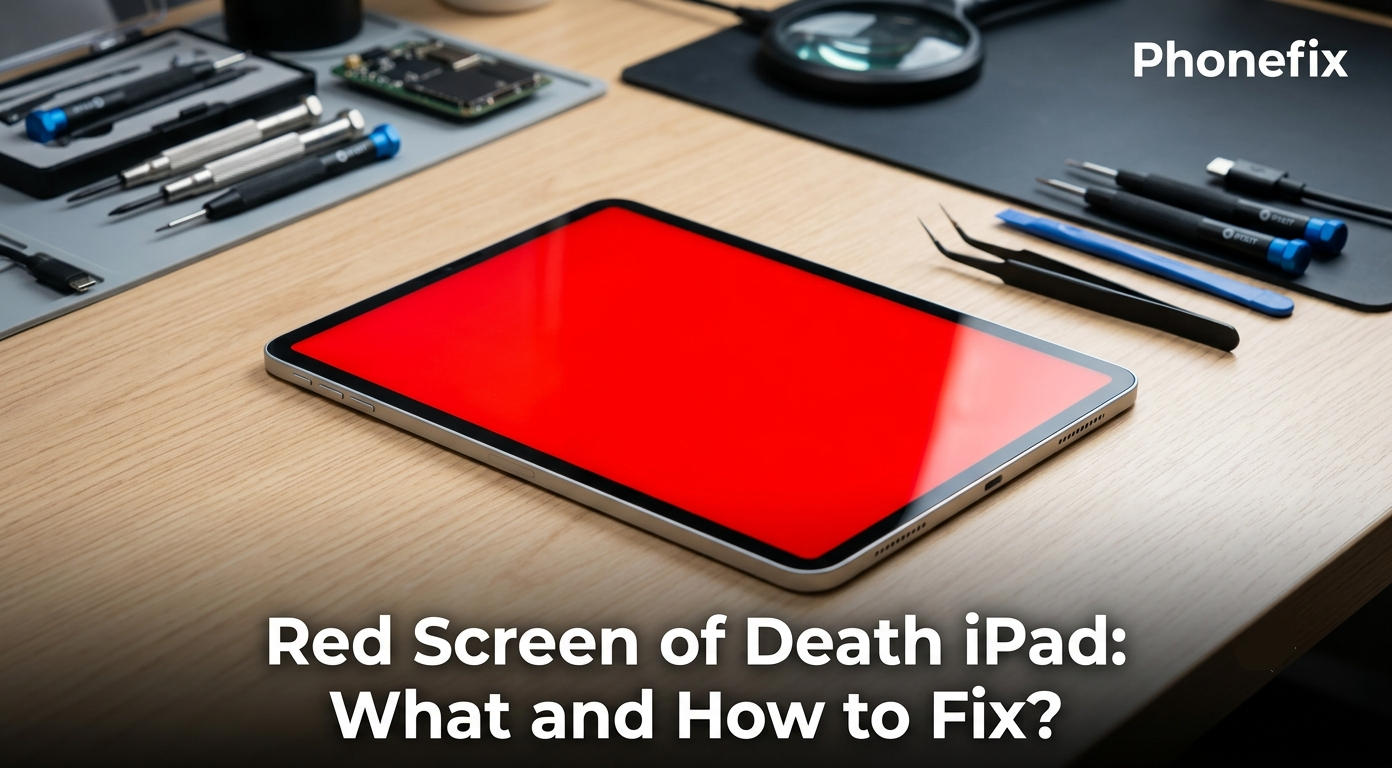
A bright red screen suddenly appears on the iPad. The device freezes. Nothing responds. This is the iPad Red Screen of Death (RSoD). Users often panic when they see it. But this error does not always mean permanent damage. This guide explains what causes the red screen, provides step-by-step fixes, and offers prevention tips to keep the device safe.

I. What Is the iPad Red Screen of Death?
The Red Screen of Death is a critical error state. The iPad Display Screen a solid red screen during startup or normal operation. It functions like the Blue Screen of Death on Windows computers. The system encounters a problem it cannot resolve. The device becomes unresponsive.
Two main categories cause this issue: software problems and hardware failures.
Software Causes
· Corrupted system updates lead the list. An interrupted update—from a lost Wi-Fi connection or a drained battery—can corrupt iPadOS.
· Failed jailbreak attempts also cause instability.
· A buggy app installation might trigger a system-wide crash in rare cases.
· Beta versions of iPadOS sometimes produce unexpected errors.
Hardware Causes
Hardware issues are more serious.
· A failing battery sends incorrect voltage signals.
· Physical damage from drops or liquid exposure harms the logic board.
· Loose internal components—like display connectors or antenna cables—can trigger the error.
· Damaged screen panels or faulty display connectors also cause red screens.
· Screen replacement jobs sometimes leave logic board damage behind.
II. How to Fix the iPad Red Screen
Start with the simplest fix. Move to more advanced solutions only if the previous step fails.
Step 1: Force Restart the iPad
A force restart clears temporary memory glitches. This process does not erase any data. The method differs by iPad model.
· For iPads with a Home Button: Press and hold the Top button and the Home button simultaneously. Keep holding both buttons until the screen turns off and the Apple logo appears.
· For iPads without a Home Button: Quickly press and release the Volume Up button. Then quickly press and release the Volume Down button. Press and hold the Top button until the Apple logo appears.
Step 2: Enter Recovery Mode and Update
If the force restart fails, Recovery Mode offers the next option. This method reinstalls iPadOS without erasing personal data. A computer with Finder (macOS Catalina or later) or iTunes (macOS Mojave or earlier, or Windows PC) is required.
· For iPads with a Home Button: Connect the iPad to the computer. Press and hold both the Home button and the Top button. Keep holding until the Recovery Mode screen appears.
· For iPads without a Home Button: Connect the iPad to the computer. Quickly press and release the Volume Up button. Quickly press and release the Volume Down button. Press and hold the Top button until the device restarts. Keep holding the Top button until the Recovery Mode screen appears.
Once the Recovery Mode screen shows up, the computer displays a restore or update option. Choose Update. The computer downloads and reinstalls the software. This process preserves data. If the update takes more than 15 minutes, the iPad exits Recovery Mode. Repeat the steps above.
Step 3: DFU Mode Restore
Device Firmware Update (DFU) mode performs the deepest software restore. It reloads both the firmware and the operating system from scratch. This process erases all data. Use this only after backing up data or when data recovery is not a concern. Entering DFU mode requires precise button timing.
· Connect the iPad to a computer.
· Open Finder or iTunes.
· Press and hold the Top button and the Home button (or just the Top button on newer models) for exactly 5 seconds.
· Continue holding both buttons for another 10 seconds.
· Release the Top button while still holding the Home button.
· The screen stays black if DFU mode is successful.
· The computer detects a device in recovery mode. Select Restore.
Step 4: Check for Hardware Issues
· Software fixes fail sometimes. Hardware failure is the likely culprit at this point. The logic board often takes the blame. GPU components or power management chips on the motherboard fail. A damaged display connector or loose ribbon cable also causes red screens.
· Diagnosing hardware requires opening the device. This step demands proper tools and technical skill. For most users, the practical path leads to Apple Support or an authorized service provider. Microsoldering specialists handle logic board repairs.
Step 5: Contact Apple Support
If all previous steps fail, professional service becomes necessary. Apple Support can run diagnostics that consumer tools cannot access. They determine whether repair or replacement offers the better solution.

III. Are There Prevention Methods?
Prevention reduces the risk of encountering the red screen. Several practices make a difference.
1. Keep Software Updated
Install iPadOS updates promptly. These updates include bug fixes and security patches. Enable automatic updates in Settings > General > Software Update. This ensures critical fixes arrive without manual intervention.
2. Avoid Interrupting Updates
Do not restart the iPad or close the Settings app during a system update. Ensure the battery has at least 50% charge before starting an update. Connect to a stable Wi-Fi network. Interrupted updates corrupt system files.
3. Use a Quality Case and Screen Protector
Physical protection matters. A sturdy case absorbs impact from drops. A iPad Screen Protector adds an extra layer of defense. These accessories prevent the physical damage that leads to logic board issues.
4. Handle the Device Carefully
Avoid exposing the iPad to extreme temperatures. Keep liquids away from the device. Water damage often proves fatal to internal components. Do not attempt screen replacements without proper training and tools—improper handling damages the logic board.
5. Avoid Jailbreaking
Unauthorized modifications destabilize the operating system. Non-Apple-approved apps overload the motherboard with incompatible instructions. Stick with official iPadOS for maximum stability.
6. Monitor Battery Health
Check battery performance regularly. Swelling, rapid drainage, or inconsistent charging signal a failing battery.
IV. FAQ
Q: Does the red screen mean my iPad is permanently broken?
No. Software-related red screens often resolve with a force restart or Recovery Mode update. Hardware-related cases may require professional repair, but many devices return to normal operation.
Q: Will a force restart delete my data?
No. A force restart only clears temporary memory. Personal data, apps, and settings remain intact.
Q: What is the difference between Recovery Mode and DFU Mode?
Recovery Mode reinstalls iPadOS while preserving data. DFU Mode reloads both firmware and the operating system from scratch and erases all data. Use Recovery Mode first. Use DFU Mode only when Recovery Mode fails.
Q: How can I tell if the problem is software or hardware?
Try the software fixes first. If force restart and Recovery Mode fail repeatedly, hardware becomes the likely cause. Apple Support diagnostics provide a definitive answer.

The iPad Red Screen of Death looks frightening but follows a clear troubleshooting path. Start with a force restart. Move to Recovery Mode if needed. Use DFU Mode as a last resort. Hardware problems demand professional attention. Prevention—regular updates, careful handling, and quality accessories—reduces the chances of seeing that red screen again. Having the right Phone Repair Tools on hand makes a difference for those who attempt DIY diagnostics, but most users will find that software solutions resolve the issue without opening the device.


