
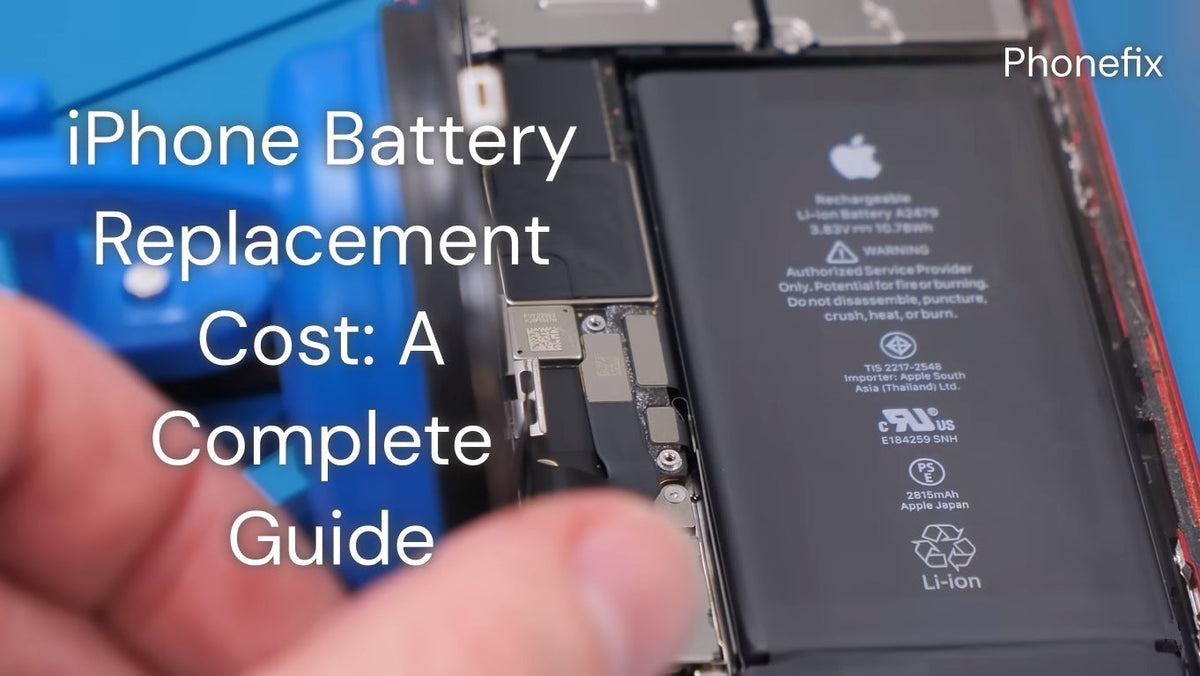
iPhone batteries wear down with normal use. Apple charges a flat fee per model, independent shops charge less but vary in quality, and DIY costs the least. This guide breaks down replacement costs by model, compares Apple, third-party, and DIY paths in real dollars, explains when DIY makes sense, identifies which iPhone generations suit beginners, and lists the tools a safe repair requires.

I. iPhone Battery Replacement Cost by Model
Apple publishes a single out-of-warranty battery service fee for each model tier. As of late 2026, the range runs from $69 to $229 in the United States. Apple inspects each device before confirming the final fee, and mail-in service may add tax or shipping. Apple Authorized Service Providers can also set their own prices. AppleCare+ changes the math: if the battery holds less than 80% of its original capacity, the replacement costs $0.
| Model or series | Apple out-of-warranty battery fee (USD) |
| iPhone Duo | 229 |
| iPhone 18 Pro, 18 Pro Max | 129 |
| iPhone 17 Pro, 17 Pro Max, iPhone Air, iPhone 16 Pro, 16 Pro Max | 119 |
| iPhone 14 through 17 standard models | 99 |
| iPhone 13, 12, 11, XS, XS Max, XR | 89 |
| iPhone SE (2nd and 3rd generation), iPhone 8, 7, 6s series | 69 |
II. The Real Cost of Each Path
The Apple path costs the most per repair but stays the simplest. It provides a genuine battery and a warranty on the work. Third-party shops sit in the middle, and quality depends on the battery supplier and the shop’s process. Some shops use cells that trigger an iOS “Unknown Part” warning, and most do not restore the factory water-resistance seal. DIY has the lowest sticker price, but the savings exclude time and mistakes. A slipped pry tool can damage a display flex cable. A broken adhesive tab can stretch a 45-minute job into an afternoon. A punctured lithium-ion cell is a fire hazard, not an inconvenience.
| Path | Typical cost and time (USD) | Main risk or limit |
| Apple official | 69–229; $0 under AppleCare+ below 80%; appointment or mail-in, repair warranty | Highest price, lowest risk |
| Third-party shop | Local 30–60; mail-in 40–70; uBreakiFix 129.99 for iPhone 15 in some markets; 3–5 business days for mail-in | Mixed battery quality; possible “Unknown Part” warning; water seal may not be restored |
| DIY | Kit about 40; about 60 for newer models; SE/7 29.99; X 39.99; first repair 45–90 minutes; no repair warranty | Flex cable damage, broken adhesive tabs, cell puncture and fire risk |
III. Why DIY Is the Smarter Choice
· The economic case is strongest on older devices.
Paying $69 to $89 for an official battery on an iPhone 8 or iPhone X consumes most of the device’s residual value, since those phones may be worth $100 to $150 in working condition.
· The regulatory environment is also shifting toward repairability.
From 2027, the European Union will require portable batteries in phones and tablets to be “readily removable and replaceable” by the end user, without specialized tools unless those tools come free with the product. This does not mean a return to pop-off plastic backs. It means manufacturers face pressure to design battery access that does not require a hot air gun. Apple has already moved in this direction. Thanks to electrically released adhesive and an aluminum battery enclosure on the Pro models, the iPhone 16 lineup earned a 7 out of 10 repairability score from iFixit, up from 4 for the iPhone 15.
· DIY mobile phone repair also enables people to acquire new knowledge and understand the devices better.
It is a sustainable skill, and with enough proficiency, it can even generate profit. That knowledge carries over to future repairs and makes it easier to judge when a professional is genuinely necessary.
· DIY also brings measurable environmental benefits.
Producing a new iPhone alone generates roughly 50 to 80 kg of CO2 equivalent. Swapping the battery instead of the phone almost entirely avoids this manufacturing burden. A battery replacement that extends a phone's life by one year cuts greenhouse gas emissions by about 29%, and by two years, around 44%. While one DIY battery swap is just a tiny fraction of total emissions, it's a fraction individuals can truly control.

IV. Which Models Suit Beginners, and Which Demand Caution
· The iPhone 16 and iPhone 16 Plus are the most beginner-friendly modern iPhones for battery work. Electrically released adhesive lets the user detach the battery by applying a small voltage, which avoids the pull-tab lottery entirely. The iPhone 16e shares this design.
· The iPhone 14 and iPhone 15 generations sit in the middle. The “open from the front and back” design introduced with the iPhone 14 simplifies access to the battery, but the battery itself remains held by conventional pull-tab adhesive. A patient beginner can manage the job with a good guide, but the tabs can break if pulled at the wrong angle.
· The iPhone 12 and iPhone 13 lines demand more caution. Battery adhesive strength on these generations is roughly 40% higher than on earlier models, and a wrong pull can stress the logic board or tear a display cable. Public repair guides rate the procedure at 6 to 7 out of 10 in difficulty, and broken pull tabs are a common failure point.
· The iPhone 16 Pro Max is an outlier. Despite belonging to the iPhone 16 family, it lacks the electrically released adhesive and the aluminum-encased battery found on the smaller Pro. Treat it like an iPhone 15 Pro: doable, but not the easiest entry point.
· Any iPhone with a swollen battery should go to a professional. A swollen lithium-ion cell holds flammable gas under pressure, and a metal tool can trigger thermal runaway in seconds. DIY is not worth the fire risk.
V. Tools You Actually Need
A reliable iPhone battery repair requires more than a guitar pick and optimism. The essential list includes:
· A P2 pentalobe screwdriver for the two bottom screws on the iPhone.
· A Y000 tri-point screwdriver for internal bracket screws.
· A Phillips #000 screwdriver for certain internal fasteners.
· A suction cup with enough holding force to lift the display without cracking it.
· Thin opening picks to slice through display adhesive.
· A spudger for disconnecting battery and display connectors.
· Blunt tweezers for gripping adhesive pull tabs and small screws.
· Isopropyl alcohol (90% or higher) and a lint-free wipe for cleaning adhesive residue.
· Replacement adhesive strips sized for your model.
· A hot air gun or a low-temperature heating pad.
VI. FAQ
Q: Will a DIY battery show a warning in iOS?
Non-original batteries can trigger an “Unknown Part” message on iOS 15.2 and later. The phone still works, but the Battery Health screen may not display accurate data.
Q: Does DIY void the warranty?
Apple’s warranty does not cover damage caused by unauthorized repairs. If the phone is still under Apple’s limited warranty or AppleCare+, the official route preserves coverage.
Q: How long does a DIY replacement take?
A first-time repair on an older iPhone typically takes 45 to 90 minutes. Newer models with tighter tolerances and stronger adhesive take longer.
Q: Is it worth replacing the battery instead of buying a new phone?
If the phone otherwise meets your needs, a $40 to $99 battery repair restores usable runtime for a fraction of a new device. The decision hinges on whether the rest of the hardware—screen, cameras, storage—still works for you.

A battery replacement is one of the few iPhone repairs that remains accessible to careful beginners, provided they match the procedure to the model and accept the limits of the DIY path. For those who want to go further, the right phone repair tools, proper guides, instructional videos, and the right mindset are all indispensable.


