
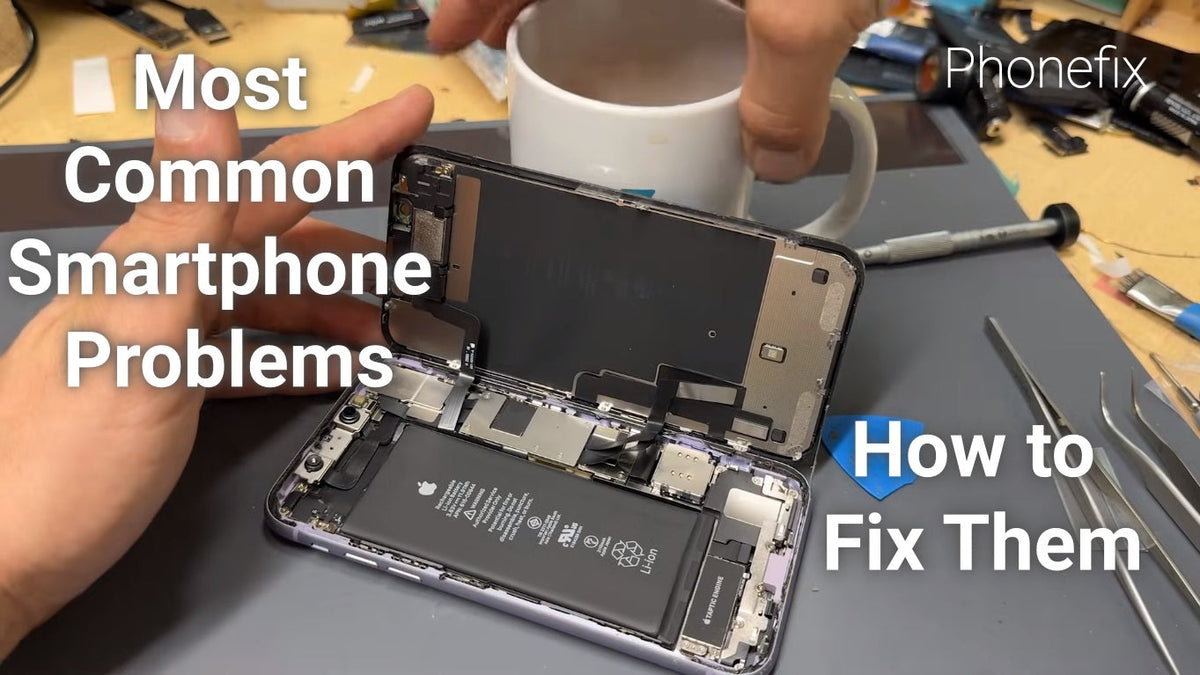
Smartphones often have problems. This guide covers six common types: charging and power, screen and appearance, buttons and ports, heating and performance, water damage, and system software. For each type, it gives step‑by‑step solutions.

I. Charging and Power Problems
The phone won't charge, charges on and off, drains fast, or shuts down by itself.
Clogged charging port
Turn off the phone. Take a plastic toothpick and wrap a little double‑sided tape around the tip. Gently put it into the charging port and turn it around to pull out lint and dust. Keep the toothpick parallel to the port so you don't hurt the metal pins. You can also use Blu‑Tack: press it into the port, then pull it out quickly. Do not use a needle or a metal pick—they will push the dirt deeper.
Bad cable or charger
Try a different cable and charging adapter. Often the problem is in the cable, not the phone.
Wrong battery percentage
If the percentage jumps around (for example, from 30% to 5% suddenly), let the battery run down until the phone turns off. Then charge it to 100% and keep it plugged for one more hour. This can fix the display.
Old or weak battery
When the battery does not last long, you can change it. Turn off the phone and take out the SIM card tray. Use a suction cup and a plastic spudger to carefully open the back cover. Find the battery cable and disconnect it first—this cuts off power to the motherboard. Old batteries are stuck with glue. Put a few drops of glue remover, wait three minutes, and slowly pull the adhesive tab. Do not use metal tools near the battery cell. If the tab breaks, stop and take the phone to a repair shop.
Swollen battery
If the back cover is bulging or feels soft when you press it, the battery is swollen. Never try to remove it yourself. Turn off the phone at once and send it to a professional.
II. Screen and Appearance Problems
Scratches, cracked glass but the display still works, touch not responding, broken back cover.
Small scratches
Put on a hydrogel screen protector. Its glue can fill the scratches. Do not use toothpaste, its tiny particles will wear away the coating and make the screen look worse.
Cracked outer glass, but display and touch work
You cannot replace only the outer glass at home, that needs special machines. The only DIY way is to change the whole screen assembly. For beginners, buy one that already comes with the frame. Heat the back cover with a Hot Air Gun for about 30 seconds. Use a suction cup to make a gap, then slide a pick along the edge to open the cover. Remove all screws. Place the new assembly into the frame and press gently around the edges to make it fit.
Touch problems or dark spots
Do the same as above—replace the whole screen assembly. Be careful with the cable connectors; do not pull them hard.
Broken back cover
Heat the edges of the back cover, pull it open with a suction cup, clean off the old glue, and stick on a new cover. If you do not want to change it, a thick phone case can cover the damage.
III. Button and Port Problems
Power or volume buttons are stuck or do not spring back, headphone jack not working, SIM card not detected.
Sticky buttons
Dip a cotton swab in a little 95% alcohol and wipe around the button gaps. Press the button a few times to let the alcohol dissolve the dirt. Do not use too much alcohol, or it may leak inside.
Broken button cable
Open the phone and find the small cable for the buttons. Buy the same replacement part. You do not need to solder—just unplug the old cable and plug in the new one. Check the type of connector (flip‑lid or slide‑lock) before you pull it.
Dirty headphone jack
Use a can of compressed air to blow out dust, or carefully pick out visible fluff with fine tweezers. Do not push a cotton swab in—it will pack the dirt tighter.
SIM card not recognised
Gently rub the metal contacts of the SIM card with an eraser to remove oxidation. If that does not work, the card tray might be bent; replace it.

IV. Heating and Performance Problems
The phone gets very hot when gaming, lags, drops frames, or slows down.
Software fixes
Close apps that use a lot of power in the background. Turn off 5G and GPS unless you need them. Lower the screen brightness and restart the phone.
Diagnose with a thermal imaging camera
Before making any physical changes, you can use a Thermal Imaging Camera to scan the motherboard while the phone is under load. This reveals exactly which components are overheating, helping you target your repair efforts more precisely.
Physical cooling
Open the back cover and find the metal shield over the CPU. Put a thermal silicone pad (0.5–1 mm thick) between the shield and the middle frame. This moves heat away from the processor. On the back of the battery, stick a graphene cooling film to spread the heat. Make sure the pad is not too thick, or it may push the motherboard and cause bad connections.
Changing thermal paste
You can clean off old paste and apply new one to improve cooling. But the space inside a phone is very small. If you spread it unevenly, some parts may get too hot. This step is riskier, so it is not for beginners.
V. Water and Moisture Damage
The phone fell into water, got wet, won't turn on, or works strangely.
Turn off immediately
If the phone still responds, press and hold the power button to turn it off. If the screen is already black, do not press anything. Never plug in the charger or try to turn it on.
Dry the outside
Wipe off all visible water with a towel or tissue, especially around the headphone jack, charging port, and speakers. Hold the phone with the port facing down and tap it gently to let water drip out. Do not shake it hard—that can spread water inside.
Open and clean the board
If the phone got wet within the last hour and you have tools, remove the motherboard. Use a soft brush dipped in 99% isopropyl alcohol to gently clean any spots that look corroded. Wipe each area for only about 8 seconds, so the alcohol does not go into the display connector or speaker. For some iPhones, the board is delicate—be extra careful.
For stubborn corrosion, use an ultrasonic cleaner
If the board has salt crystals or heavy corrosion that brushing cannot remove, an Ultrasonic Cleaner can be used. It generates high‑frequency vibrations that create tiny bubbles, which gently blast away contaminants from hard‑to‑reach areas without damaging delicate components. Place the motherboard in the cleaner with a suitable cleaning solution and run it for a few minutes, then let it dry completely before testing.
Deep drying
Put the phone and its parts in a sealed bag with silica gel packs (the small bags that come in shoe boxes). Leave them for 48 hours. Do not put the phone in rice—rice powder will block the ports. Do not use a hairdryer on hot, and never put the phone in an oven or microwave.
If none of these work, the motherboard is probably short‑circuited. Stop trying and take it to a data recovery service—saving your data is more important.
VI. System and Software Problems
The phone is stuck on the logo, keeps restarting, has a black screen but vibrates, or cannot enter the system.
Force restart
For most Android phones, press and hold Power + Volume Down for 10–15 seconds. For Samsung, use the same buttons. For Huawei/Honor, press and hold just the Power button for over 10 seconds.
Clear cache in Recovery
Turn off the phone, then press and hold Volume Up + Power to enter Recovery mode. Choose "Wipe cache partition". Do not choose "Wipe data/factory reset"—that will erase all your personal files.
Flash official firmware by cable
On a computer, install the USB drivers for your phone. Download the official flashing tool (for example, Odin for Samsung, MiFlash for Xiaomi, HiSuite for Huawei) and the correct firmware for your exact model. Boot the phone into Fastboot or Download mode, connect it to the computer, and flash the firmware. You can select "keep user data" to save photos and files, but if the system is badly damaged, you may have to erase everything. Check the firmware carefully—the wrong one can permanently ruin the phone.
Deep unbrick
If your computer shows a "Qualcomm 9008" or "MTK" port, you can use QFIL or SP Flash Tool to write low‑level parts. This requires shorting test points on the motherboard, which is very risky. It is best to let a professional do this.

DIY repairs can save money and make your phone last longer, but you must know when to stop. If a step feels too risky, send the phone to a repair centre, that is the safest way to protect your device and, more importantly, your data. A good set of Phone Repair Tools is helpful, but your best tool is always your own judgement.


